A campaign in Personalization Studio is a time-bound personalization effort that delivers different content to different audiences on your website. You create campaigns using a 4-step wizard that guides you through setup, audience assignment, content design, and launch.
Before creating a campaign, ensure:
- A Parent Segment is configured in Data Workbench.
- At least one page with content spots is registered.
- At least one audience is created.
- You have Administrator permissions.
Configure the campaign foundation.
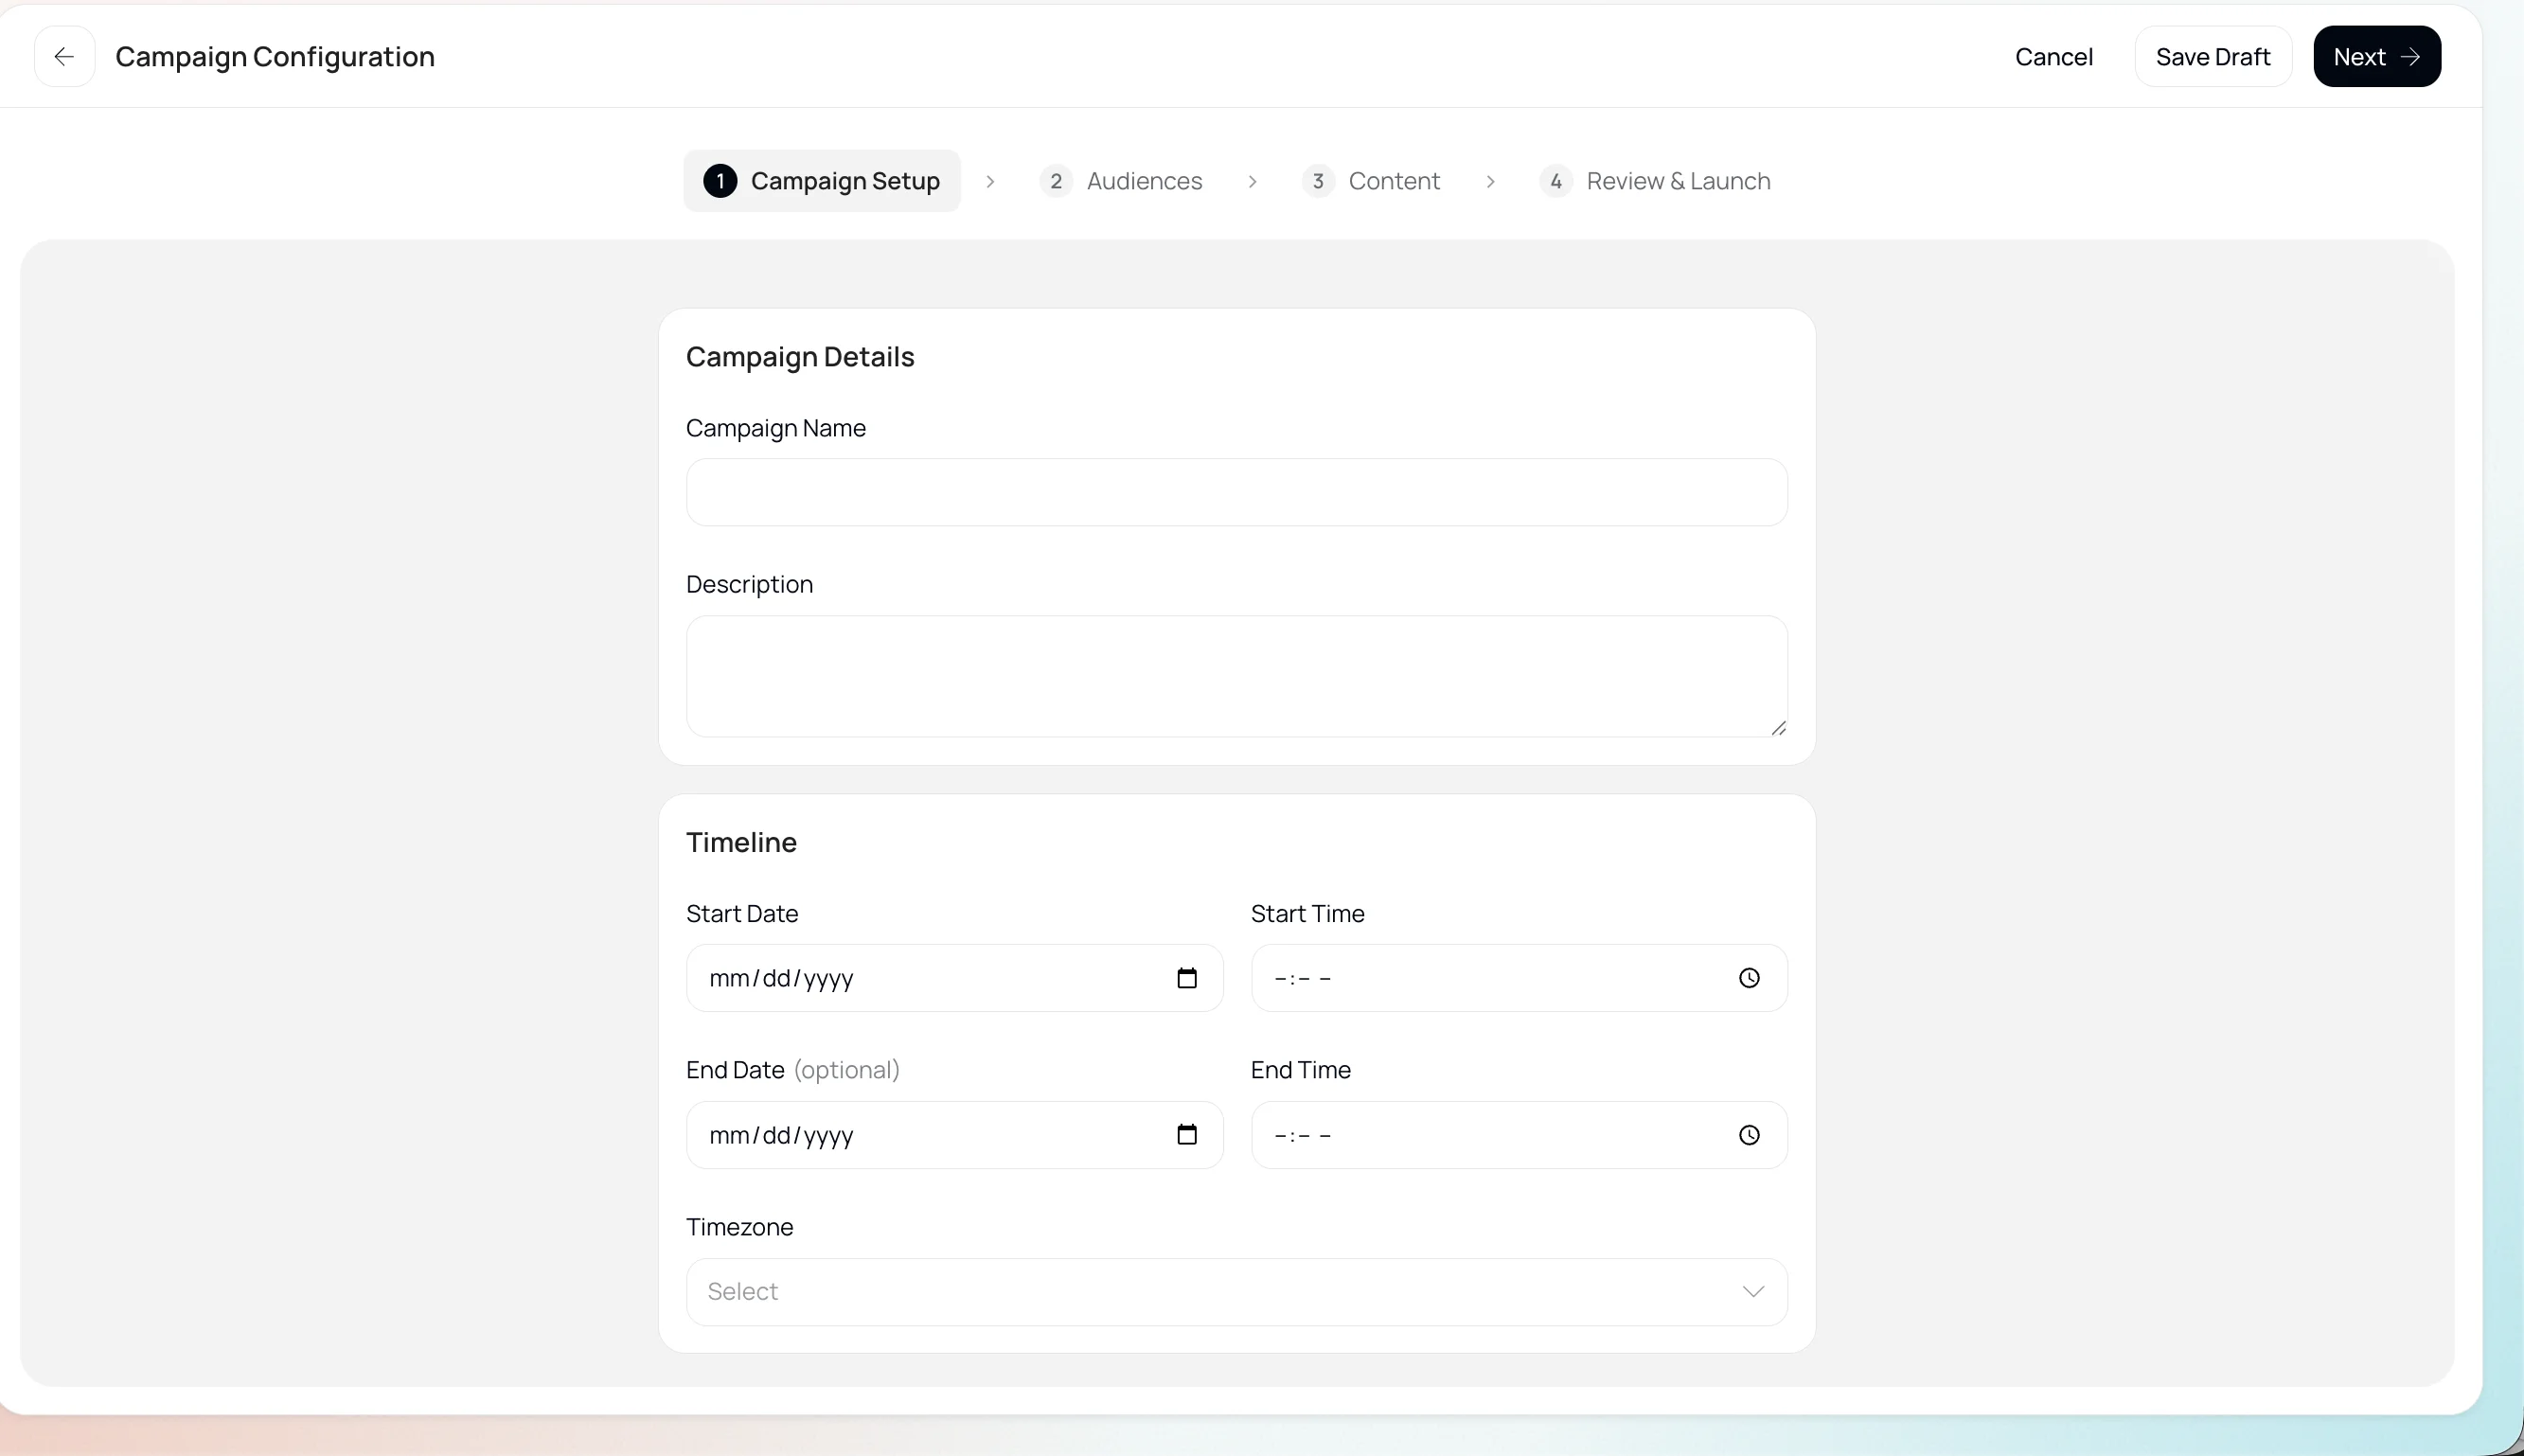
| Field | Description |
|---|---|
| Campaign Name | A unique name within the Parent Segment (for example, "Spring Sale 2026"). |
| Description | Summarize the campaign goal (for example, "Drive conversions with spring offers"). |
| Start Date / Time | When personalized content begins delivering to visitors. |
| End Date / Time | When the campaign automatically stops delivering. |
| Timezone | Which timezone to follow for the above-configured time. |
Define how personalization is triggered and which audiences see which content.
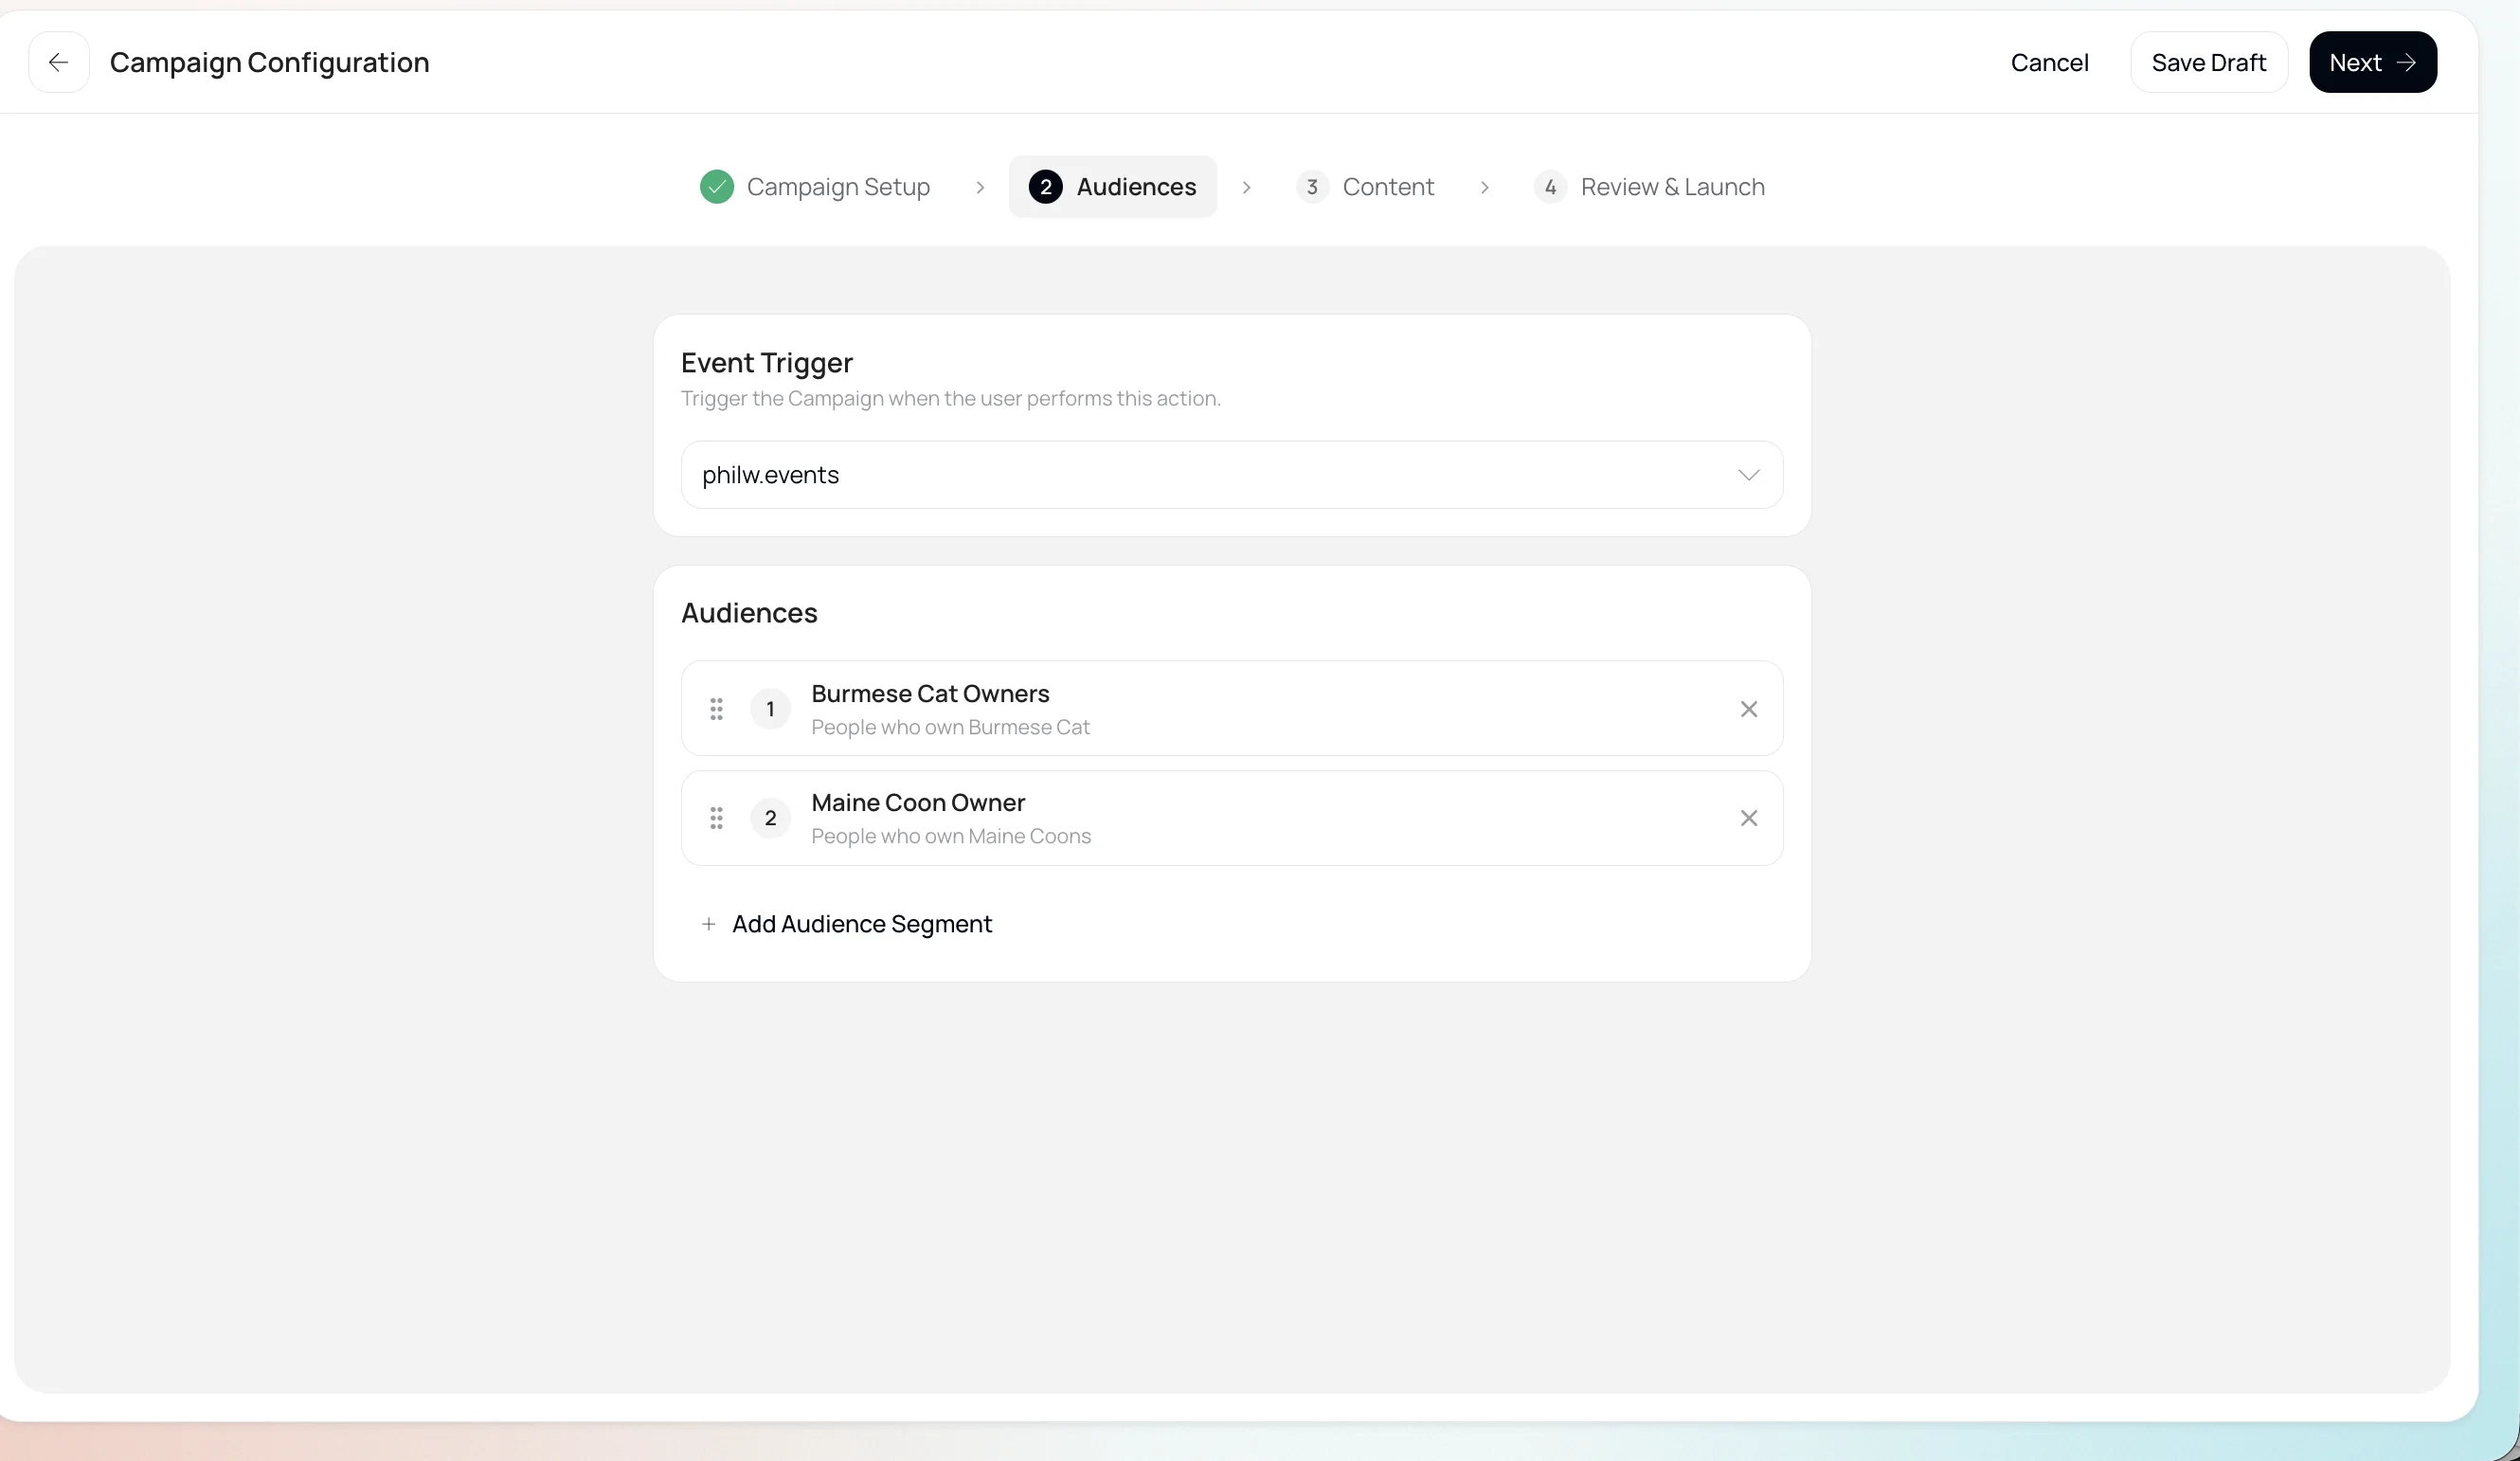
- Add a trigger event — define how a profile triggers personalization (for example, page view or login).
- Assign audiences — add existing audiences.
- Set audience priority — if a profile matches multiple audiences, the highest-priority audience's creative wins. Drag and drop audiences to reorder.
A visitor who matches both "Gold Member" and "Cart Abandoner" sees whichever audience ranks higher.
Design the personalized content for each content spot and audience pair using the creative asset editor.
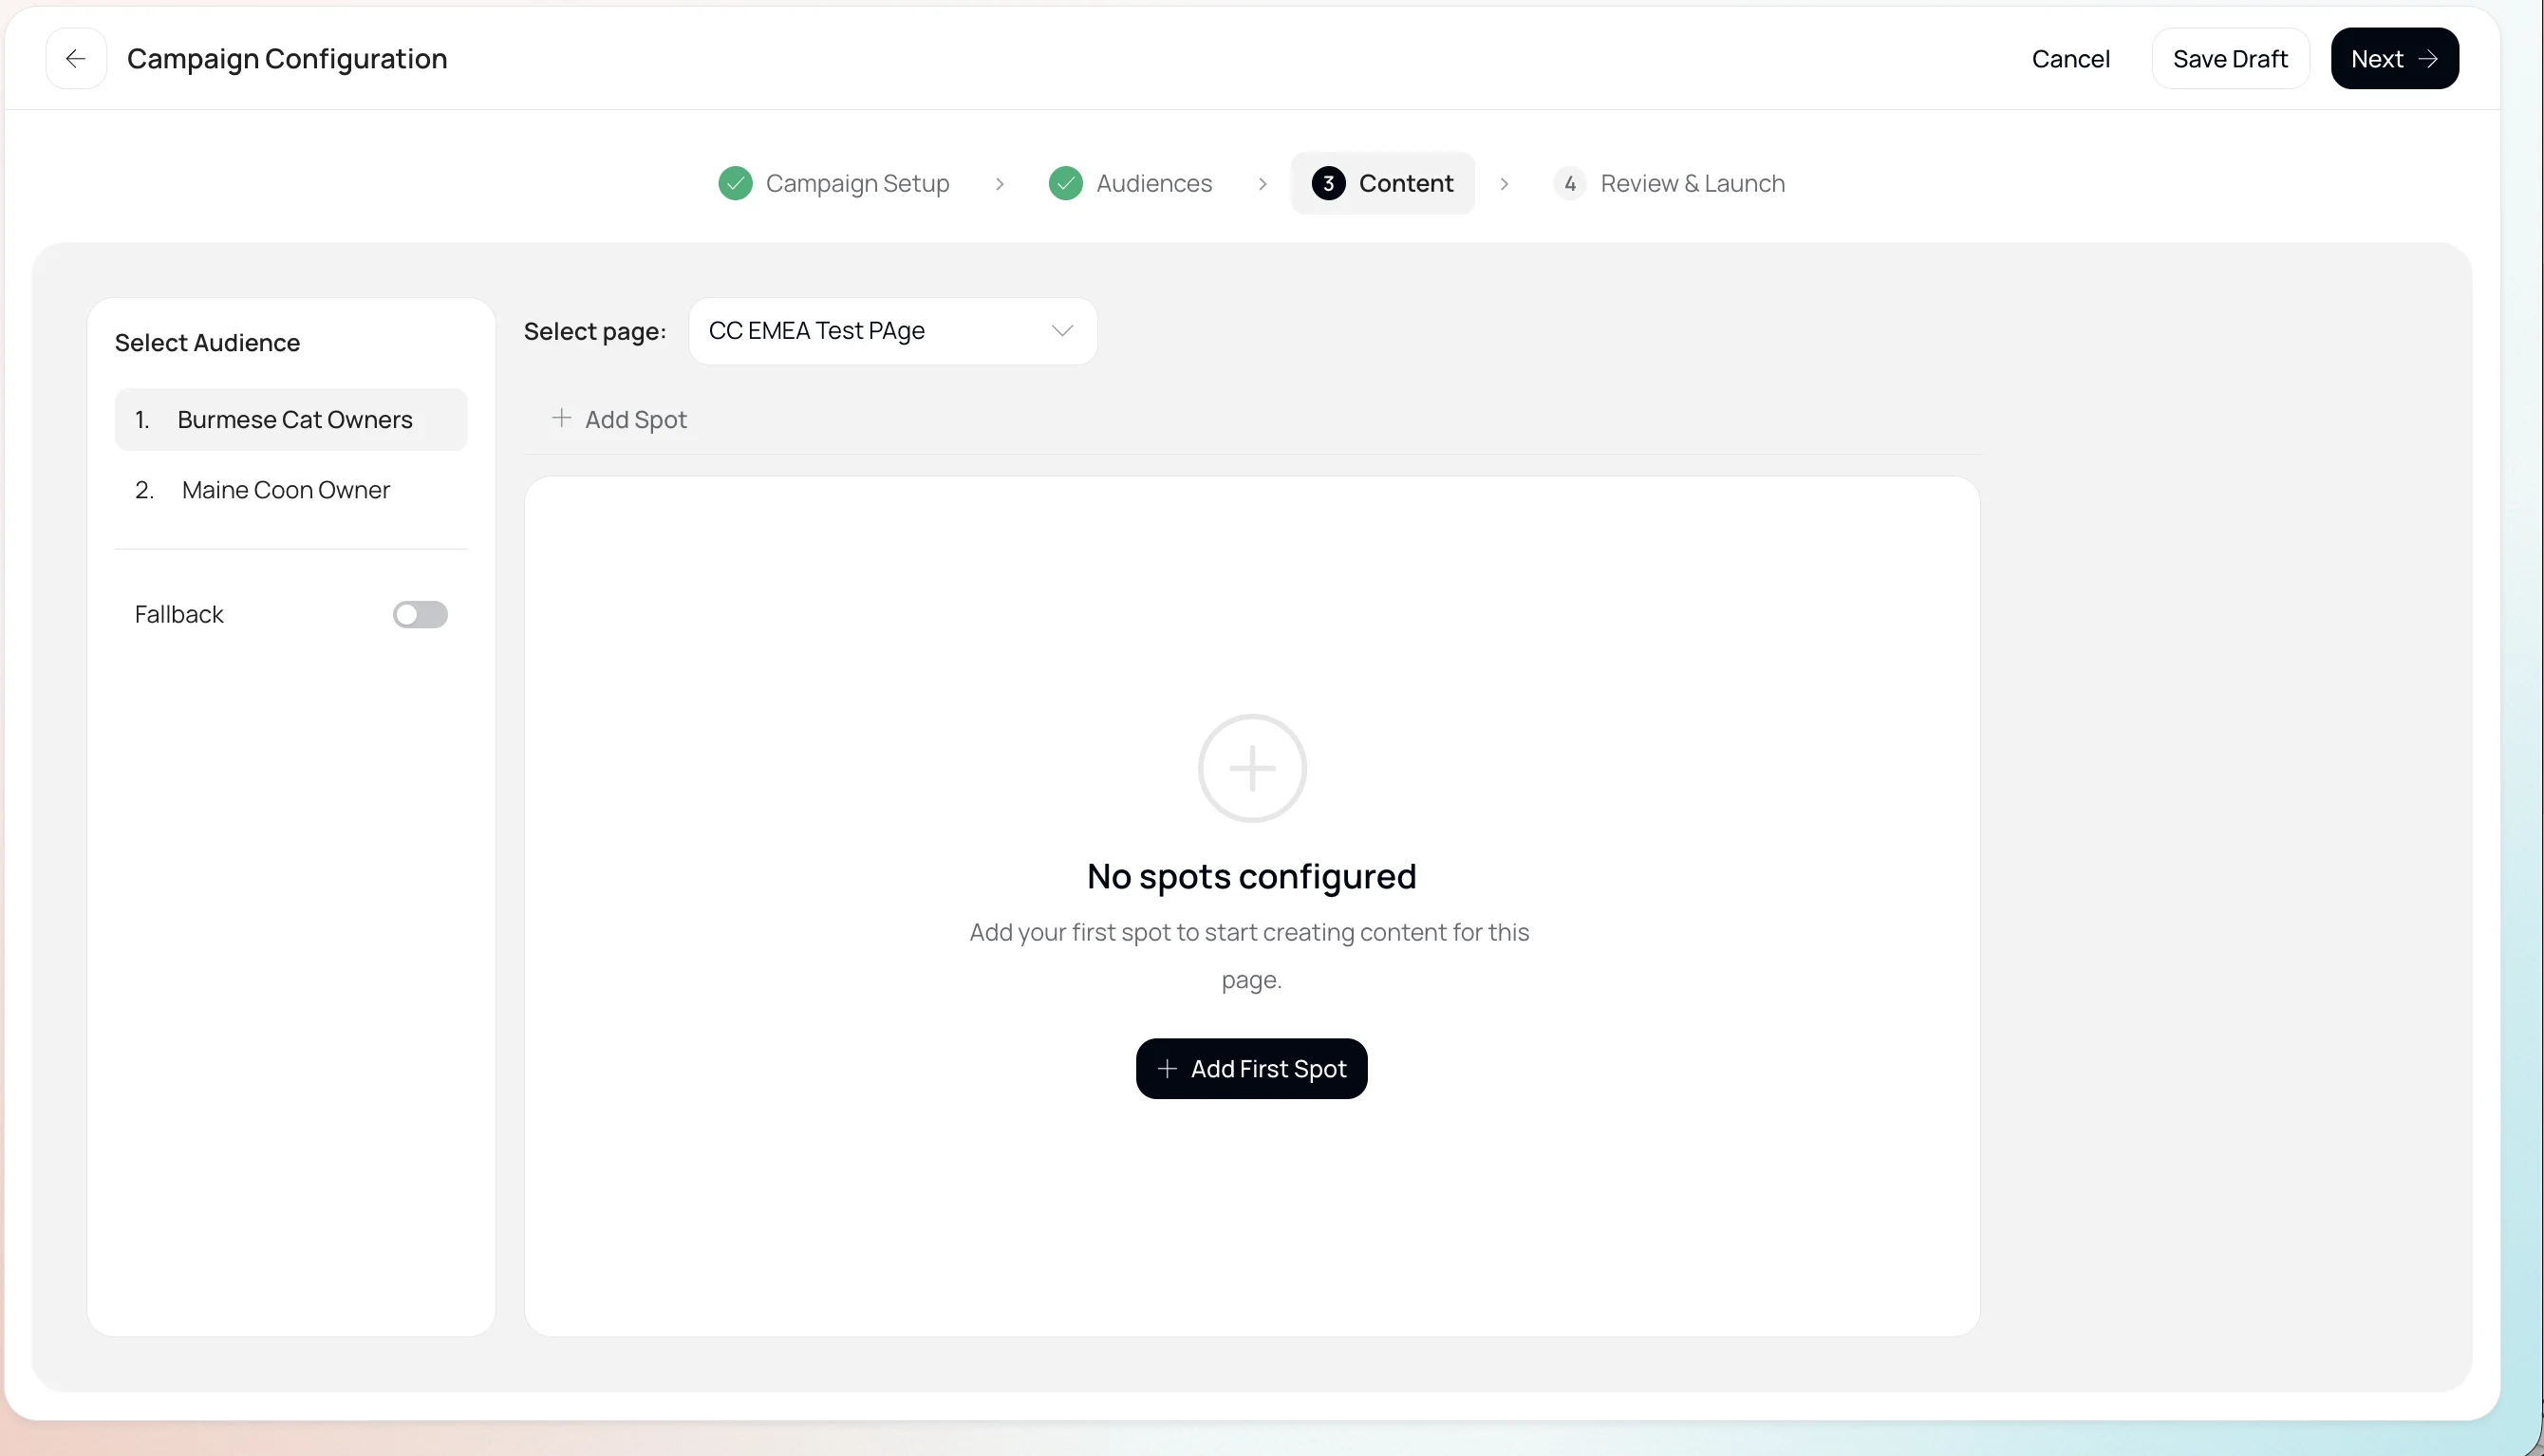
| Content Type | Description | Example |
|---|---|---|
| Static Image | Provide an external image URL. Images are referenced by URL, not uploaded directly. | Hero banner background image |
| Static Text | Plain hardcoded text with formatting options (color, font, alignment). | "Welcome to our Spring Sale" |
| CTA Button | Configurable button with text, link URL, position, and sizing. | "Shop Now" linking to /sale |
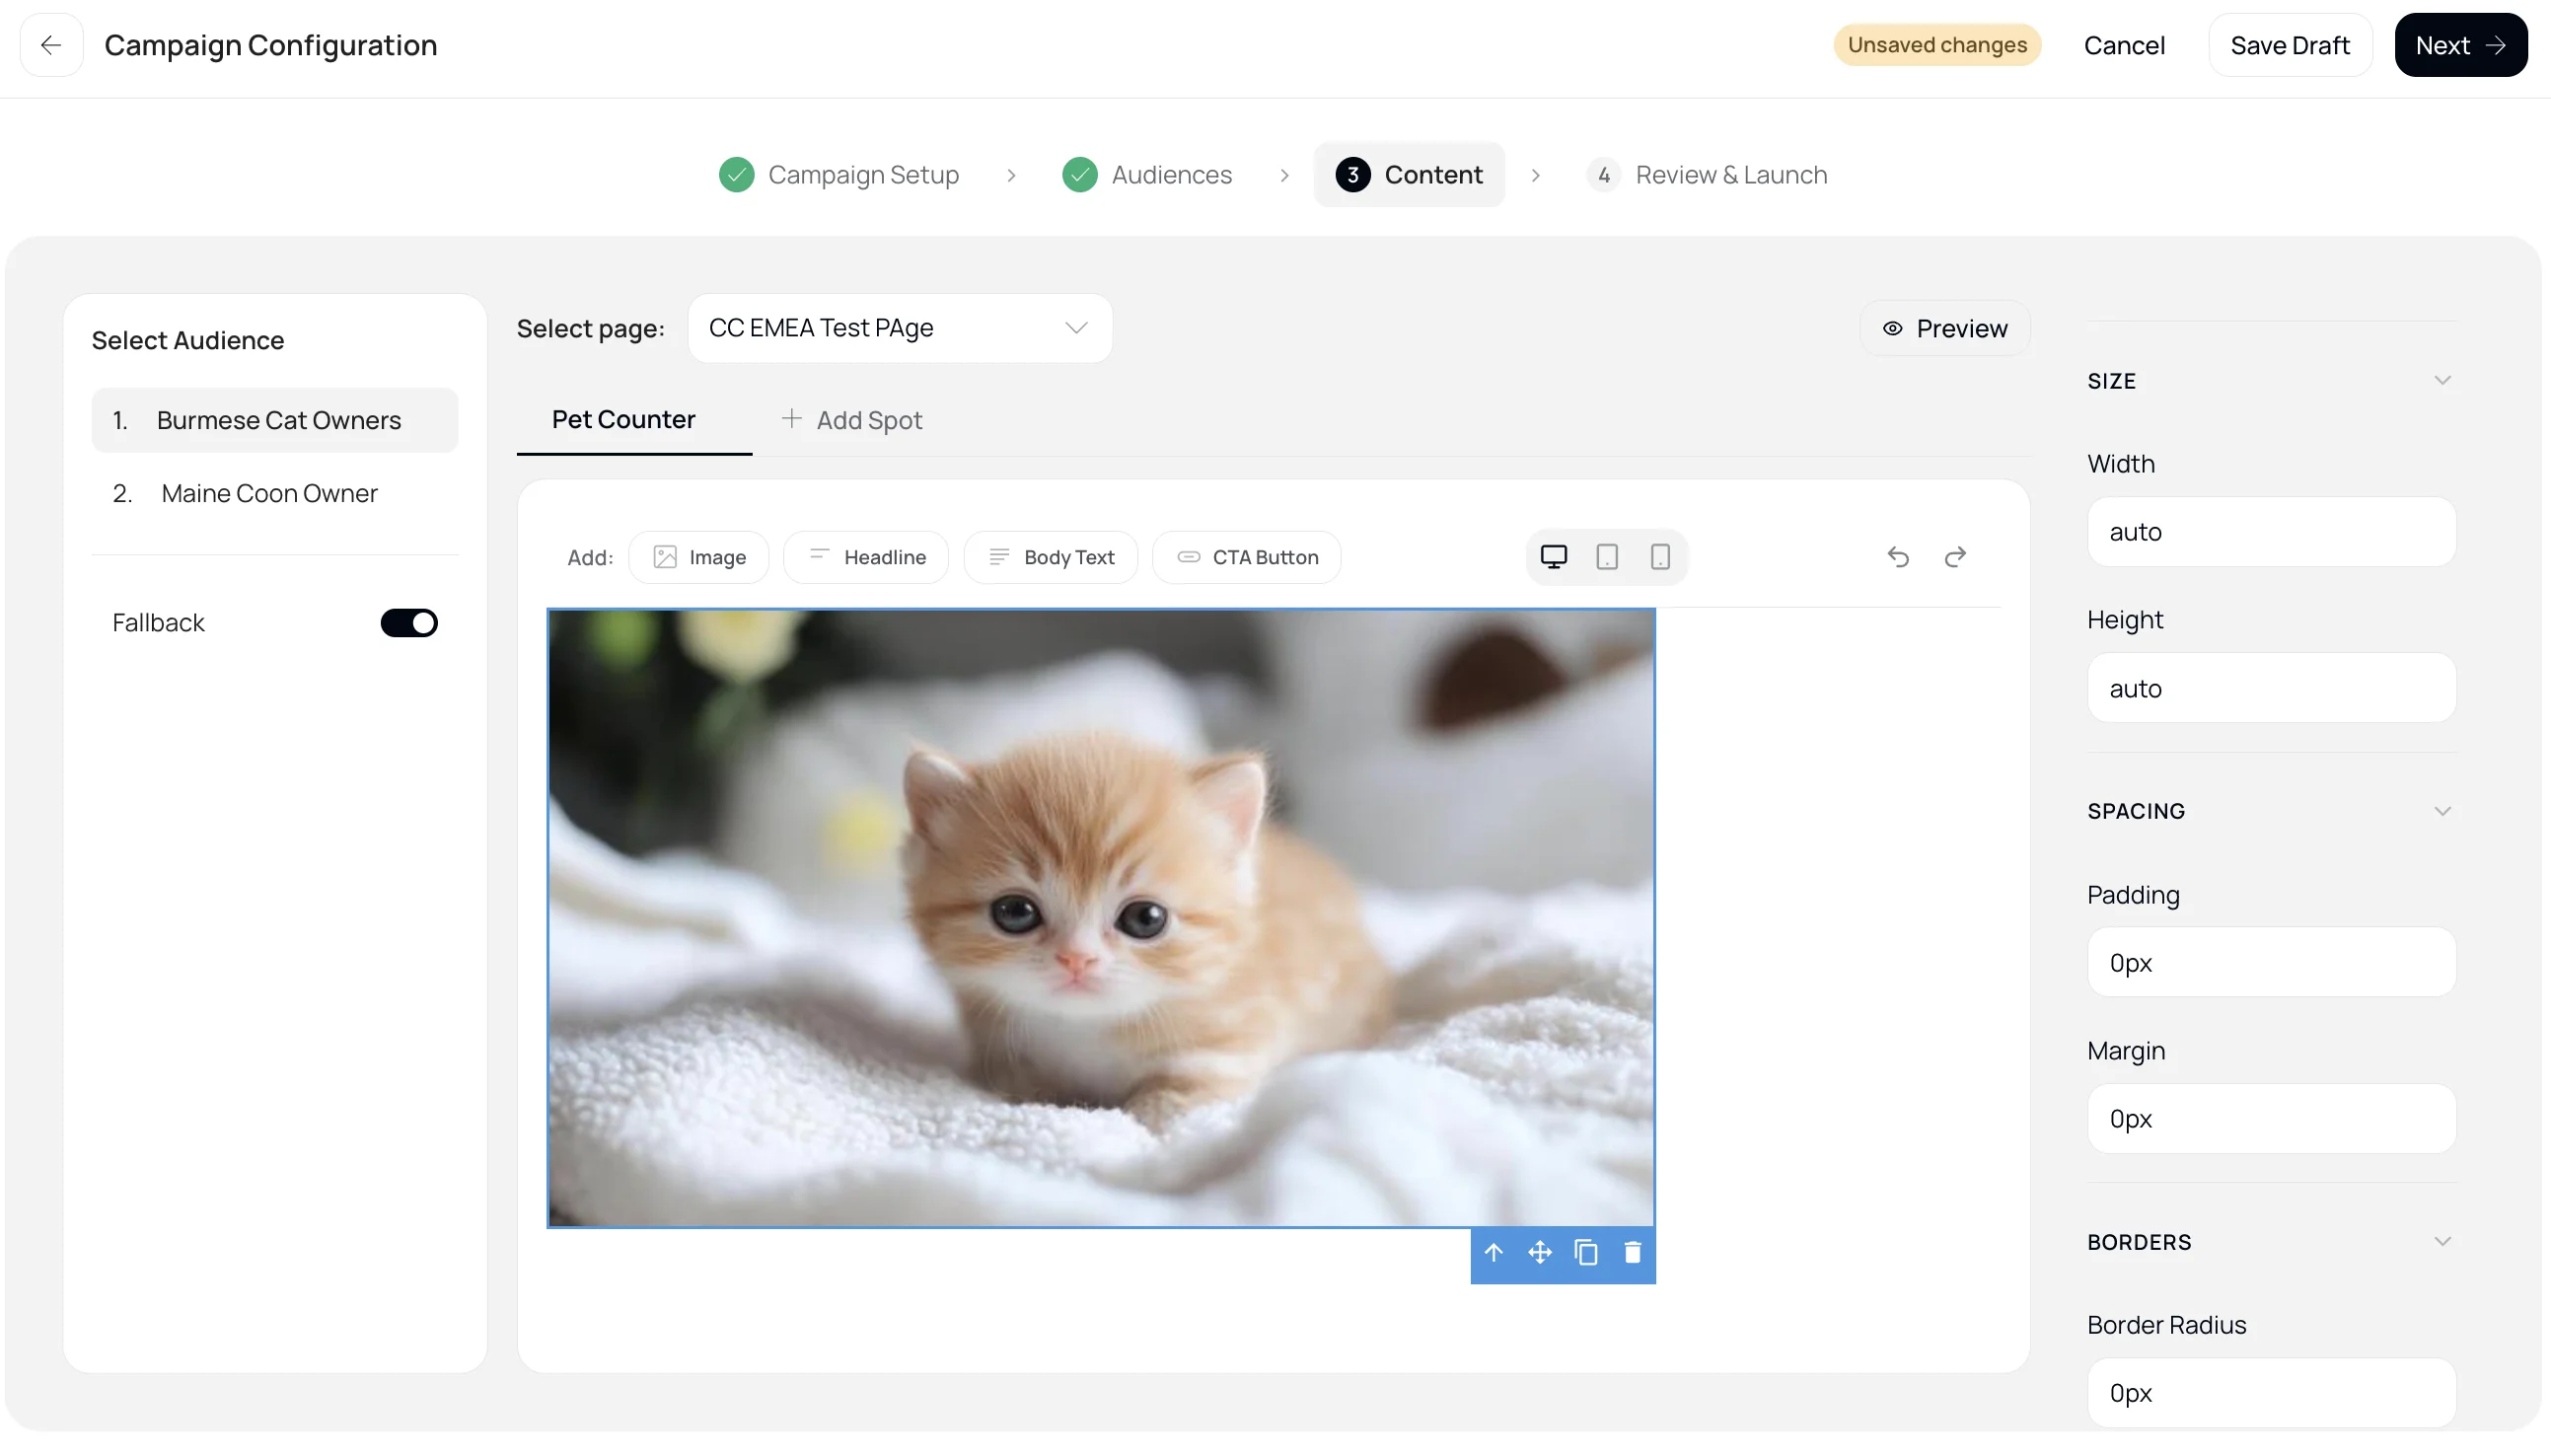
The content editor lets you:
- Position images, text, and buttons within the content spot
- Format text with color, font, and alignment options
- Add images via external URL
- Add and configure CTA buttons (text, link, position, size)
For each content spot, configure what non-targeted visitors see:
- Use existing website content — no change is made to the content spot (default behavior).
- Replace with static content — set a static image, text, and/or CTA that all non-targeted visitors see.
| Audience | Image | Text | CTA |
|---|---|---|---|
| Fallback | spring-sale-generic.jpg | "Spring Sale: 20% Off Everything" | Shop Now → /sale |
| New Visitors | spring-welcome.jpg | "Welcome — 20% Off Your First Order" | Start Shopping → /sale?new=true |
| Loyalty Members | spring-vip.jpg | "VIP Early Access: Shop First" | Shop Exclusives → /sale/vip |
Before launching, preview how your personalization looks for specific profiles:
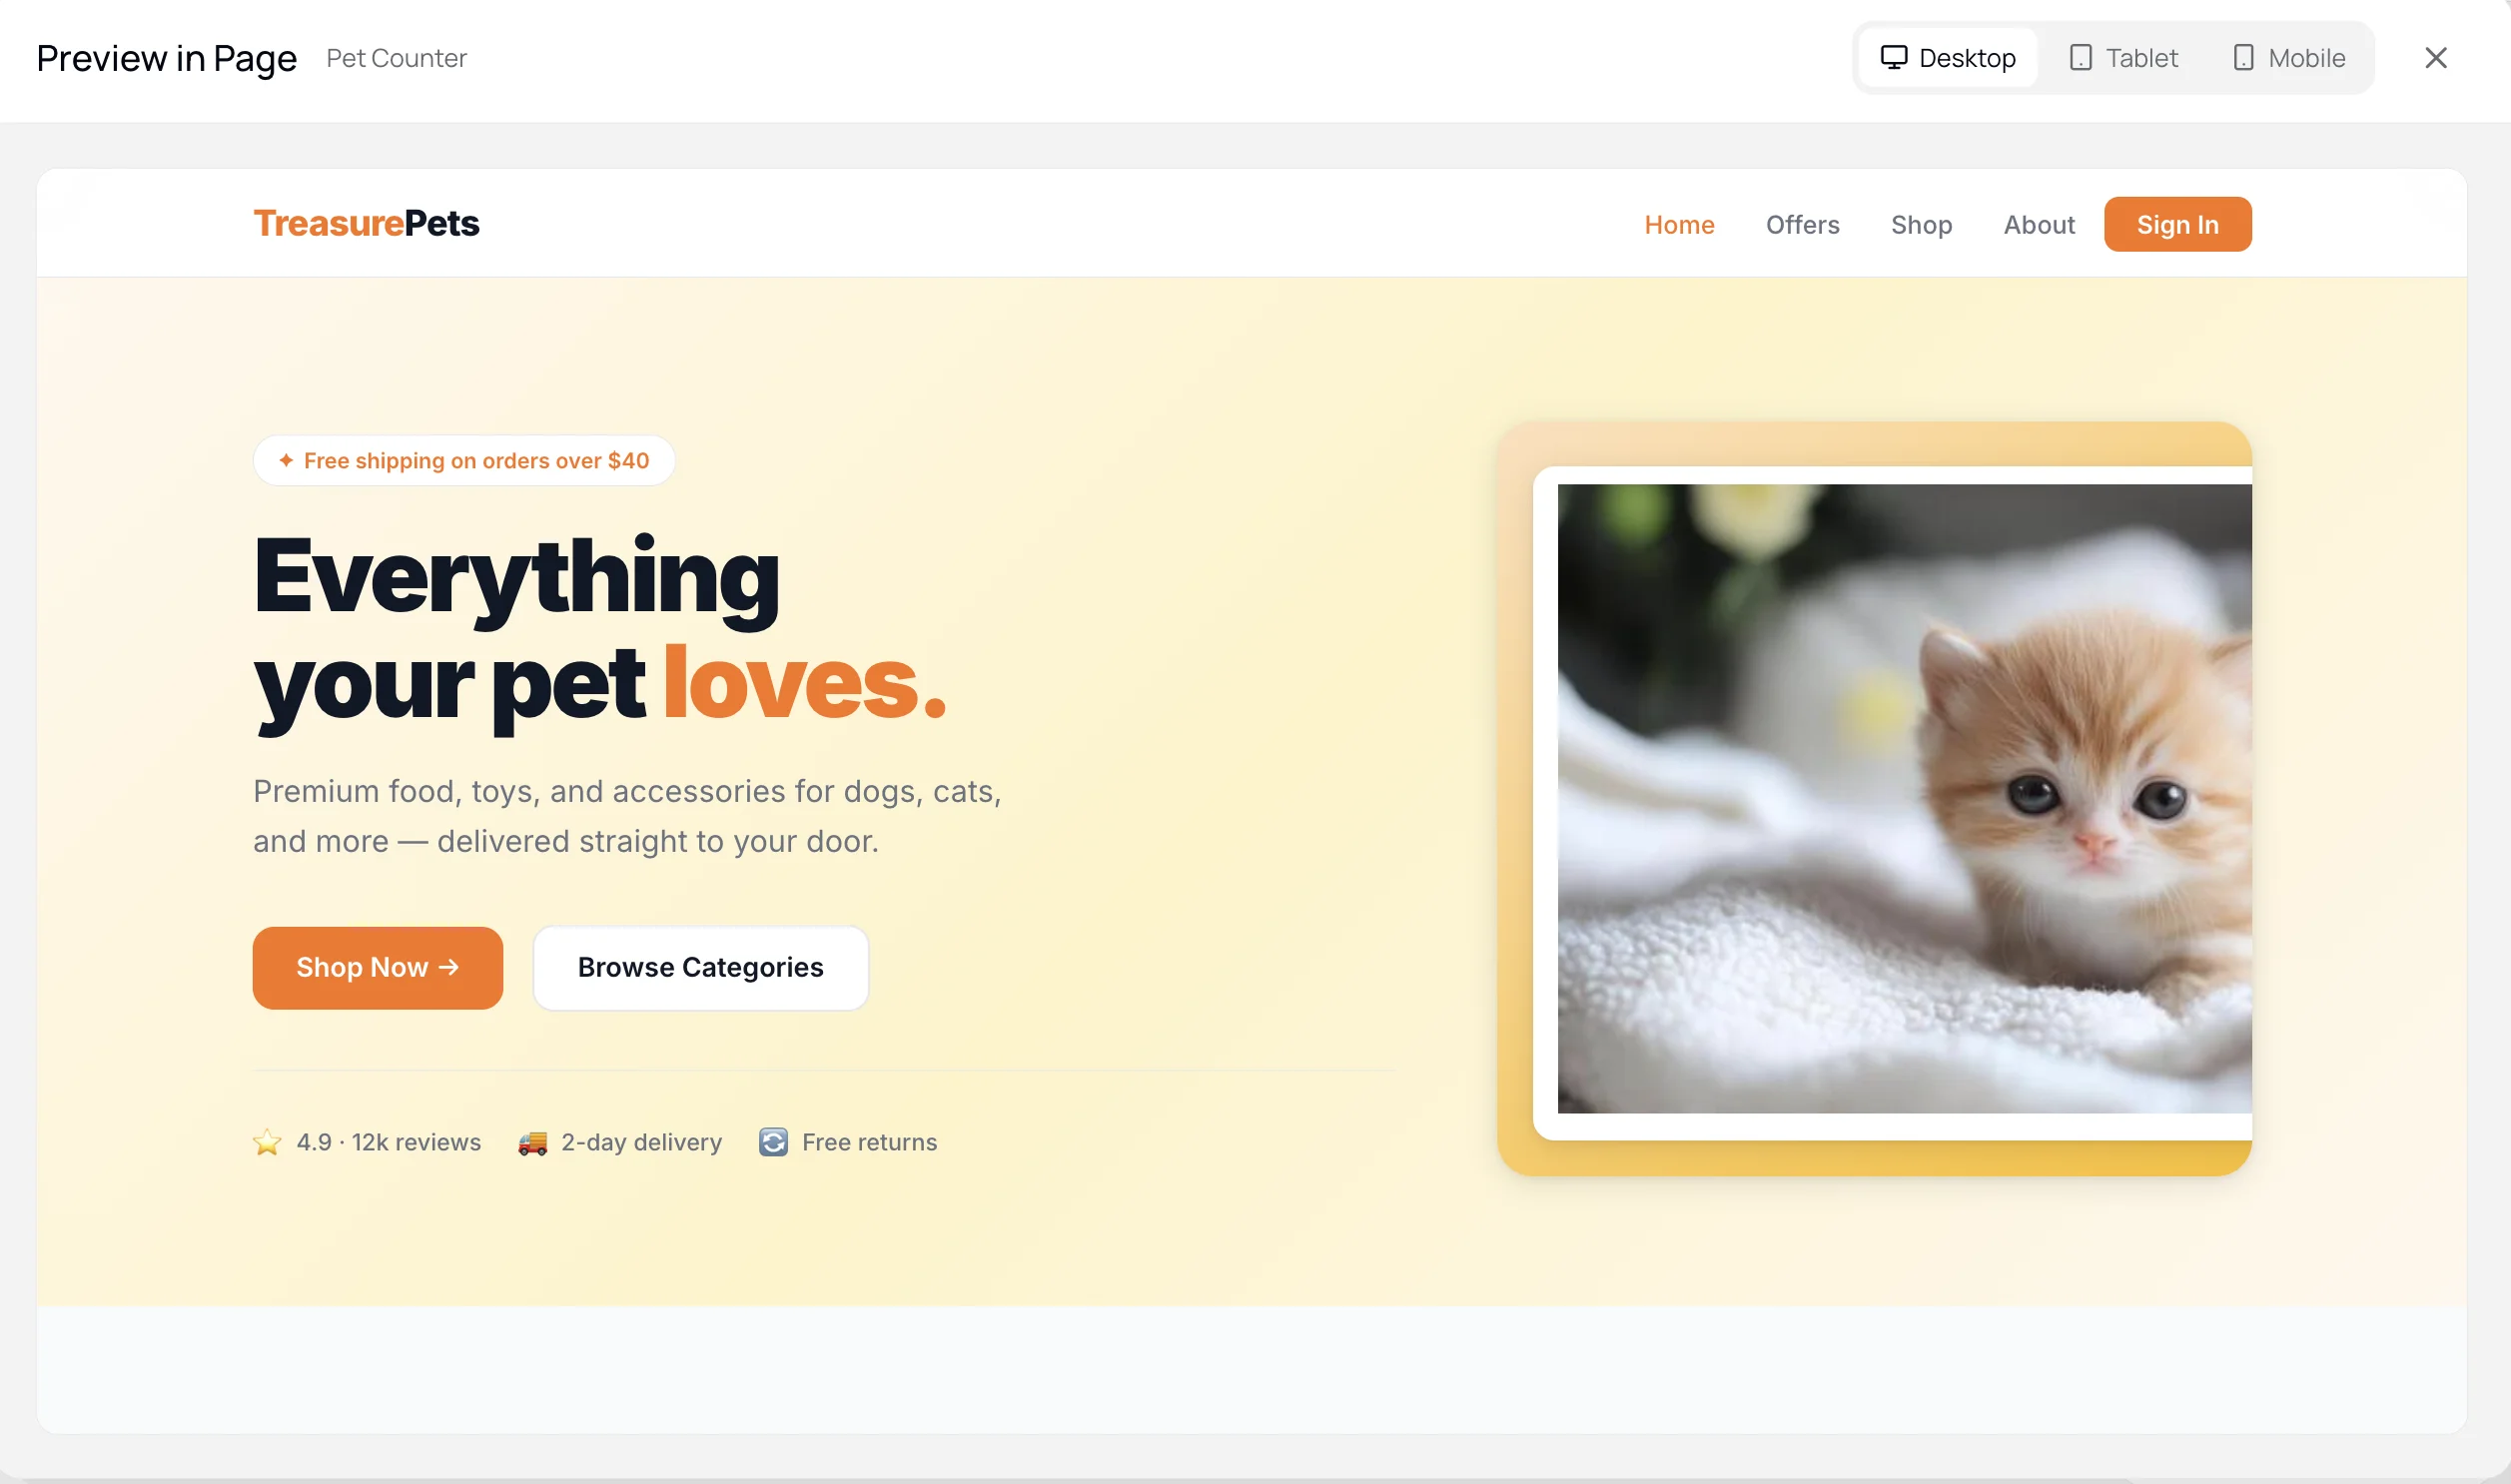
- Select a profile from your audience.
- Preview personalized content within the website context, one content spot at a time.
- Test across responsive viewports:
| Viewport | Resolution |
|---|---|
| Desktop | 1920x1080 |
| Mobile | 360x640 to 430x932 |
| Tablet | 768x1024 |
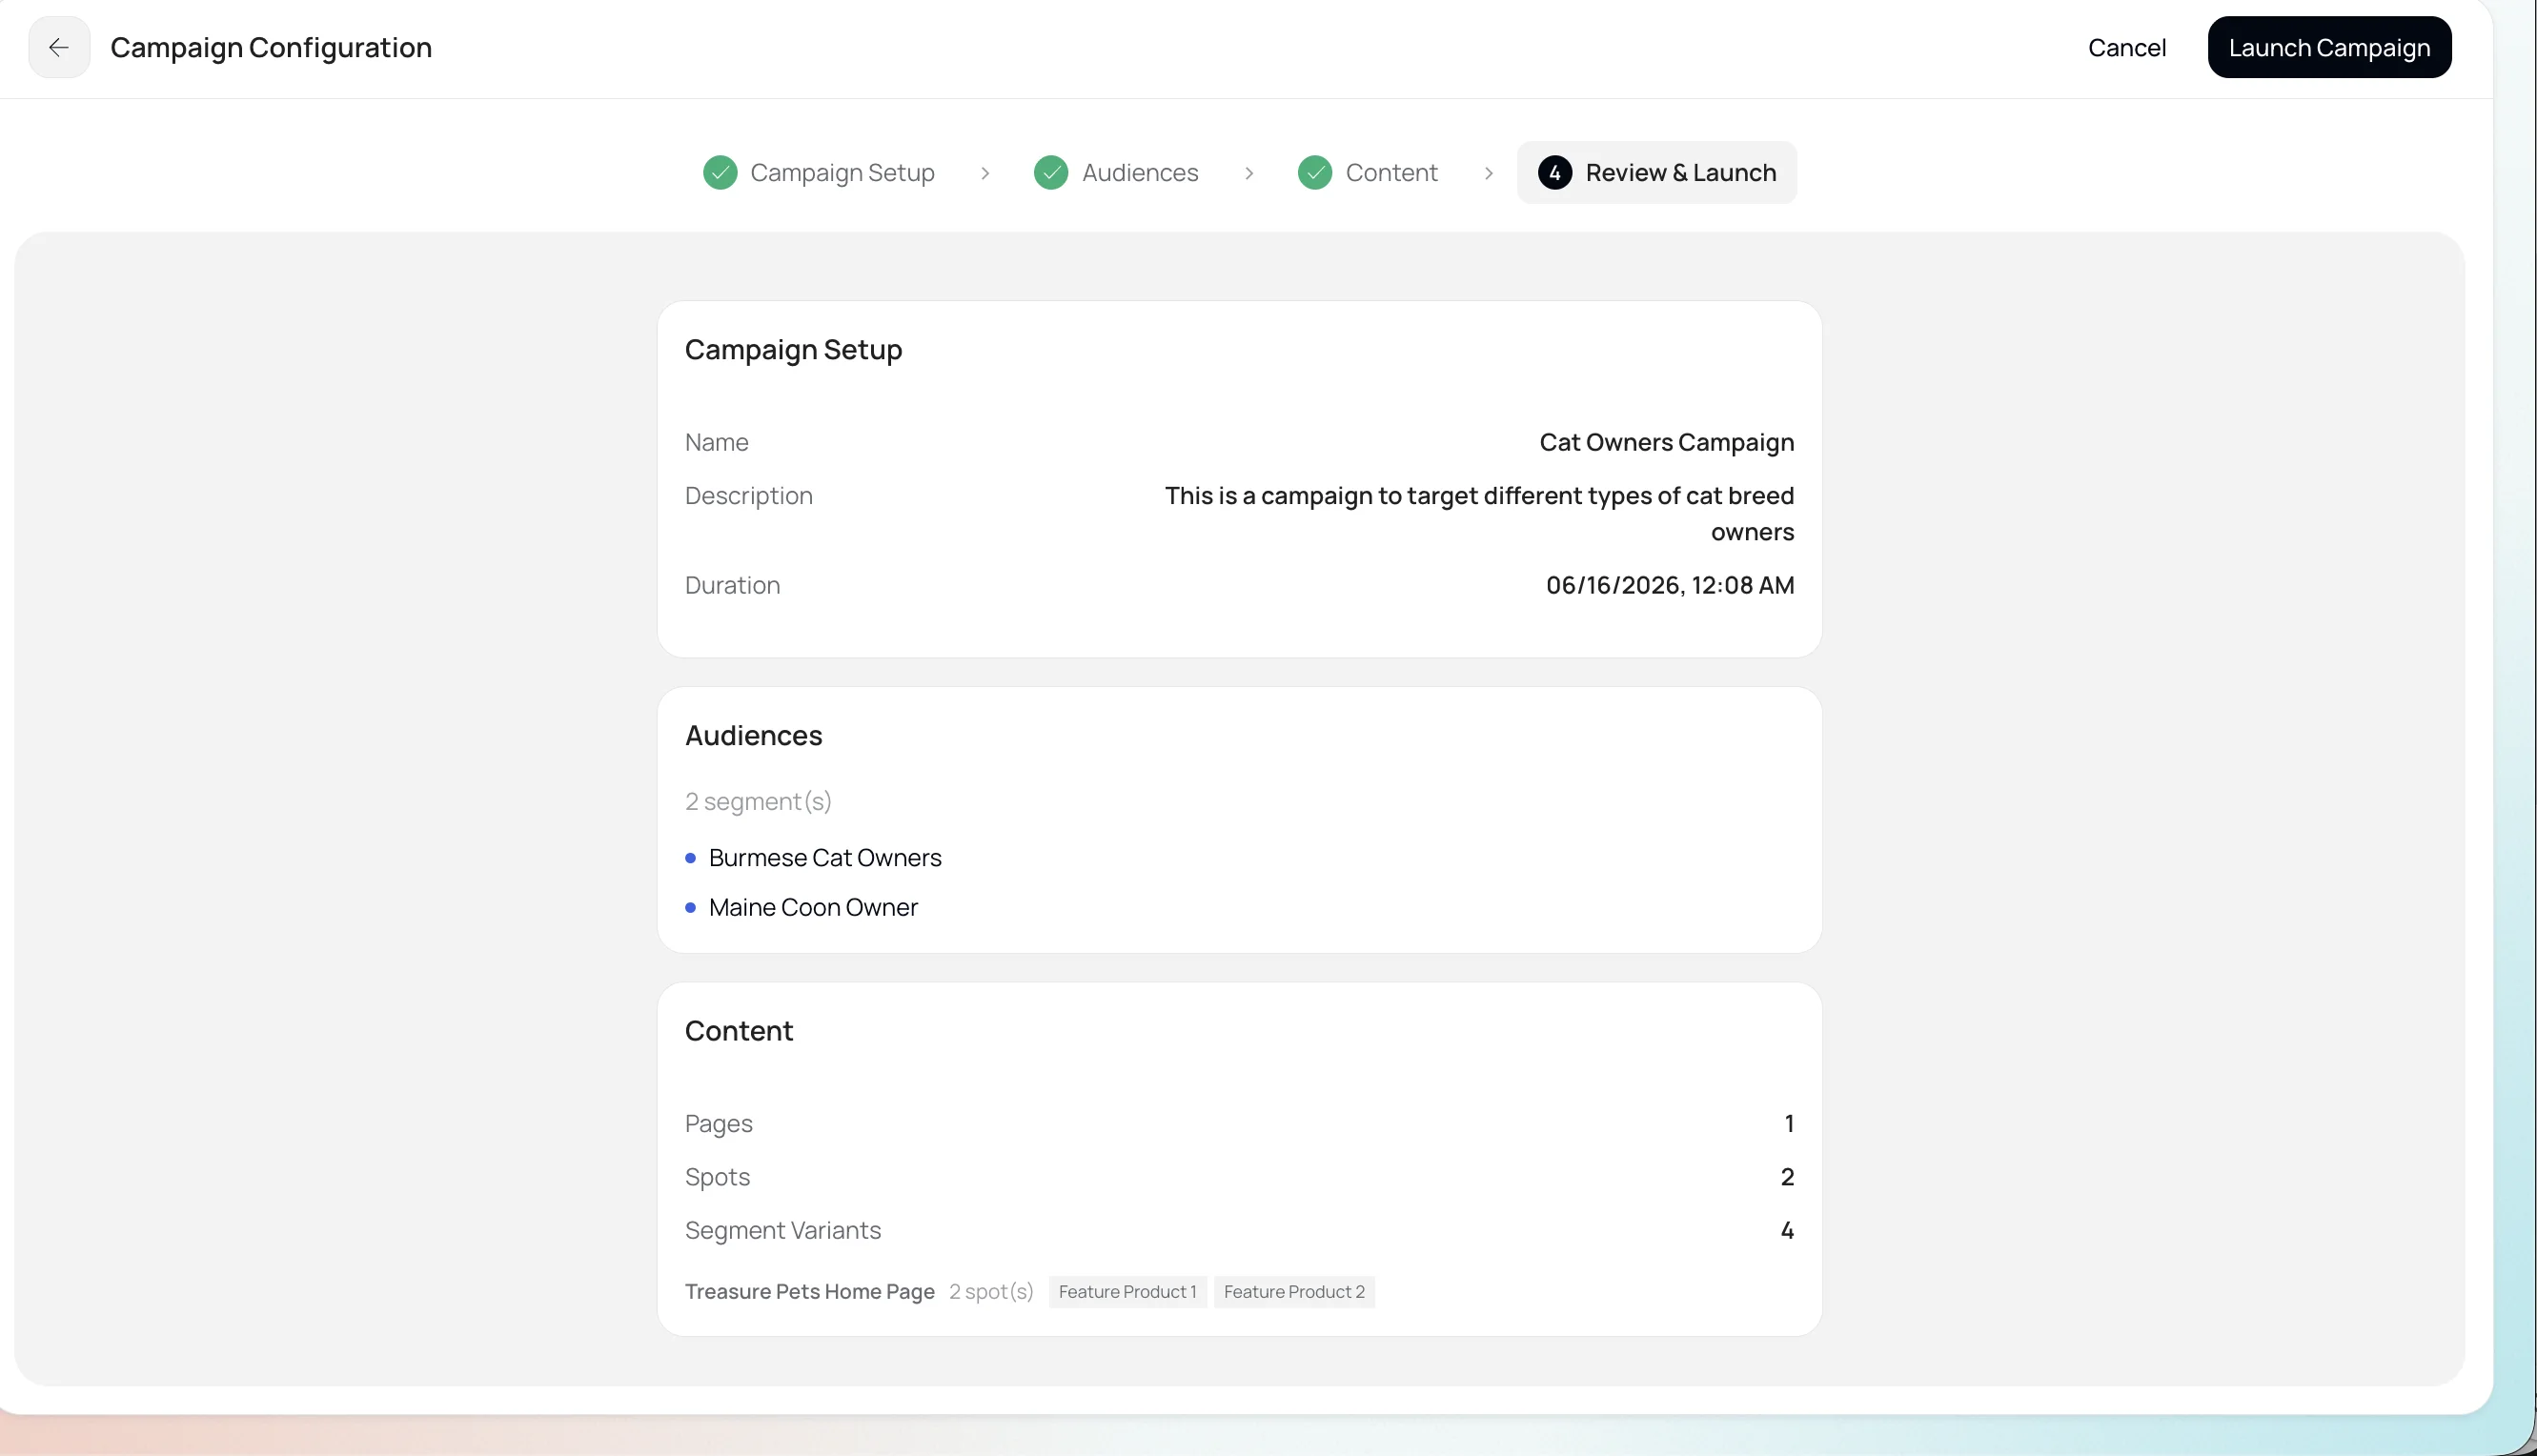
- Verify the campaign schedule (start datetime, end datetime and timezone).
- Click Launch Campaign
- Wait for 5-10 minutes
- Verify the campaign launched successfully by visiting the personalized website. Ensure the following things:
- Personalized website emits the correct event and attributes to match the audience
- Campaign start and end time are accurate
When a campaign is active:
- A visitor loads your website page.
- The Web SDK sends the event to the Personalization endpoint which checks audience membership.
- The Personalization endpoint responds with the personalized creative asset for the matching audience.
- The SDK replaces the content spot's DOM element with the personalized content.
This walkthrough shows a complete campaign from start to finish.
Goal: Drive conversions with segment-specific spring offers — 20% off for new visitors, VIP early access for loyal members.
- Create Campaign — navigate to Campaigns, click Create Campaign. Name it "Spring Sale 2026" with a description "Drive conversions with segment-specific spring offers." Set dates: May 1–15.
- Set Trigger & Audiences — select the page view trigger event. Assign the "Hero Banner". Add "New Visitors" and "Gold Loyalty Members" audiences. Drag "Gold Loyalty Members" above "New Visitors" to give loyalty members priority.
- Design Creatives — for the Hero Banner + New Visitors pair, add a welcome image, "Welcome — 20% Off Your First Order" text, and a "Start Shopping" CTA. For Gold Loyalty Members, add a VIP image, "VIP Early Access: Shop First" text, and a "Shop Exclusives" CTA. Set the fallback to a generic spring sale banner.
- Preview & Launch — preview both audience experiences across Desktop and Mobile viewports. Launch the campaign.
- Monitor — check the reporting database table for impressions, clicks, and CTR by audience.