Mobile In-App Messaging is currently in Beta. A native SDK for simplified integration is planned for a future release. For information on the current implementation method, contact your Customer Success Manager.
Treasure Data's Mobile In-App Messaging feature in Engage Studio lets marketers deliver personalized, visually rich messages directly inside a mobile app. Unlike push notifications, in-app messages appear while the user is actively engaging with the app, making them ideal for onboarding flows, promotional offers, and contextual announcements.
Before creating an in-app message, confirm the following setup is complete:
- RT 2.0 is enabled for your Treasure account.
- RT events are instrumented in your mobile app and flowing into Treasure Data.
- ID stitching is configured so user identities are resolved across events.
- A Realtime Personalization entry and section are created in Audience Studio using the relevant parent segment.
- Your mobile app is implemented to call the RT 2.0 Personalization API and render the returned HTML as a popup.
In Engage Studio, navigate to IN-PRODUCT EXPERIENCES > In-App Messages to see all in-app messages in your workspace. Each row shows:
- Status — Draft, Live, or Paused
- Message ID — System-generated unique identifier
- Name — Campaign name
- Parent Segment — The RT 2.0 parent segment used for targeting
- Last Updated — Timestamp of the most recent change
Click + Create in-app message in the top right to create a new campaign.
Creating an in-app message involves two steps.
Configure targeting by selecting:
- Target Parent Segment — The RT 2.0 parent segment that defines the pool of users eligible to receive this message.
- Personalization — An existing RT 2.0 Personalization that controls real-time delivery based on entry criteria defined in the Personalization Section.
- Personalization section — The specific section within the selected Personalization that will carry this message's content.
These must be configured in Audience Studio before creating an in-app message in Engage Studio.
Configure the message details and design:
- Message ID — Auto-generated unique identifier for this message.
- Name (required) — Display name for the message, shown in the In-App Messages list.
- Description (optional) — Internal notes about the message.
- Message Content — Design the modal that will be shown to users in the app.
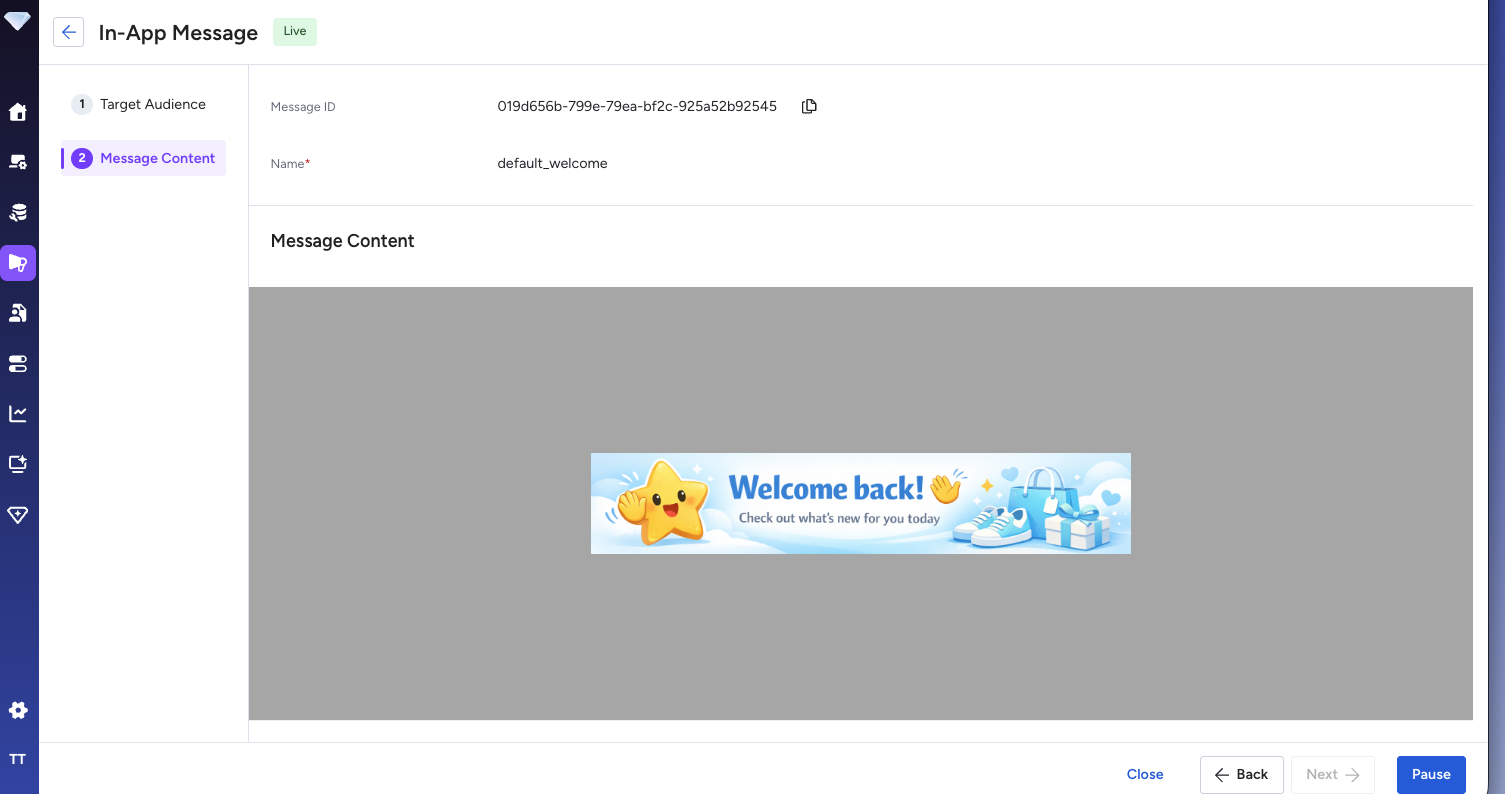
When creating a new message (Draft status), click + Create in-app message to open the drag-and-drop editor. Once saved, the Message Content section shows a preview of the designed modal.
The editor provides three tabs in the right panel:
- CONTENT — Add and configure content blocks such as images, text, and buttons. Selecting a block reveals its properties (for example, image URL, alt text, alignment, rounded corners, and action links).
- ROWS — Manage the row layout of the modal.
- SETTINGS — Configure global settings for the modal such as background color and padding.
Use Preview mode (toggle at the top left) to see how the modal will appear to users. Click Done to save the design and return to the message settings.
At the bottom of the page, use the navigation buttons to move between steps:
- Back — Return to the Target Audience step.
- Next — Proceed (available when required fields are complete).
- Pause / Launch — Change the campaign status directly from this screen.
Once the message content is complete, click Launch to make the message live. Engage Studio automatically updates the in-app message settings in the String Builder configuration of the linked RT 2.0 Personalization section. Note that delivery depends on RT 2.0 propagation and may not be reflected in the app immediately after launching.
To stop delivery, click Pause. This removes the in-app message settings from the String Builder configuration within the linked Personalization section. You can re-launch the message at any time after making edits.
An in-app message moves through the following states:
DRAFT ──launch──> LIVE ──pause──> PAUSED ──launch──> LIVE- Draft: Created but not yet delivered. All settings can be edited freely.
- Live: Actively delivering to users. Settings cannot be edited; pause the campaign first to make changes.
- Paused: Delivery stopped. All settings can be edited before re-launching.
Mobile In-App Messaging is built on top of Realtime Personalization 2.0 (RT 2.0). When a user triggers an event in your mobile app (such as a page view or session start), the customer app calls the RT 2.0 Personalization API. If a matching in-app message is configured and the user belongs to the target segment, the API returns the message HTML, which the app renders as a modal overlay. The message content can optionally be cached in the customer app to reduce API calls on repeated views.
When you Launch an in-app message in Engage Studio, the platform automatically updates the linked RT 2.0 Personalization section with the message payload. The section carries three string builder outputs that the customer app reads at runtime:
td_in_app.versions— Version metadata for the message.td_in_app.messages— A JSON array of message objects. Each object contains the following fields:Field Type Description idstring (UUID) Unique identifier for the message. typestring Message type. Currently always modal.content_htmlstring Full HTML content of the modal rendered by the app. td_in_app.created_at_milliseconds— Creation timestamp used for cache invalidation.
Pausing a message removes the in-app message settings from the String Builder configuration so the app no longer receives it.
The customer app calls the P13N API on the relevant event (for example, app_open), parses the td_in_app.messages field from the response, and renders the HTML as a popup. The exact display method currently depends on the customer's own app implementation. A Treasure Data SDK that handles this automatically is planned for a future release.
1. User opens the app or navigates to a screen
        ↓
2. Customer app calls the RT 2.0 Personalization API
        ↓
3. Personalization API evaluates targeting (parent segment + section)
        ↓
4. If a matching in-app message exists → API returns message HTML
        ↓
5. Customer app renders the HTML as a modal overlay
        ↓
6. User views, interacts with, or dismisses the message