You can create a real-time journey to interact with existing or potential customers within minutes.
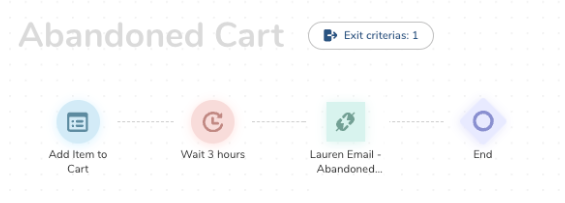
A real-time journey supports the following events:
- Wait step: Customize a user's experience by defining the cadence of interaction to ensure optimum engagement.
- Real-time triggered activations: Create time-sensitive activations that enable personalized contact with a user within minutes after a purchase or subscription.
A triggered activation should follow a wait step. The system will wait for the specified time before triggering the activation.
- End step: A visual indicator that profiles take no further action in the journey flow unless they qualify for a milestone or exit criteria.
- Permissions :
Full Control:
- Create, modify, or delete any journeys in the selected and child folders.
- Retrieve a list of profiles as well as customer endpoints.
View: View real-time journeys in the selected and child folders.
- Entry-stage criteria : A real-time journey stage requires entry criteria to start the journey's progress.
- Milestone : When a journey has multiple stages, milestones are applied to the subsequent stages to move profiles to the next stage. Milestones are not needed in the last stage of the journey.
You can create a journey goal, entry criteria, and milestones when you create rules for each stage.
- When creating a journey with 120 events, limit your activations to less than 50 for better performance.
- Each stage in a journey can support a maximum of 40 events.
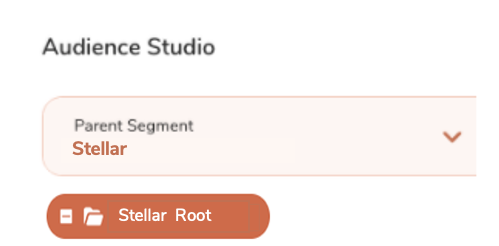
- Navigate to the Audience Studio.
- Select a parent segment from the dropdown.
- The root folder for the parent segment is highlighted. You can create a real-time journey in the route folder or a sub-folder. To create a journey within a sub-folder, highlight that folder.
- Select Create new.
All tasks available in the right drop-down menu are also available when you right-click an element in the left folder.
- Select Journey.
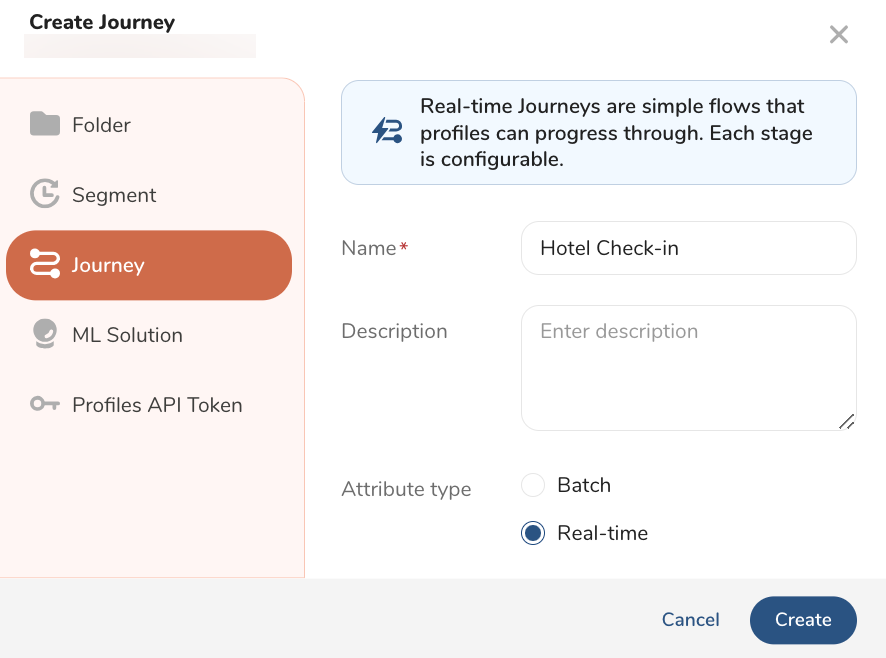
- Enter the journey name (name must be unique within a folder) and, optionally, enter a description.
- Select the Real-time attribute type.
- Every journey must have at least one stage. Stage names must be unique within the same journey. You can create 1 - 8 stages.
- Select Create. The Journey canvas displays so you can create rules and add events for each stage.
You can define whether or not profiles can re-enter a real-time journey. Re-entry settings control what happens when a profile that has already been through the journey qualifies for entry again.
You can only configure re-entry settings when a journey is in draft mode.
- Open the journey and select the pencil icon to edit journey details.
- Under Re-entry of Profiles, choose one of the following options:
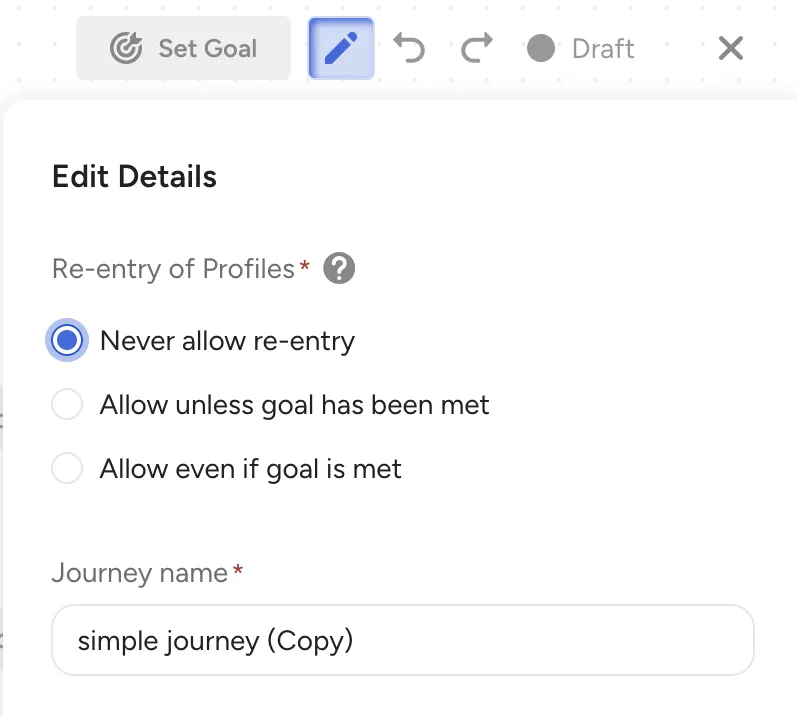
- Never allow re-entry: Profiles can only enter the journey once. After a profile exits the journey — whether by meeting the goal, exit criteria, or completing the journey — the profile cannot re-enter, even if it qualifies for the stage entry criteria again.
- Allow unless goal has been met: Profiles can re-enter the journey unless they have already met the journey goal.
- Allow even if goal is met: Profiles can always re-enter the journey, regardless of whether they previously met the goal.
- Select Save details.
The following table describes how each re-entry option affects profile behavior.
| Profile meets | Never allow re-entry | Allow unless goal has been met | Allow even if goal is met |
|---|---|---|---|
| Exit criteria (exits journey) | Cannot re-enter | Can re-enter | Can re-enter |
| Goal (exits journey) | Cannot re-enter | Cannot re-enter | Can re-enter |
| Jump from a different journey | Cannot re-enter if the profile has previously entered this journey | Can re-enter unless goal was met | Can re-enter |
When Never allow re-entry is selected, profiles that have previously entered the journey cannot jump into it from another journey, even if they qualify. Profiles that have never entered the journey can still jump in. For more details, see Creating a Jump for a Real-Time Journey.
Goal completion has no expiry date, and the difference between the two "allow" options is what happens to the profile when it reaches the goal:
- With Allow even if goal is met, reaching the goal exits the profile from the journey. That exit is what makes it eligible to enter again later.
- With Allow unless goal has been met, reaching the goal does not exit the profile — it stays in the journey at the goal. Because it never leaves, it cannot enter again, however much time passes. A profile that converted a year ago is still blocked today.
The stale-profile timeout you set in exit criteria applies to the stages of a journey, not to the goal, so it does not release profiles that completed the goal. To reach past converters in a later campaign, select Allow even if goal is met when you create the journey, or build a separate journey, which evaluates every profile from scratch.