Within a journey stage, you can create a decision point to direct your user down a personalized path. A personalized journey might be based on attributes like High LTV vs. Low LTV or behaviors like Opened Email Offer vs. not opened email offer.
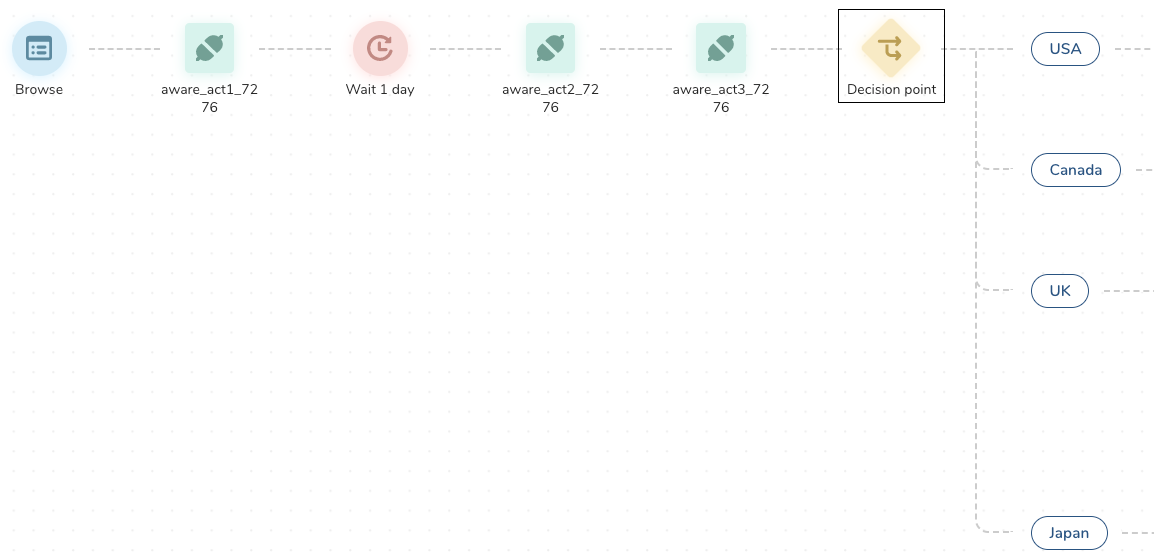
Let's use a simple example to create a decision point. Let's assume you have a single profile containing individuals from many countries. Instead of creating a separate journey stage for each geographic area, you can make a decision point that branches into your target paths.
A decision point evaluates its conditions from top to bottom and routes each profile down exactly one path — the first condition the profile matches. Plan your conditions with that in mind, especially when profiles can qualify for more than one of them. See Activating Profiles That Match More Than One Condition.
To avoid potential performance issues, limit the number of events in the Journey Canvas to approximately 34 when there are more than two layers of decision points in the journey.
- Open Treasure Console
- Navigate to Audience Studio.
- Navigate to a journey and open it.
- Select a stage.
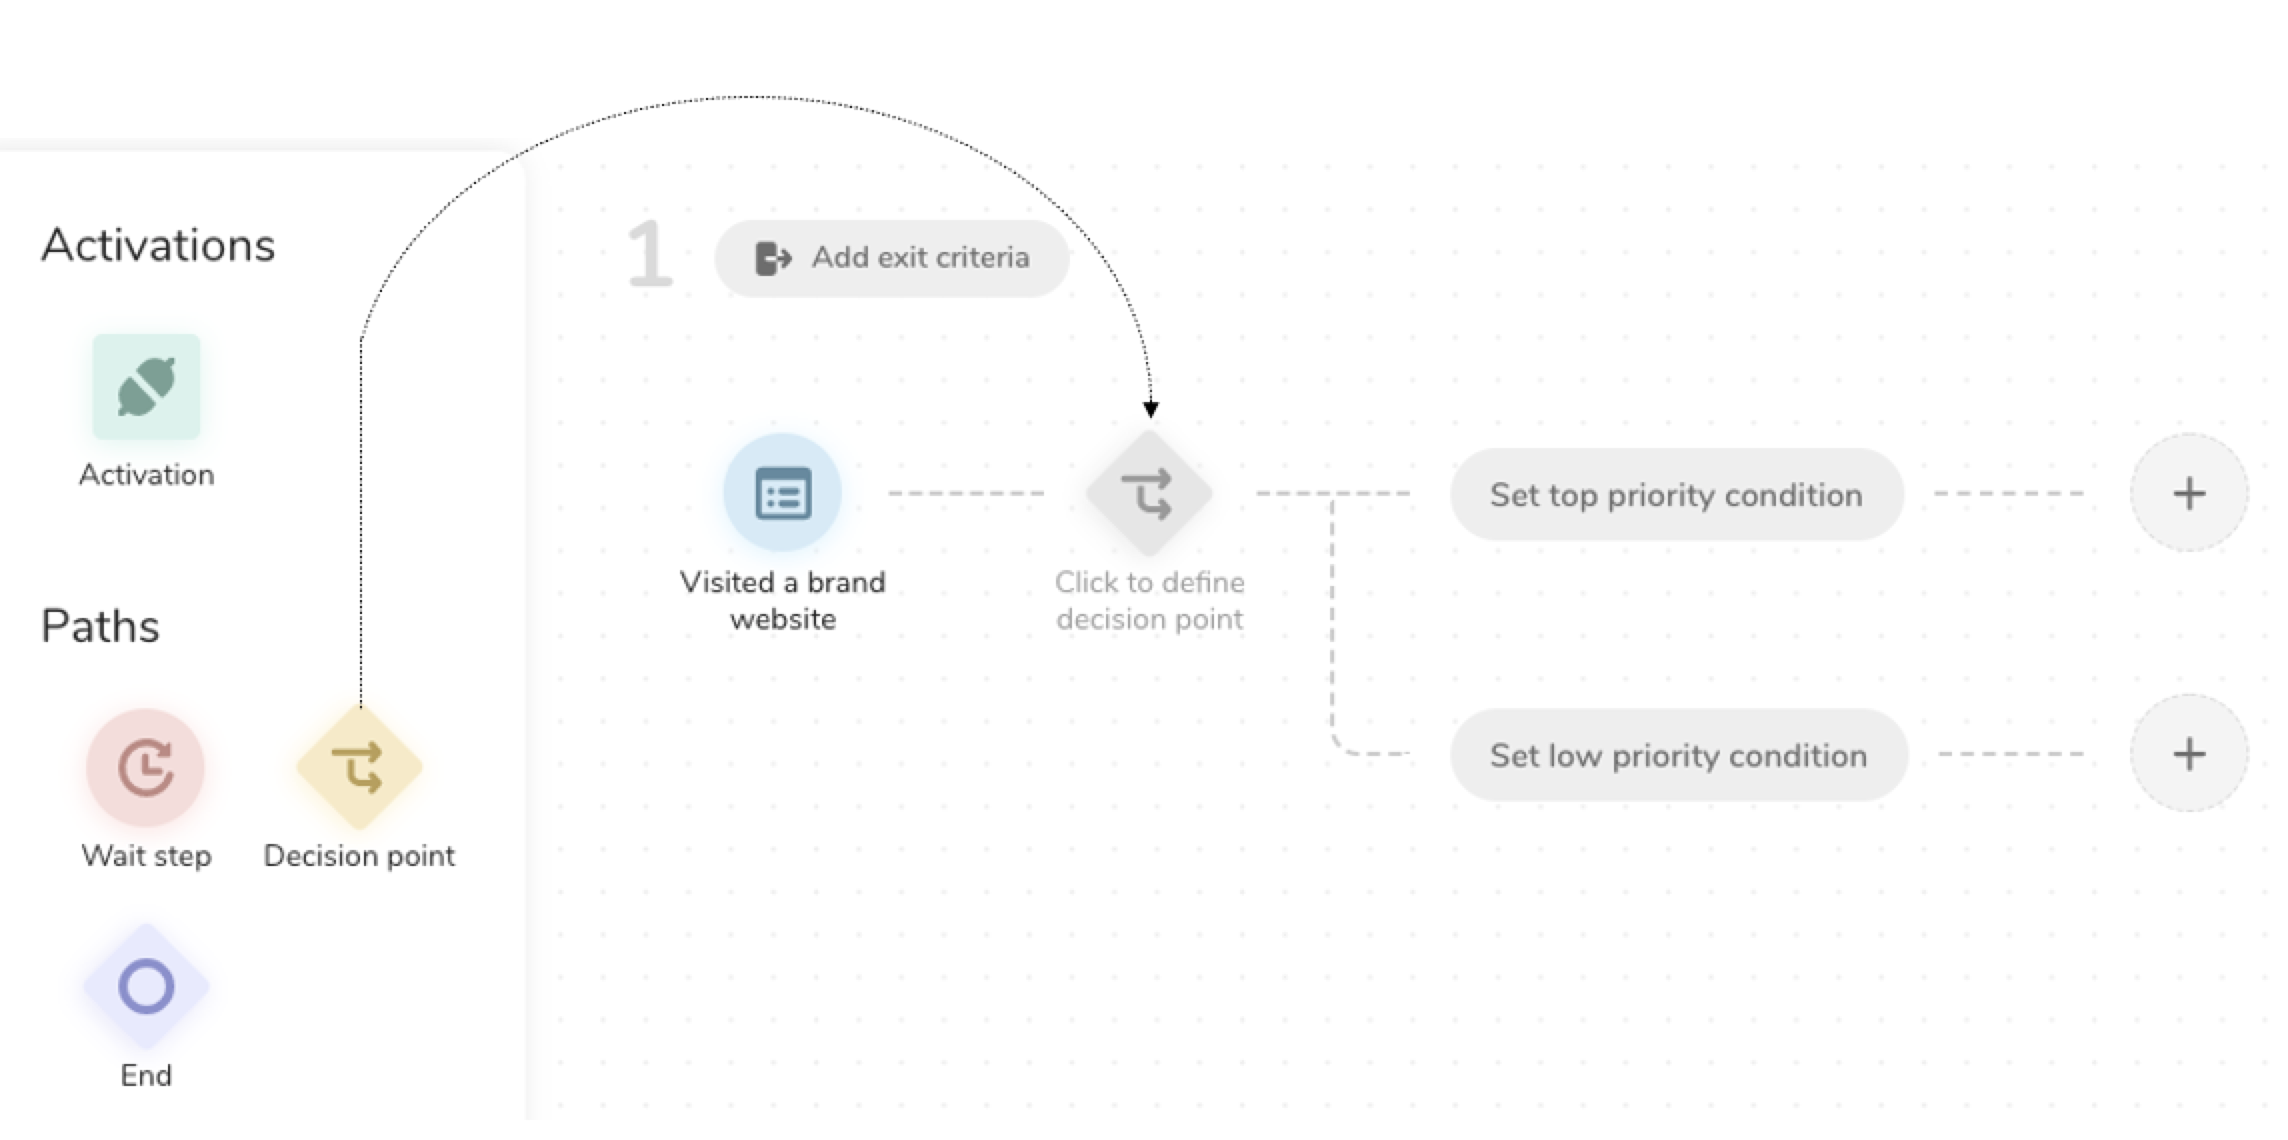 5. In the left panel, select Decision point and drag it to the Journey Canvas. 6. Select Click to define decision point.
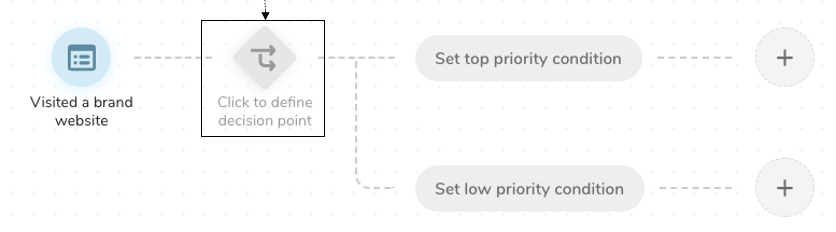
Each decision point can have at least one condition, up to a maximum of six conditions. There are a maximum of ten decision points per journey.
On the right side of the Journey builder, a modal window allows you to change the number of conditions displayed. By default, two conditions are shown. Select the number dropdown to create a single decision point, then select 1.
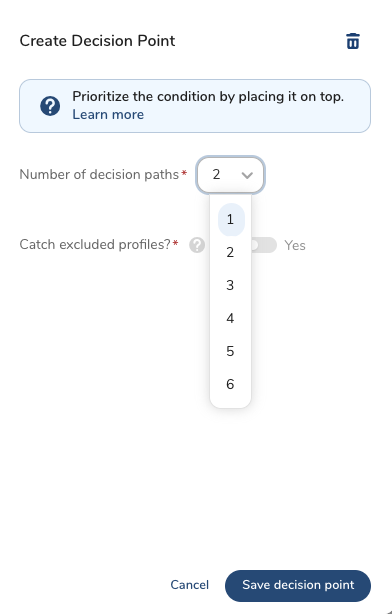
The number of decision paths determines how many conditions you can add to your decision point.
- Select each condition icon and set a rule for the condition a profile needs to meet to follow that path. For example, does the profile reside in the USA or Canada?
- Select the plus icon to add another event.
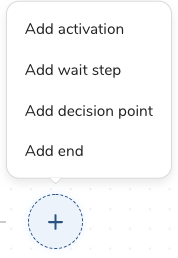
Let's add four conditions, one for each country.
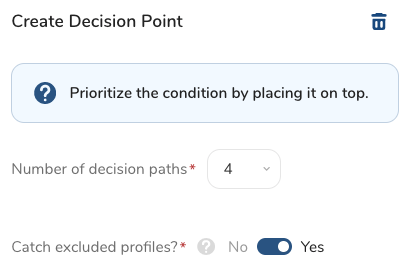
- For the number of decision paths, select 4.
- Include a condition to catch excluded profiles (recommended).
- Select the first condition.
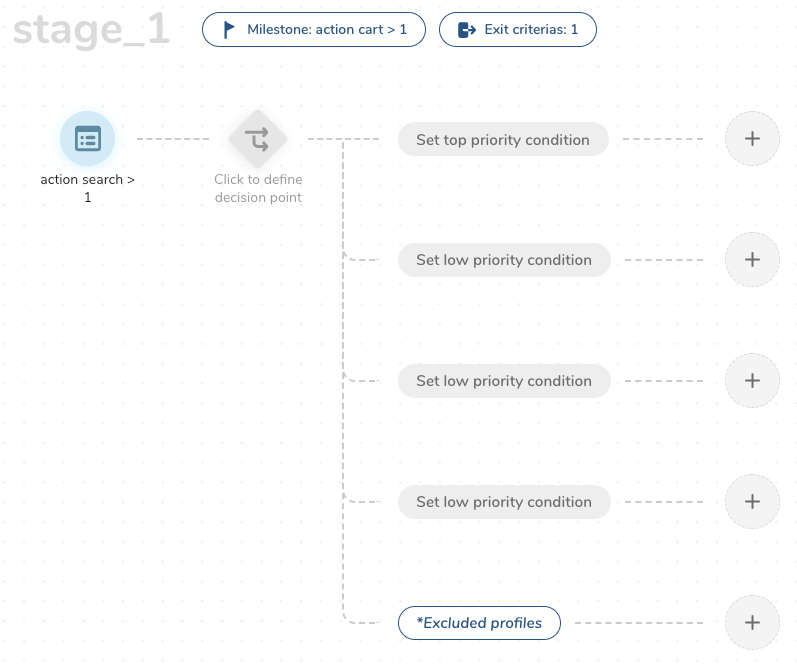
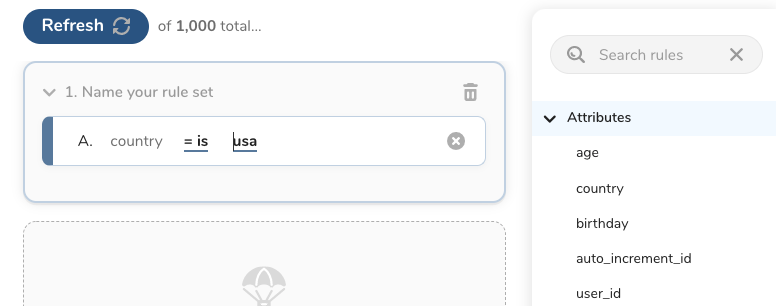
- Name your condition.
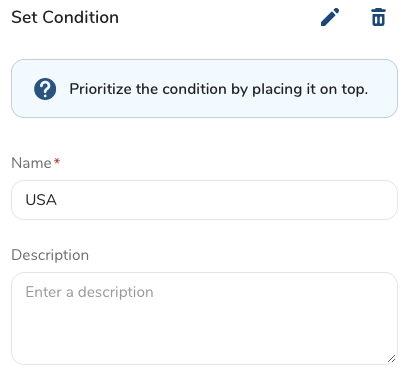
- Select Save condition.
- Continue to add more conditions to include Canada, UK, and Japan.
- Click Save as draft.
Toggle the Catch excluded profiles? to manage your journey workload.
If you do not include the Catch excluded profiles? condition and the profile does not meet any of the conditions; the profile does not progress further in the path in the respective stage. However, it can move to any following stage by meeting the entry criteria of the following stages.
You can drag a condition into a different position to prioritize it above others.
- Select the plus sign and drag the condition up to move a condition.
If a profile qualifies for multiple conditions, Journey Orchestration moves it to one path—the highest personalized path.
A decision point sends each profile down exactly one path. When a profile matches several conditions — for example, a profile that is both email contactable and phone contactable — it follows the highest-priority matching condition, and the activations on the lower paths never reach it. There is no setting that sends a single profile down several paths at the same time, and no step type that fans a profile out across branches.
To reach a profile on every channel it qualifies for, make the overlap its own condition and place it above the single-channel conditions:
- Create a condition whose rule matches the overlap — for example, Email and phone contactable, which is the email rule and the phone rule combined with AND — and drag it to the top of the decision point.
- Add a condition for each individual channel below it, for example Email contactable and then Phone contactable.
- Add both activations to the overlap path, so a profile that qualifies for both receives both.
Order is what makes this work. If Email contactable sits above the overlap condition, every email-contactable profile stops at the email path, including the ones that are also phone contactable — and the overlap condition never matches anyone.
Each overlap you want to handle uses one of the decision point's conditions, and each channel's activation is repeated on every path that sends it — both count against the journey's limits, so decide which combinations matter before you build the decision point. To bring the paths back together after their activations, create a merge.
Continue to add more events after your decision point. For example, you can add an activation and a wait step.
You can add one more decision point to the current stage.
Next Step: Create a Merge
See also Journey FAQs.