Learn more about KARTE Import Integration.
You can use the Karte connector to write job results from queries run in Treasure Data to your Google Cloud Storage.
- Basic knowledge of Treasure Data, including the Toolbelt.
- A Google Cloud Platform account
Before creating the connector, you need to gather the following information: your Project ID, and JSON Credential.
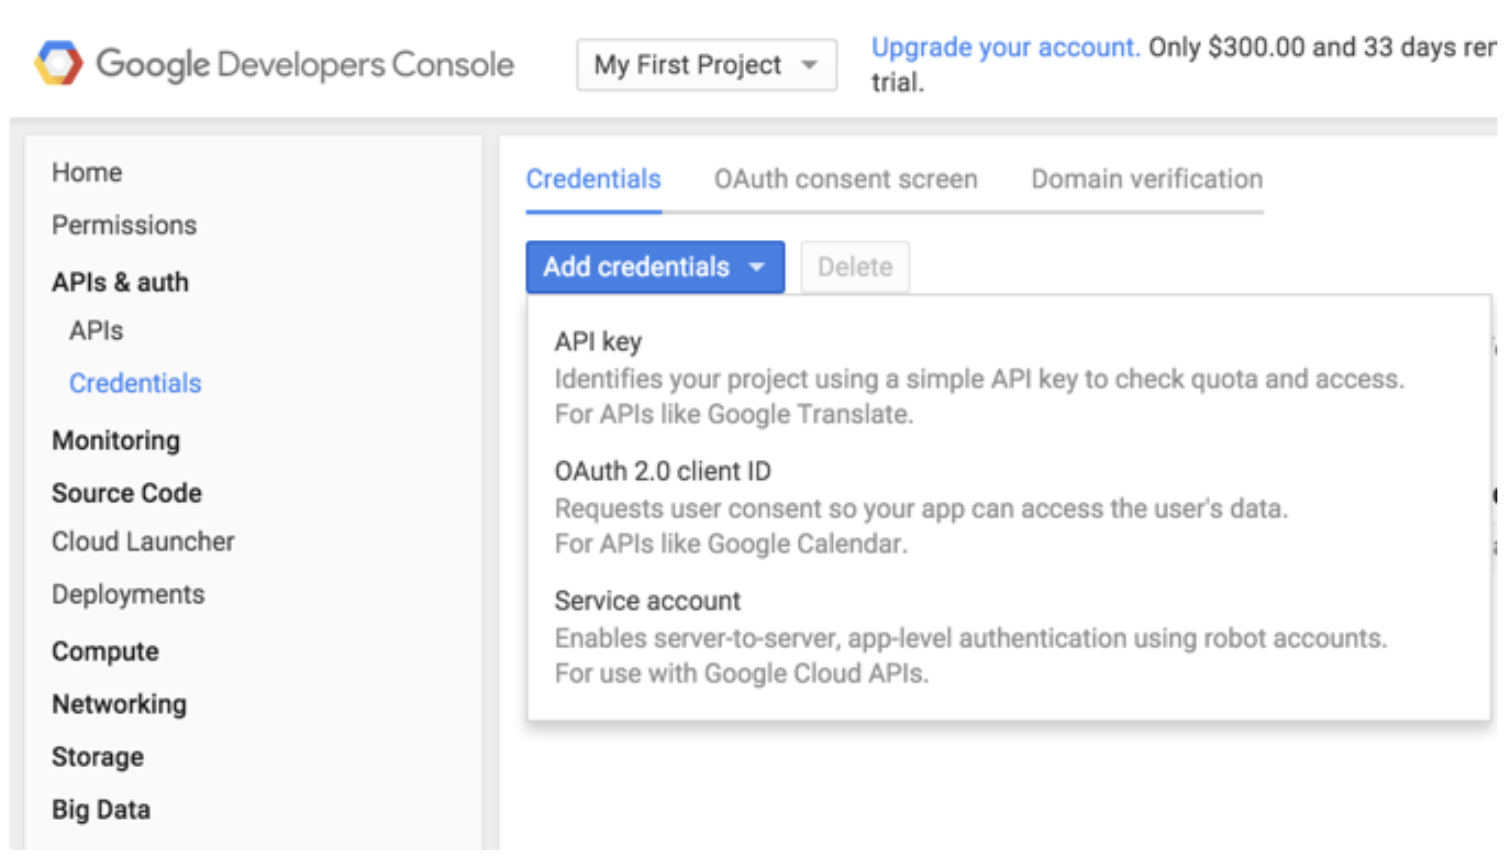
The integration with Google Cloud Storage is based on server-to-server API authentication. Go to your Google Developer Console and select Credentials under APIs & auth at the left menu. Then, select Service account.
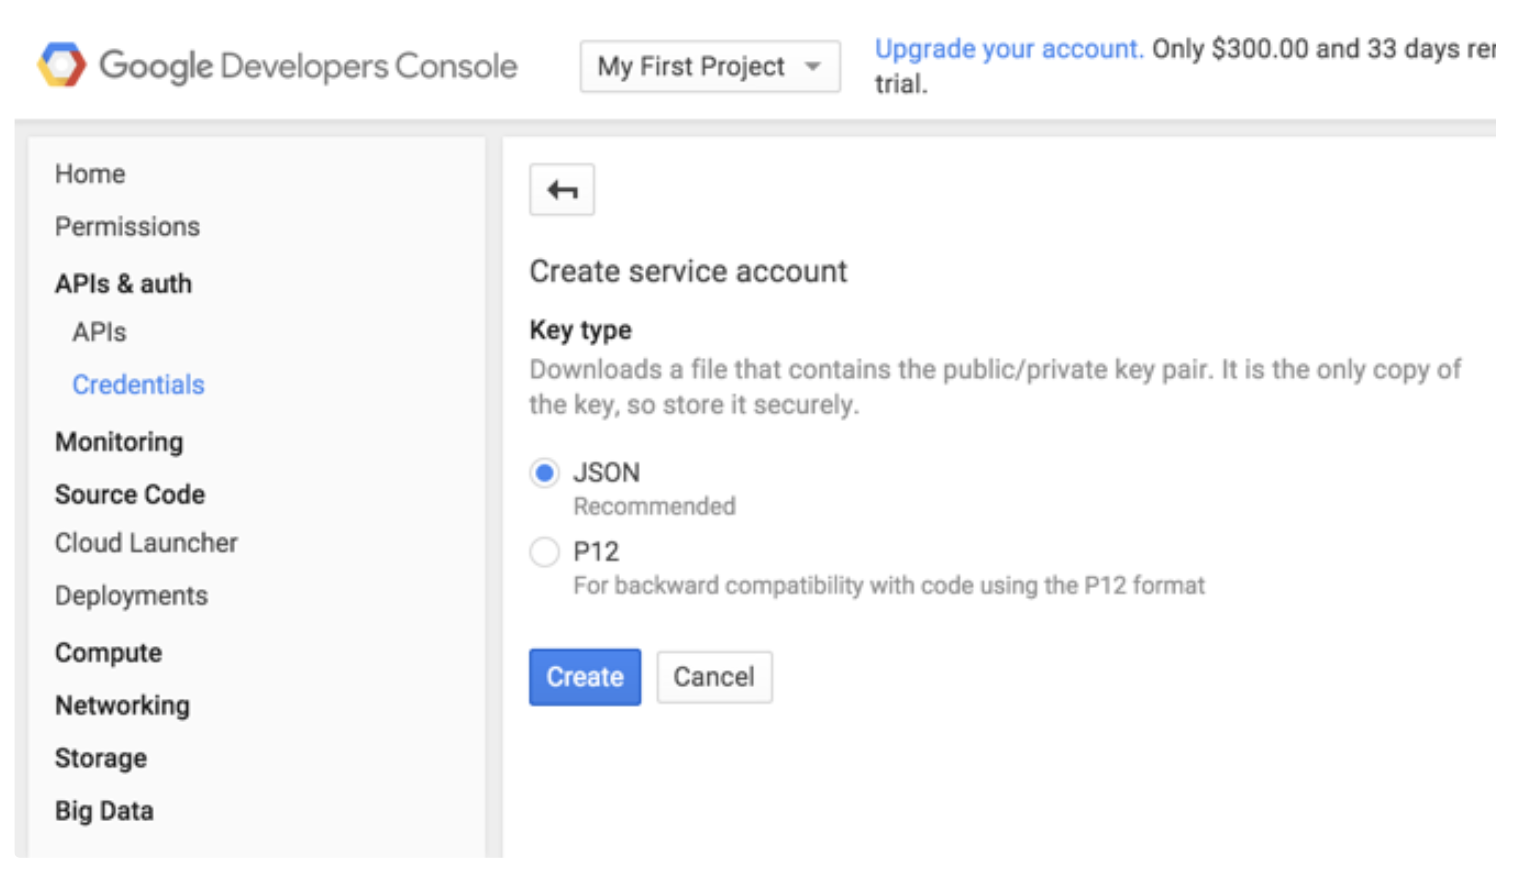
Select the JSON based key type, which is Google’s recommended configuration. The key is automatically downloaded by the browser.
The Service Account owner, who generated JSON Credentials, must have Write permission for destination bucket.
Create your bucket from your Google Cloud Storage console.
Go to the Treasure Console query editor page and compile your query.
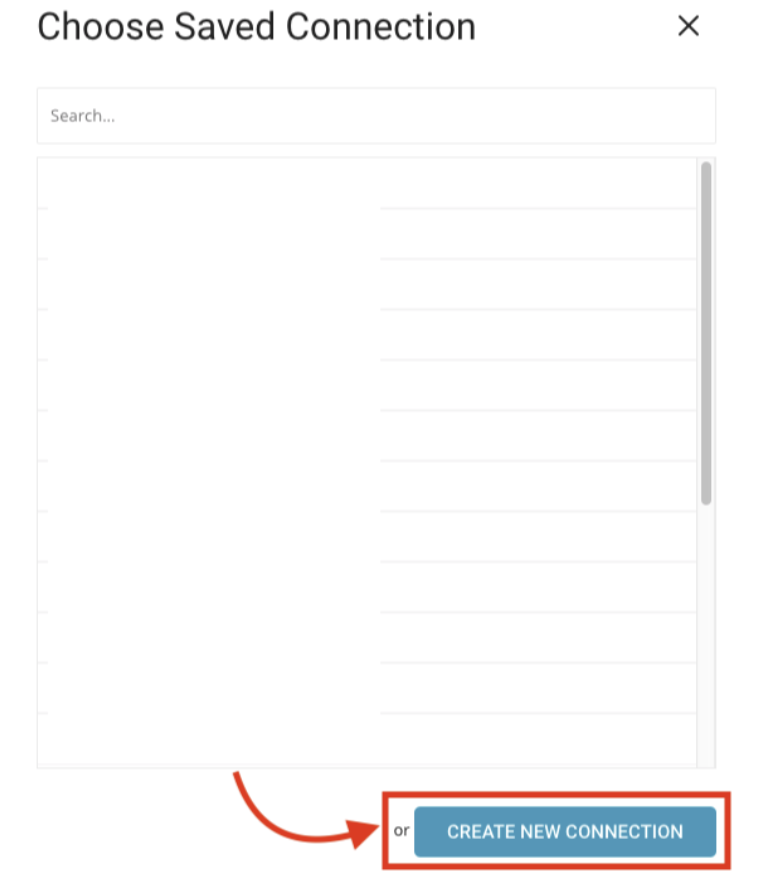
In the same window, select the Create New Connection in the Result Export.
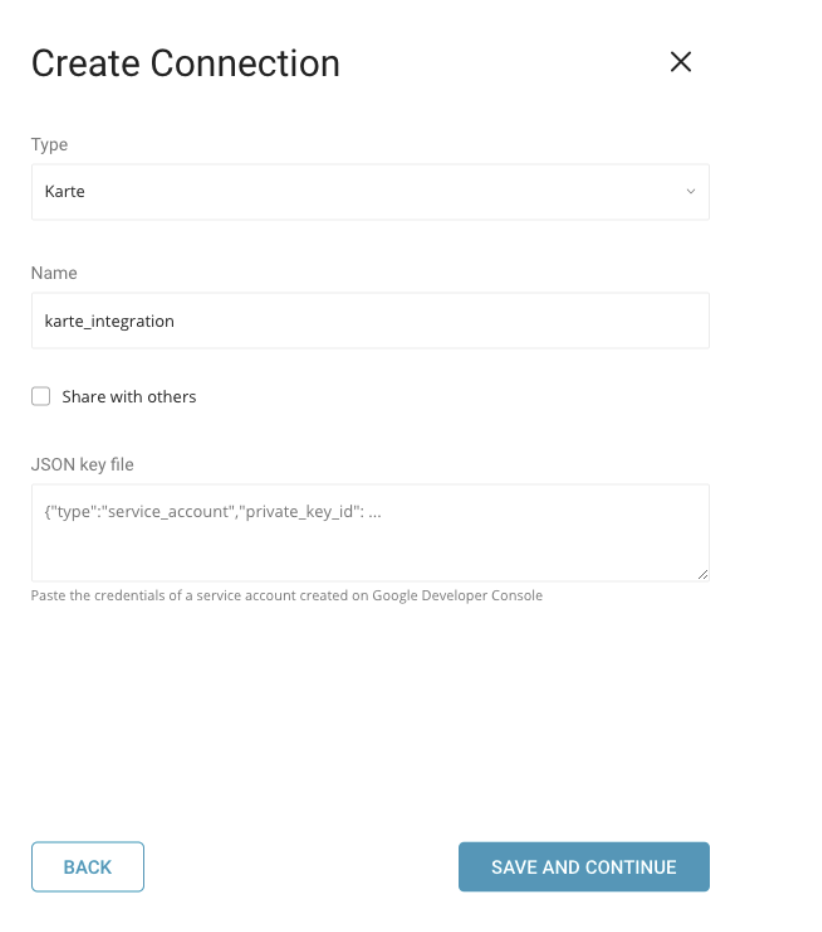
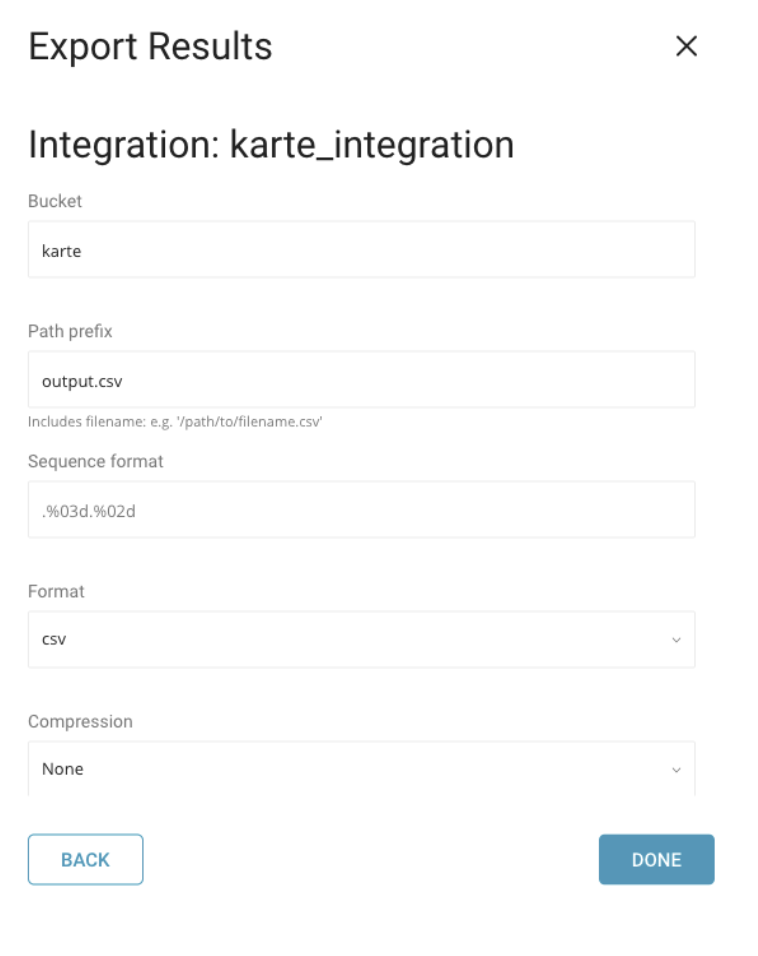
In the dialog opens, search for and select your connection type: KARTE. Provide a name for your KARTE connection. Complete the information, including your JSON Credential, Bucket name, and Path:
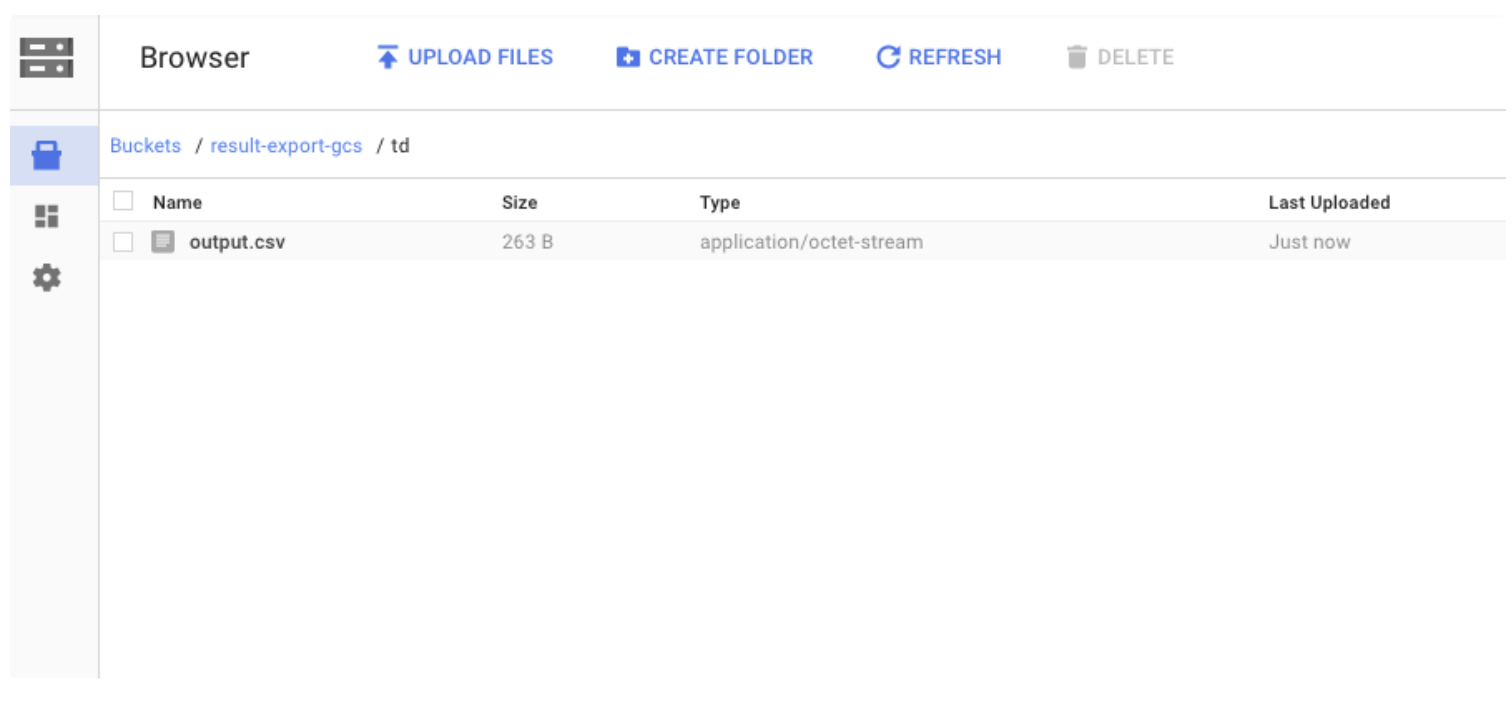
Finally, either save the query with a name or just run the query. After the successful completion of the query, the results are automatically sent to the specified Google Cloud Storage destination.
You can also send segment data to the target platform by creating an activation in the Audience Studio.
- Navigate to Audience Studio.
- Select a parent segment.
- Open the target segment, right-mouse click, and then select Create Activation.
- In the Details panel, enter an Activation name and configure the activation according to the previous section on Configuration Parameters.
- Customize the activation output in the Output Mapping panel.
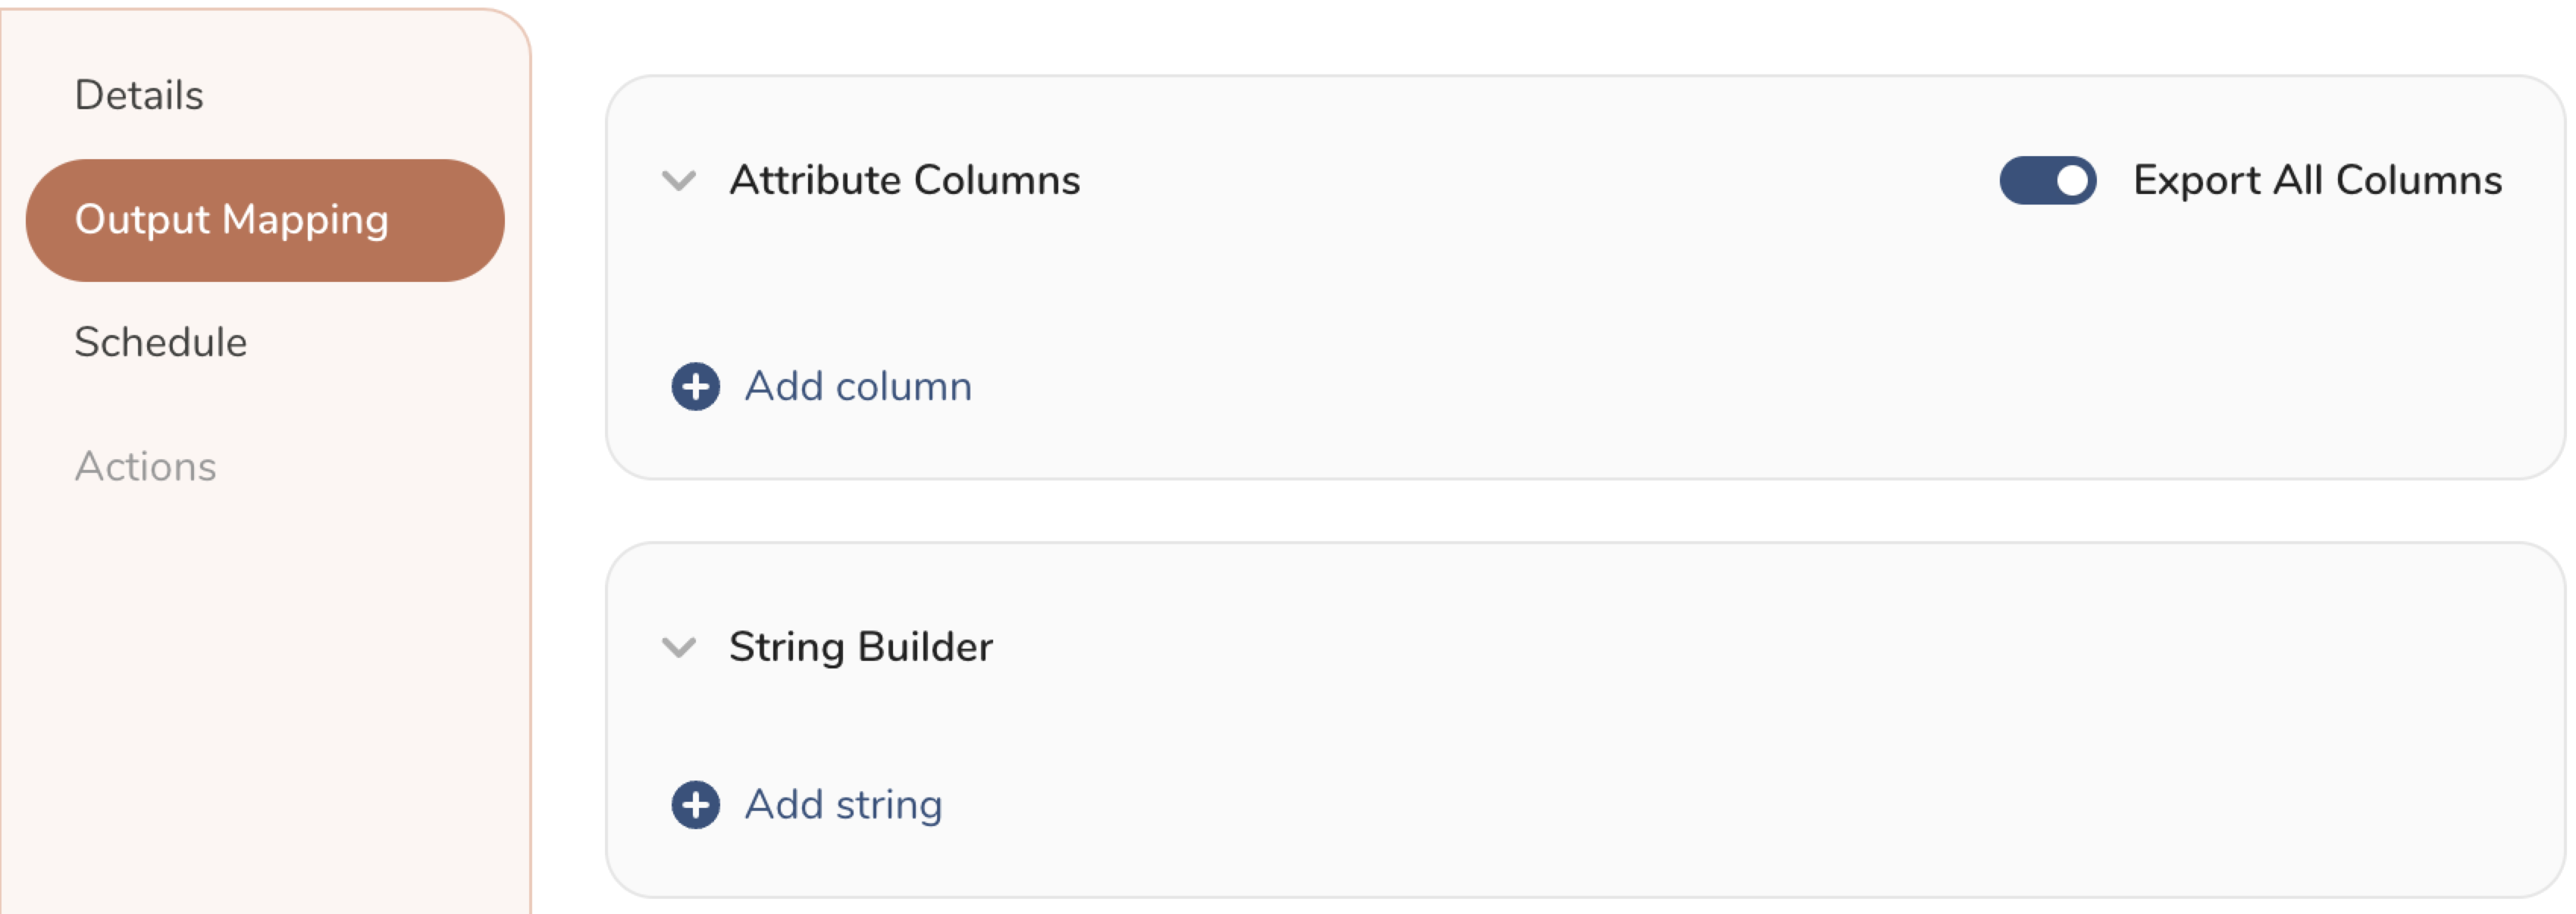
- Attribute Columns
- Select Export All Columns to export all columns without making any changes.
- Select + Add Columns to add specific columns for the export. The Output Column Name pre-populates with the same Source column name. You can update the Output Column Name. Continue to select + Add Columnsto add new columns for your activation output.
- String Builder
- + Add string to create strings for export. Select from the following values:
- String: Choose any value; use text to create a custom value.
- Timestamp: The date and time of the export.
- Segment Id: The segment ID number.
- Segment Name: The segment name.
- Audience Id: The parent segment number.
- + Add string to create strings for export. Select from the following values:
- Set a Schedule.
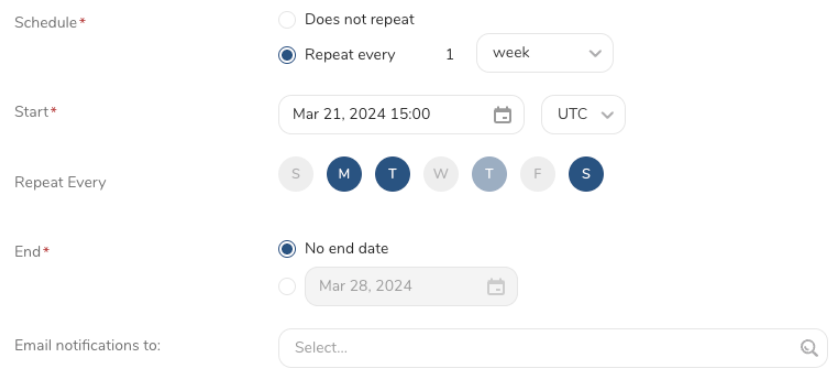
- Select the values to define your schedule and optionally include email notifications.
- Select Create.
If you need to create an activation for a batch journey, review Creating a Batch Journey Activation.
You can set a scheduled query to send job results to Google Cloud Storage using KARTE.
Designate your json_key and escape the newline with backslash.
Example
$ td sched:create scheduled_karte "10 6 * * *" \
-d dataconnector_db "SELECT id,account,purchase,comment,time FROM data_connectors" \
-r '{"type":"karte","bucket":"samplebucket","path_prefix":"/output/test.csv","format":"csv","compression":"","header_line":false,"delimiter":",","null_string":"","newline":"CRLF", "json_keyfile":"{\"private_key_id\": \"ABCDEFGHIJ\", \"private_key\": \"-----BEGIN PRIVATE KEY-----\\nABCDEFGHIJ\\ABCDEFGHIJ\\n-----END PRIVATE KEY-----\\n\", \"client_email\": \"ABCDEFGHIJ@developer.gserviceaccount.com\", \"client_id\": \"ABCDEFGHIJ.apps.googleusercontent.com\", \"type\": \"service_account\"}"}'Within Treasure Workflow, you can specify the use of this data connector to output data.
timezone: UTC

_export:
  td:
    database: sample_datasets

+td-result-into-target:
  td>: queries/sample.sql
  result_connection: karte_integration
  result_settings:
    bucket: your_bucket
    path_prefix: dir/example.csv.gz
    format: csv
    compression: gz
    newline: CR
    ....
For more information on using data connectors in Treasure Workflow to export data, review Exporting Data with Parameters.
You can use the following parameters when configuring the KARTE connector.
| bucket | bucket name |
|---|---|
| path_prefix | file path |
| format | "csv" or "tsv" |
| compression | "" or "gz", "encryption_pgp" |
| public key | The public key is used to encrypt the file before being uploaded |
| Key Identifier | Specifies the Key ID of the encryption subkey used to secure the file. The master key is excluded from the encryption process. |
| Amor | Whether to use ASCII armor or not |
| Compression Type | - Defines the compression algorithm used to compress the file, which will be compressed before encryption for uploading to the SFTP server. - Note: Please ensure that you compress your file before encrypting and uploading. When you decrypt it, the file will return to a compressed format such as .gz or .bz2. |
| header_line | true or false |
| delimiter | "," or "\t" or " |
| null_string | "" or "\N" |
| newline | "CRLF" or "CR" or "LF" |