Firebase Cloud Messaging (FCM) is cross-platform messaging solution that allows to reliably send messages.
With this integration you can send messages to the channels such as email, SMS or Line with real-time trigger activations
- Basic knowledge of Treasure Data
- Basic knowledge of FCM, including knowledge project, app in FCM website features
- Login credentials for your Firebase Cloud Messaging account
The primary use case for this streaming integration is to incorporate it into a real-time activation workflow to:
- Trigger a message delivery to FCM
Here is an overview of how to configure that workflow to trigger a delivery:
- On the FCM website, learn about how to create a project Firebase Project features necessary to send messages.
- On the FCM console, select your project and create a new app according to your platform.
- On the FCM console, select your app and go to app configuration. Get the app config as
google-services.jsonin JSON format. - Create an authentication for this integration to communicate with Firebase Cloud Messaging.
- In a Real-time Journey, select this authentication for a new triggered activation.
- This connector limitation follow the FCM limitations. Please refer to FCM Quotas and Limits.
If your security policy requires IP whitelisting, you must add Treasure Data's IP addresses to your allowlist to ensure a successful connection.
Please find the complete list of static IP addresses, organized by region, at the following document
You must create and configure the data connection in Treasure Data. As part of the data connection, you provide authentication credentials to access the integration.
Perform the following steps to create a new authentication with a set of credentials.
- Select Integrations Hub.
- Select Catalog.
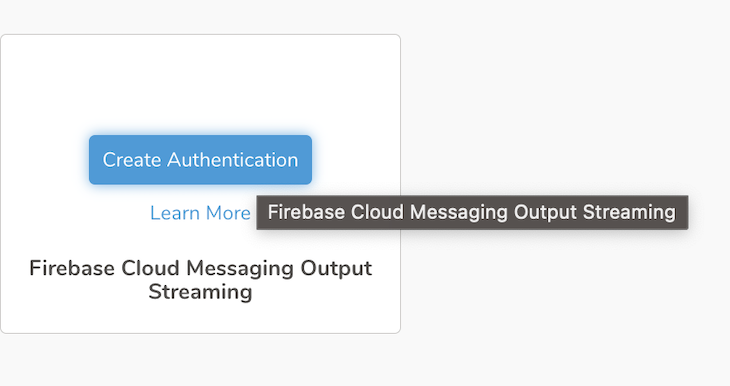
- Search for your Integration in the Catalog; hover your mouse over the icon and select Create Authentication.

- Ensure that the Credentials tab is selected and then enter credential information for the integration.
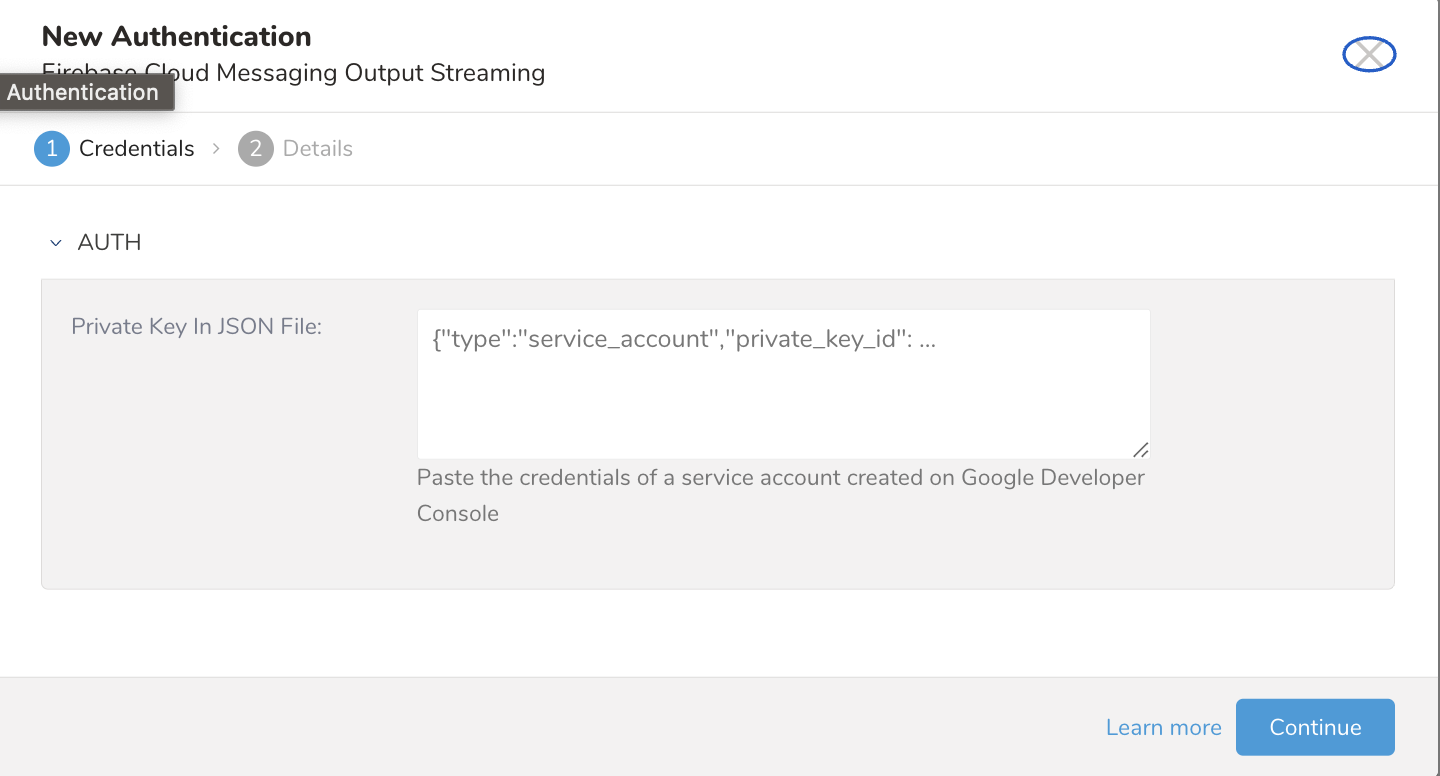
| Parameter | Description |
|---|---|
| Private Key In JSON File | The JSON credential of the App in Project |
- Select Continue.
- Enter a name for your connection.
- Select Done.
After configuring the Firebase Cloud Messaging Streaming integration, it is now available to be incorporated into real-time customer journey activations. See Creating a Real-time Triggered Activation for additional information.
To create or update a triggered activation:
- Select the triggered activation you want to configure
 .
.
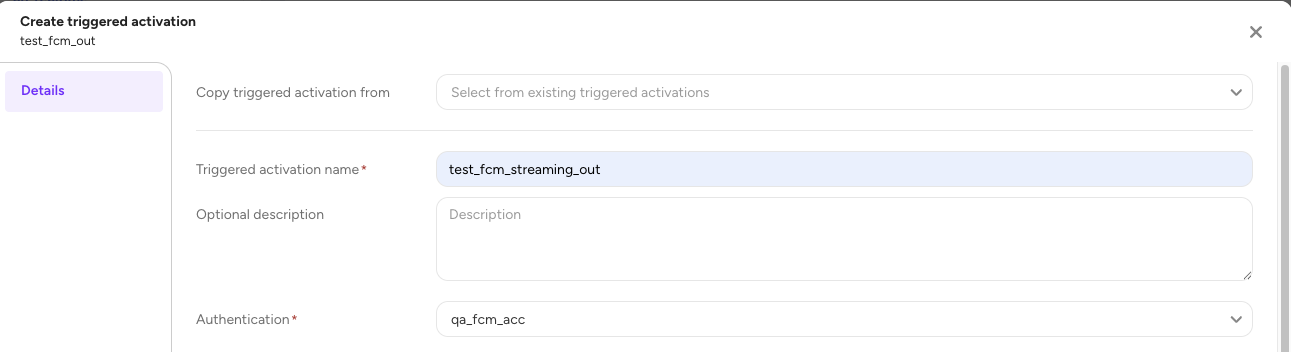
- In the triggered activation window, select an activation from the Copy triggered activation from drop-down menu.
- Enter a Triggered activation name.
- Enter an Optional description of the activation.
- From the Authentication drop-down menu, select the authentication the activation should use.
Depending on the type of authentication you choose, the details you will need to provide will vary. Refer to the integration-specific table below for more information.
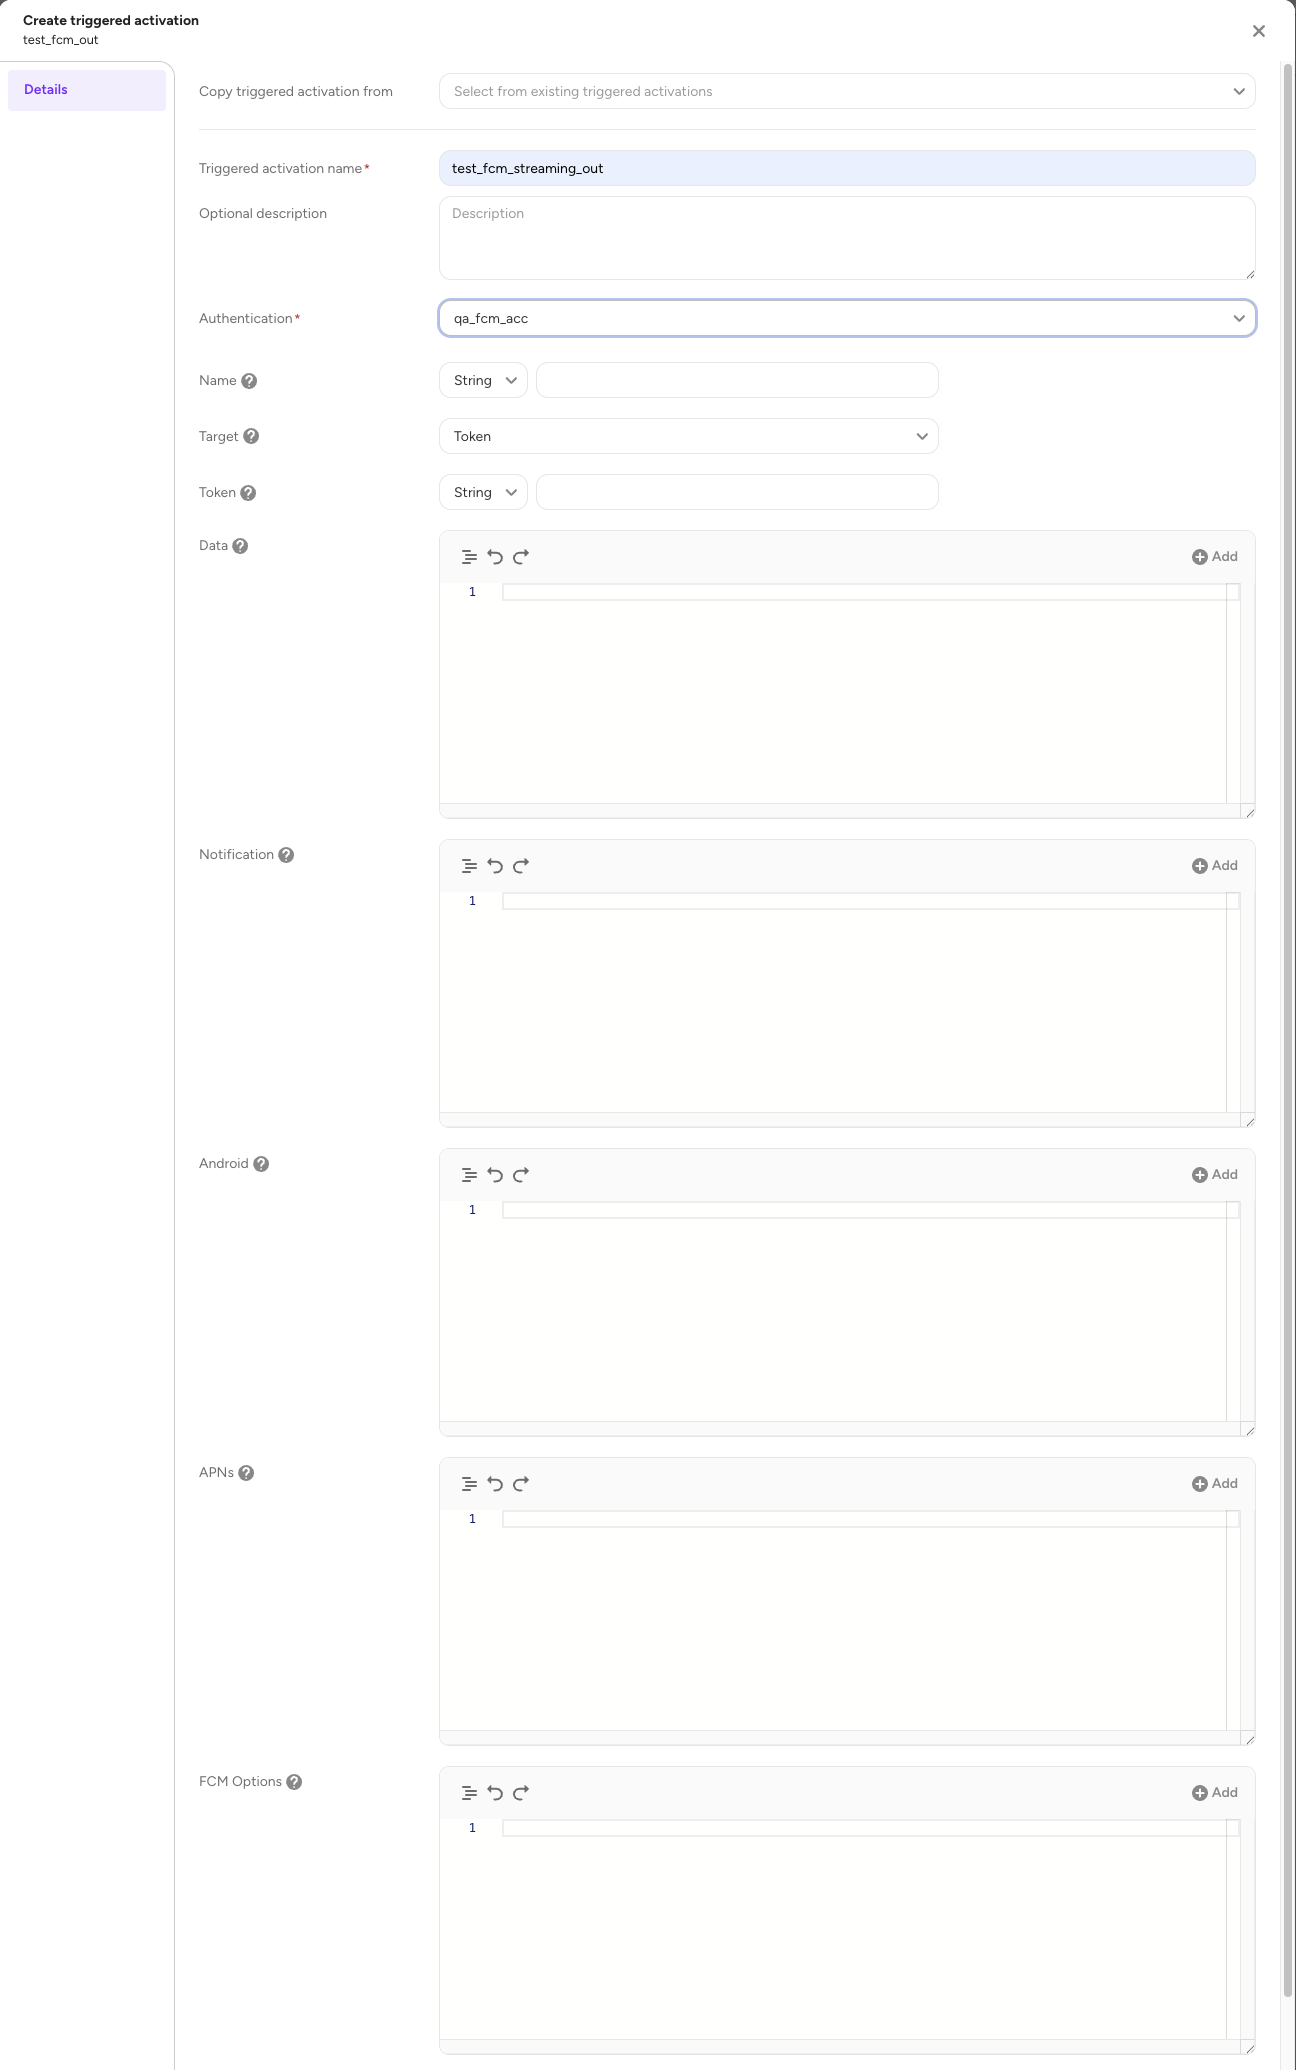
- Verify or provide the information required for the fields on the Details page.
- After the Details are configured, select Create or Update.
| Parameter | Values | Description |
|---|---|---|
| Name | required - String | The identifier of the message sent, in the format of projects/*/messages/{message_id}. |
| Target | Token - Topic - Condition, default Token | We will support multiple targets, as provided by the Firebase platform: Token, Topic, Condition |
| Data | required - JSON | The Data will be sent with the message. Arbitrary key/value payload, which must be UTF-8 encoded. |
| Notification | required | The notification payload to be sent with the message. |
| Android | optional | The Android-specific options for the message. |
| APNs | optional | Apple Push Notification service options for the message |
| FCM Options | optional | FCM options for the message |
| Maximum Number Of Retry | optional, default 3 | Number of retries before it gives up. |
| Initial Retry Delay | optional, default -2 | How long wait before retrying the first one |
| Retry Delay Multiple | optional, default 2 | The factor to multiply the delay after each retry |
Union field target. Required. Input only. Target to send a message to. target can be only one of the following:
| Target | Type | Description |
|---|---|---|
| Token | string | Registration token to send a message to. |
| Topic | string | Topic name to send a message to, e.g. "weather". Note: "/topics/" prefix should not be provided. |
| Condition | string | Condition to send a message to, e.g. "'foo' in topics && 'bar' in topics". |
- The connector will retry to send the request when it gets the status code 429, 500, 502, 503, or 504.
- If the request is sent successfully before the Maximum Number of Retry is reached, the logging will show successfully.
- If the request still fails after reaching the Maximum Number of Retry, the connector will stop the job.
- We will see the error message and the status code in the client's activation table whenever the request sent fails.
- The Maximum Number of Retry can be configured in the Activation Config.