The user needs Generic Chat in LLM Console permission of each LLM project to use agents in the Foundry Workspace.
The user can find the Foundry Workspace icon in the Treasure Console's global menu if they have Generic Chat permission in at least one project. The user can see the list of projects-agents that are published to the Workspace in Home tab.
The Home screen is divided into two areas, the top area shows the product agents that Treasure Data offers(TD-Managed: Creative Studio in the screenshot case), while the bottom area shows the custom projects and agents.
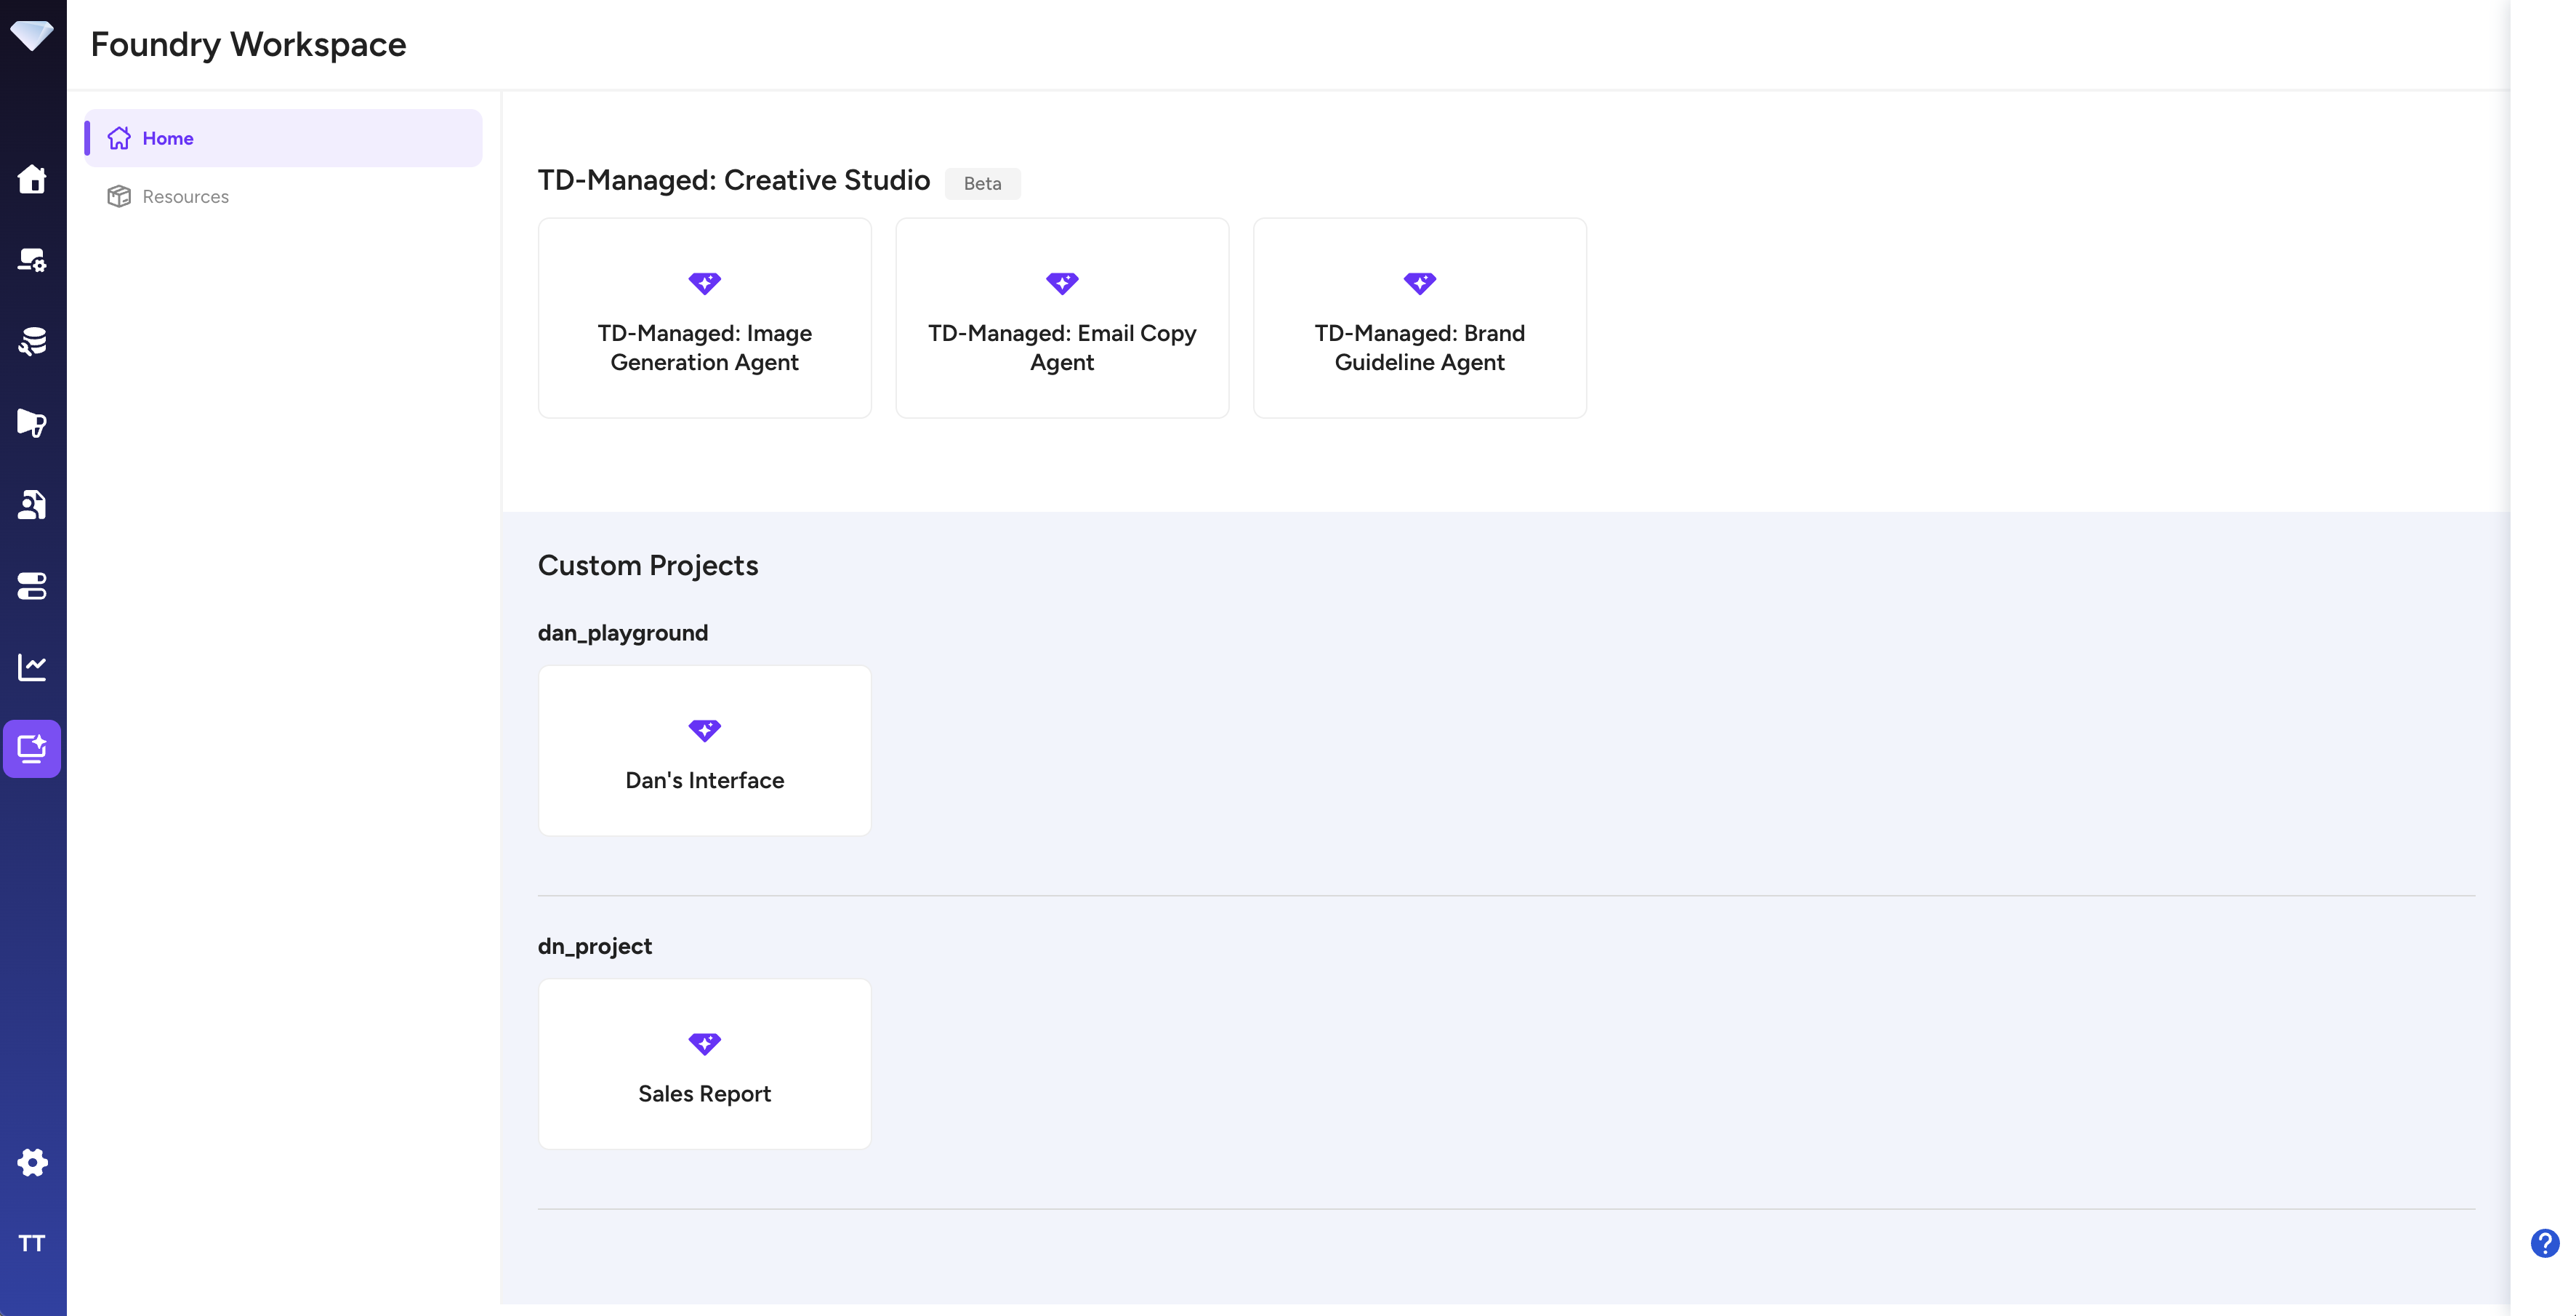
Click an agent icon(a box with a diamond icon and an agent title) to use a particular agent
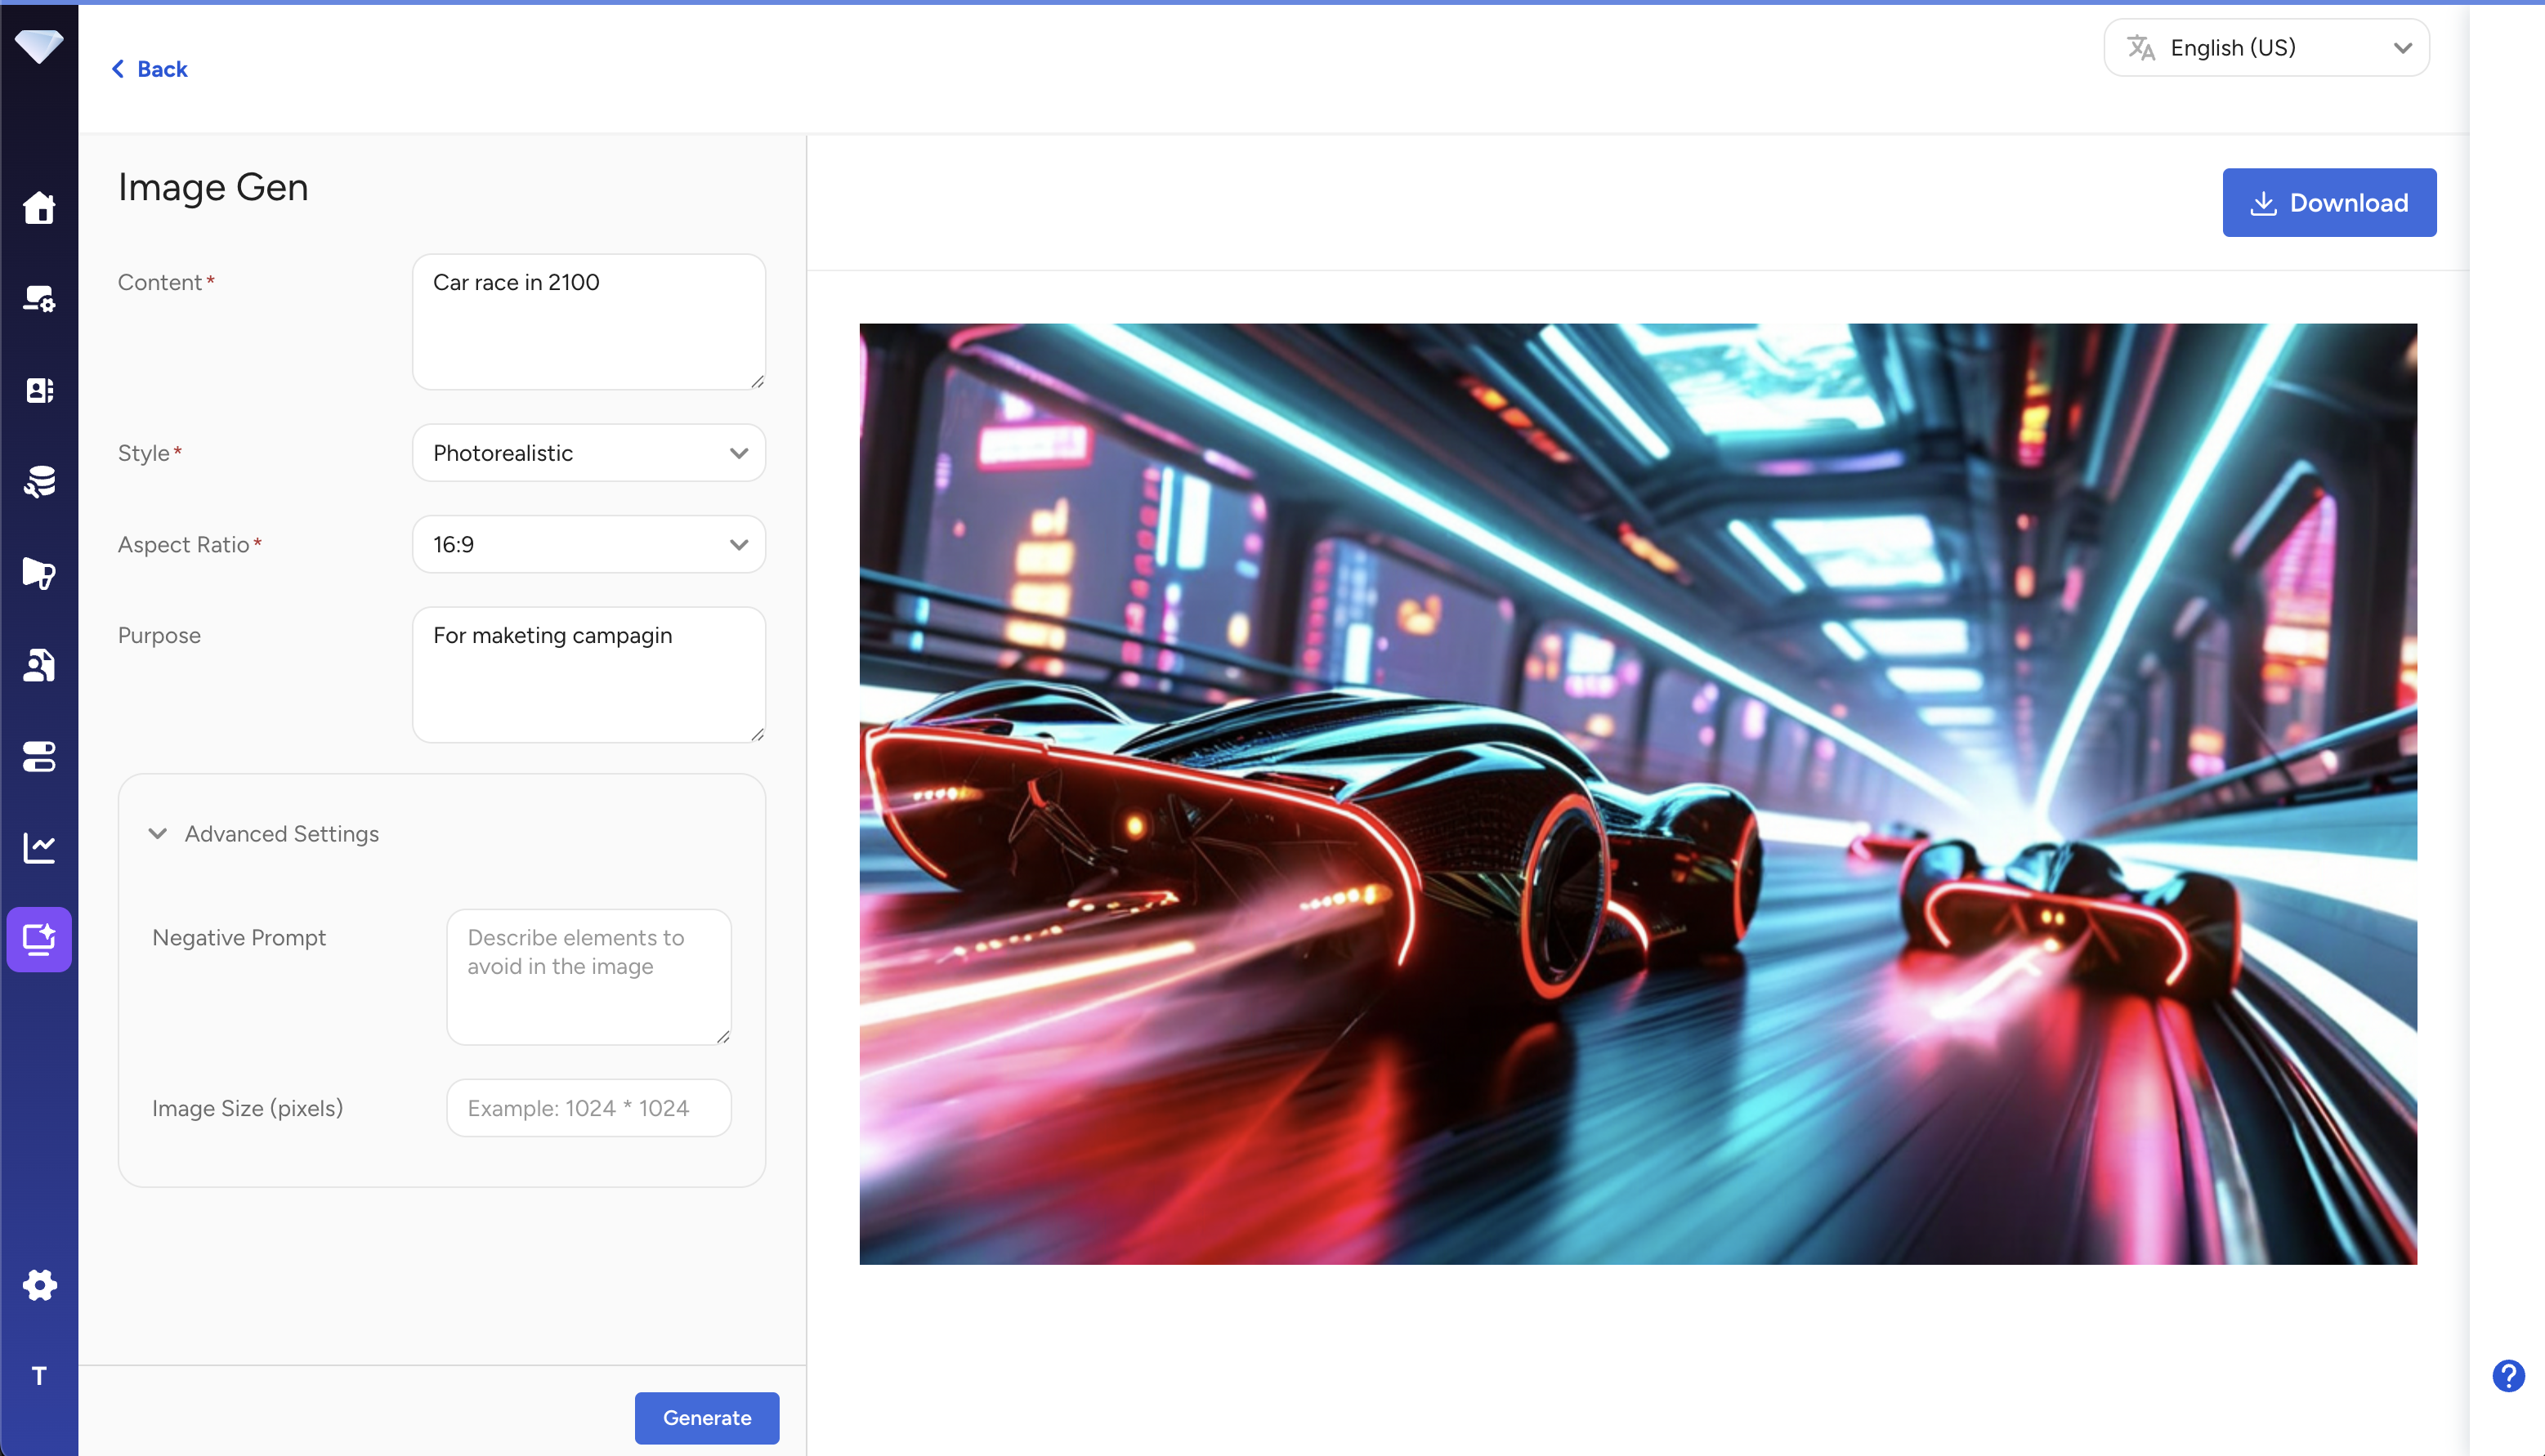
- Click an agent : Click a particular agent icon in a specific project
- Populate a form : A Form-type agent provides a form to give input to the agent. Populate a form.
- Click a Generate button : A Form-type agent requires clicking a Generate button to generate content
The figure is an example from Image Generation Agent in the Creative Studio that Treasure Data offers.
Scheduling is available only for form-type agents that are published to Foundry Workspace.
We also recommend that you first run the form once and confirm that the output looks correct before setting up a schedule.
- Open Foundry Workspace and select the form-type agent you want to automate.
- Run the form once to confirm the output.
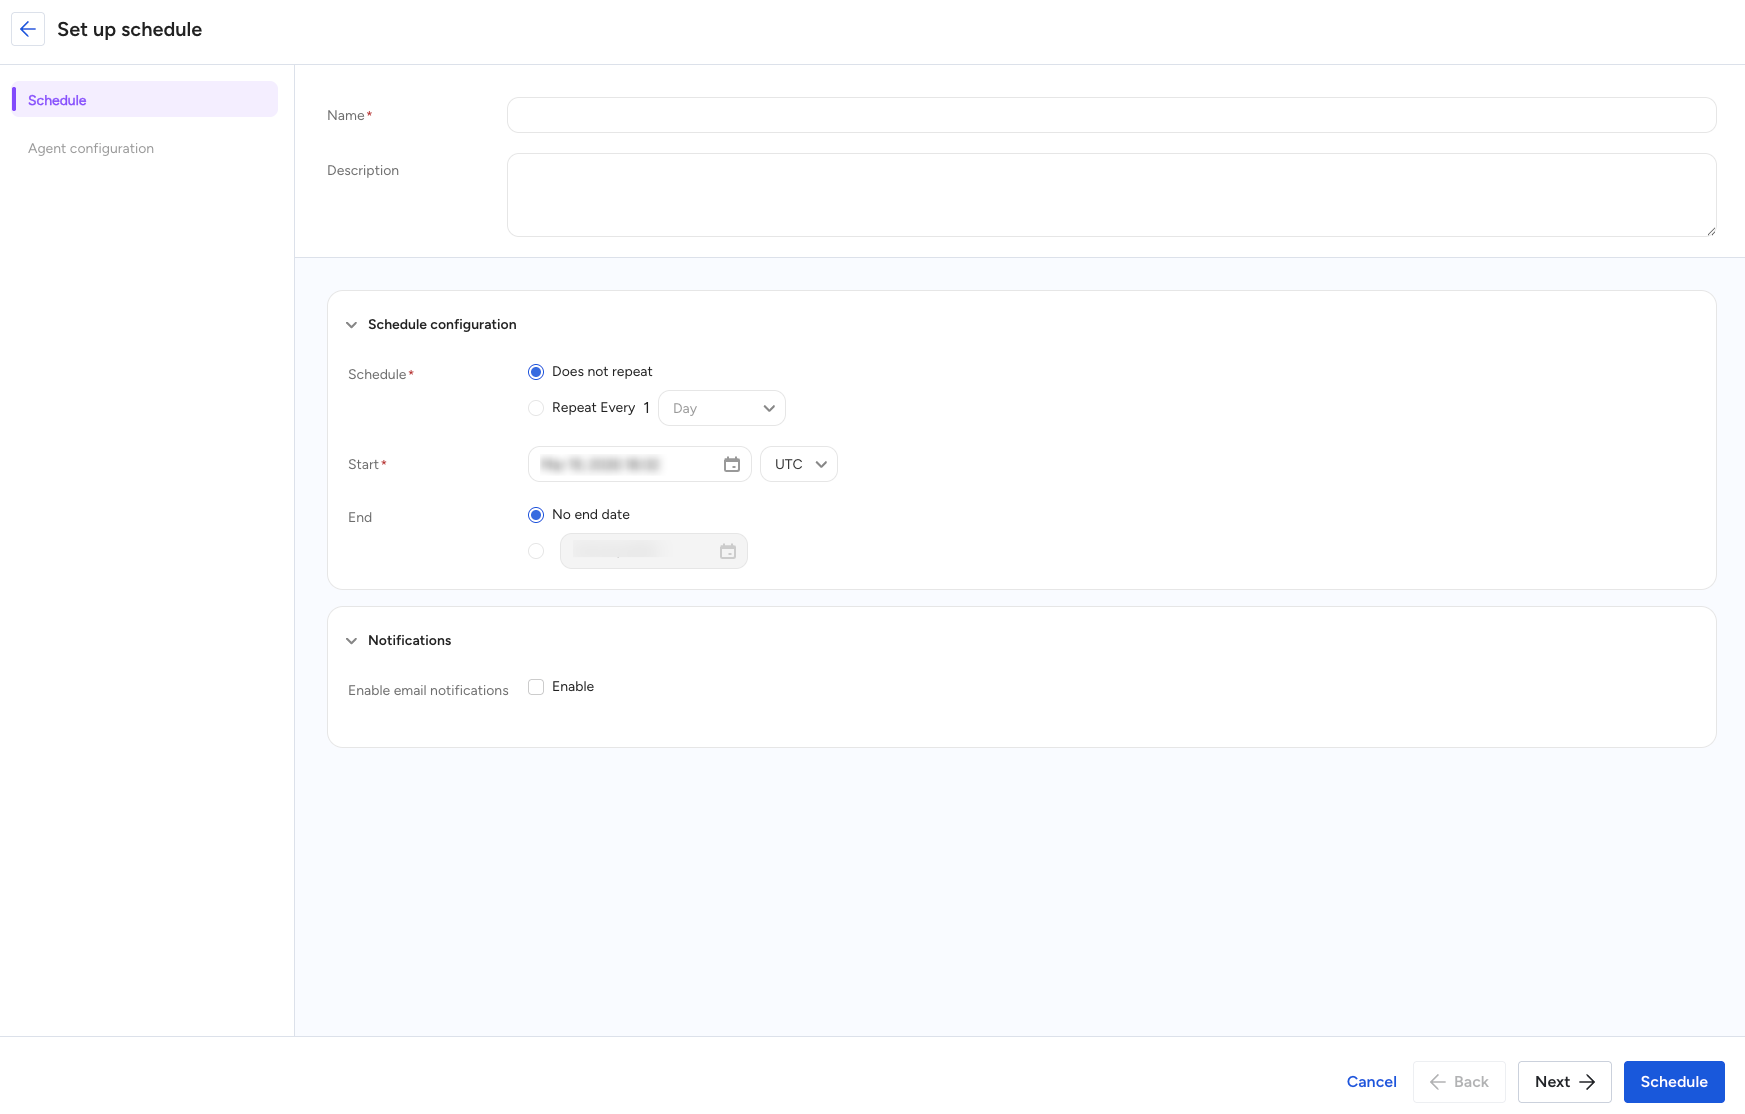
- From the form view, choose Set up schedule (or the equivalent schedule action).
- Configure the schedule:
- Frequency: Daily, Weekly, or Monthly
- Start date / End date and Time zone
- Whether to send notification email to the schedule creator
- Save the schedule. The schedule will reuse the current form inputs for every run.
The agent will then run automatically according to the configured schedule.
Use the Scheduled Run view (or tab) in Foundry Workspace to see the schedules you have access to.
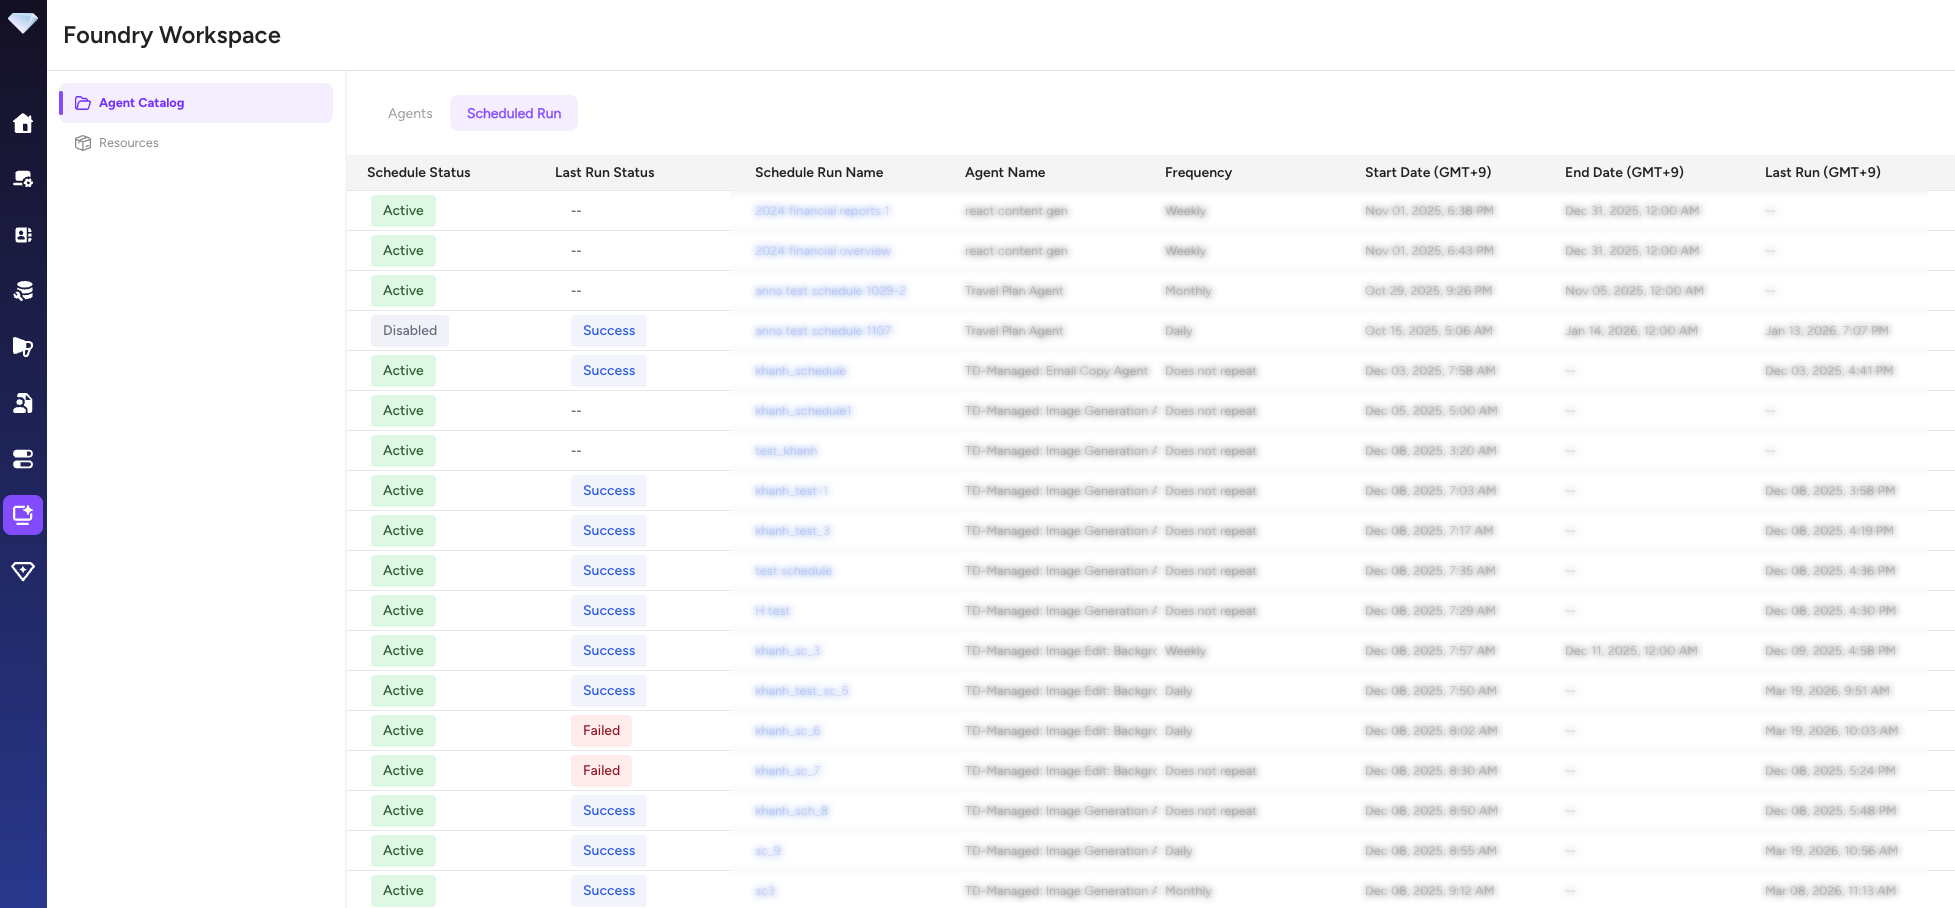
From the schedule list, you can:
- View schedules per form interface, including basic details such as name, frequency, next run time, and whether email notification is enabled.
- Edit an existing schedule to change the frequency, dates, or email notification setting.
- Delete a schedule to stop future runs.
Any user who has permission to execute the underlying agent can view, edit, or delete its schedules.
When a scheduled run completes, the schedule creator can optionally receive an email notification that includes a link back to the generated artifact in Foundry Workspace.
Each scheduled run produces an artifact and a corresponding history entry, similar to running the agent manually.
- Scheduling is currently available only for form-type agents in Foundry Workspace.
- You cannot schedule analysis performed by Audience Agents.
- Notification emails are sent only to the schedule creator.
When you schedule an agent, the schedule re-runs the same logic each time. For dynamic periods such as "last 90 days", avoid hard-coding calendar dates and instead:
- In SQL, calculate the window from the current date at run time (for example,
current_date - interval '90 day') and use that in yourWHEREclause. - In prompts, describe the range relative to "now" (for example, "analyze data from the last 90 days based on the current execution time") so the model interprets it against the execution date.
This way, every scheduled run automatically shifts the window (yesterday becomes today, last month becomes the new last month, and so on) without updating the schedule configuration.
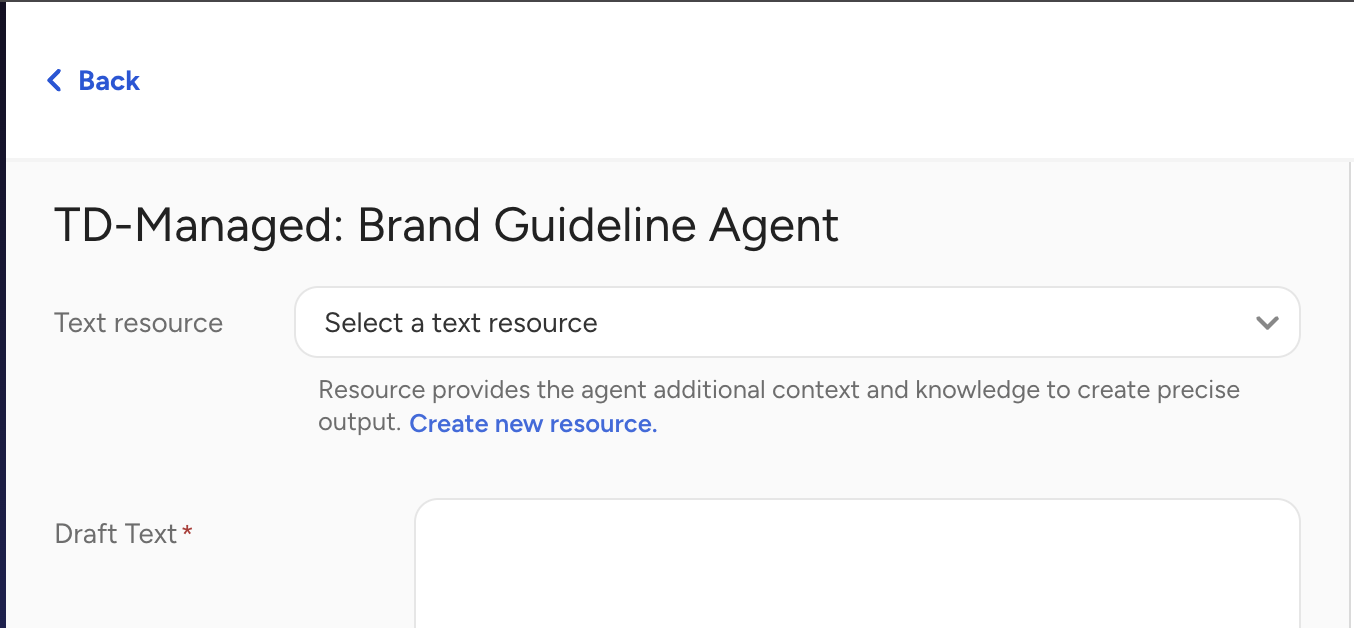
Workspace offers users to upload resources that can be used in the Agents that support. The screenshot below is the example from the Brand Guildeline agent from the Creative Studio.
User can choose a uploaded resource from existing resources by the Text reource select box.
To upload runtime resource
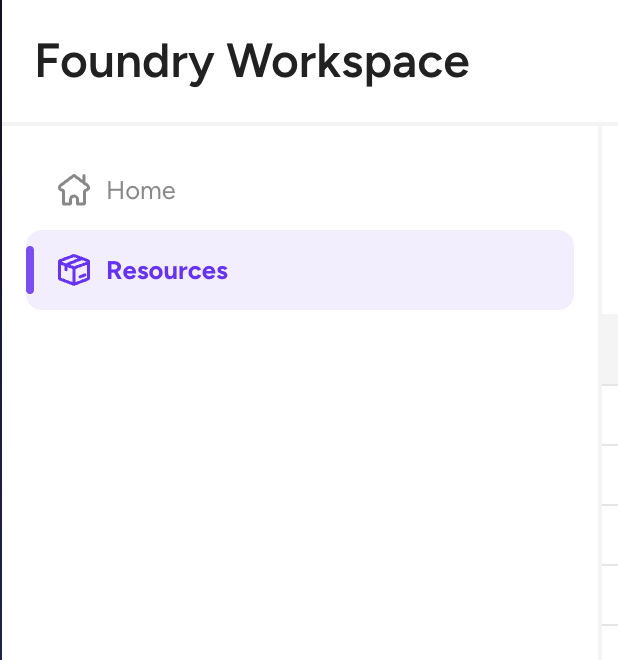
Navigate to Resources tab in the Workspace.
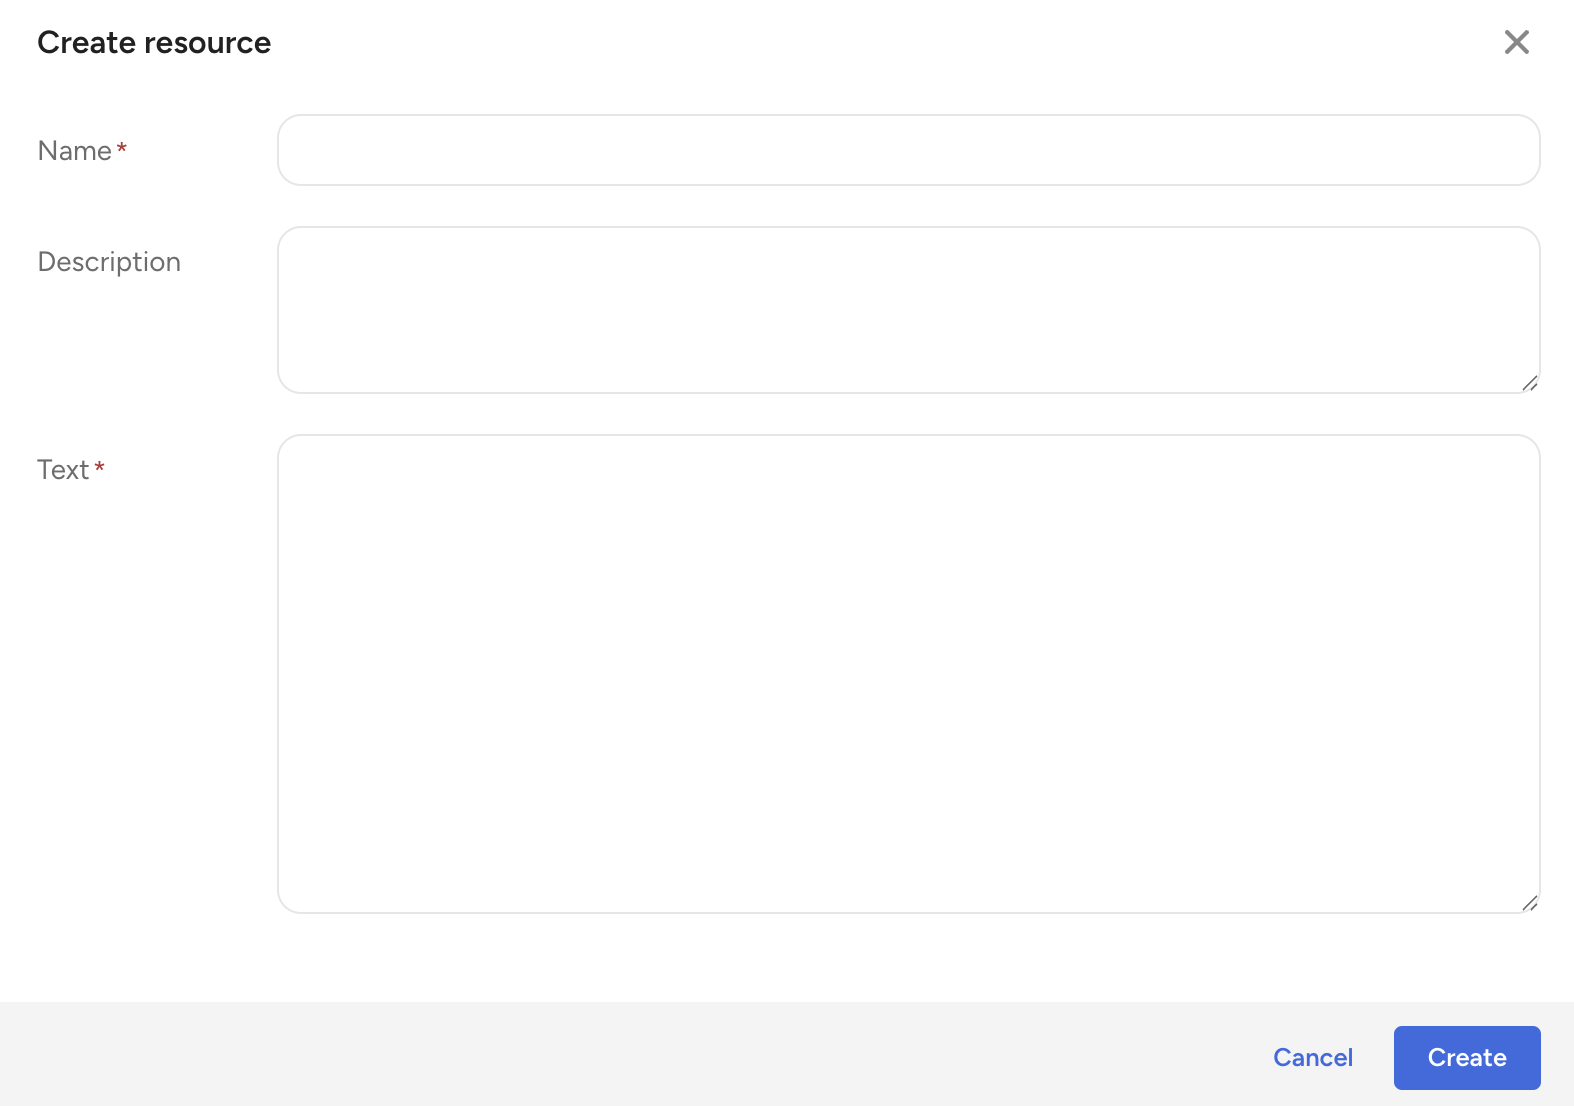
Click Create resource button.

Populate a form.
| Field | Description |
|---|---|
| Name | A name for the resource |
| Description | A description for the rerource |
| Text | Text content for the resource. This data will be used when this reource is selected in the form interface. Supporting Up to 18,000 charactors. |