The Customer.io Export Connector lets you push Treasure Data CDP query results into Customer.io to keep profiles and segments in sync after each workflow run. Use it when you need to activate CDP-unified customer data — such as high-value segments or behavioral attributes — in your Customer.io campaigns without a manual export step. The connector supports profile upsert and remove operations via the Tracking V2 API, and can add or remove customers from segments with automatic segment creation.
- Profile Operations - Create, update, or remove customer profiles via Tracking V2 API.
- Segment Management - Add or remove customers from segments with automatic segment creation.
- Multiple Identifiers - Support for
id,cio_id, andemailas customer identifiers. - Automatic Region Resolution - Dynamic endpoint discovery via Customer.io's Track Region API.
- Batch Processing - Efficient bulk operations with configurable error handling.
- Basic knowledge of Treasure AI
- Customer.io account with API access
- Valid Customer.io App API Key, Site ID, and API Key
- Authorized Treasure AI account access
- At least one identifier (
cio_id,id, oremail) must be present in each record - Using
emailas identifier requires enabling email identification in Customer.io workspace settings - The
cio_relationshipsfield is automatically excluded from attribute mapping - Segments are automatically created if they don't exist when using segment operations
- Customer.io implements rate limiting; the connector handles retries with exponential backoff
If your security policy requires IP whitelisting, you must add Treasure Data's IP addresses to your allowlist to ensure a successful connection.
Please find the complete list of static IP addresses, organized by region, at the following document
In Treasure AI, you must create and configure the data connection, to be used during export, prior to running your query. As part of the data connection, you provide authentication to access Customer.io.
Open Treasure Console.
Navigate to Integrations Hub > Catalog.
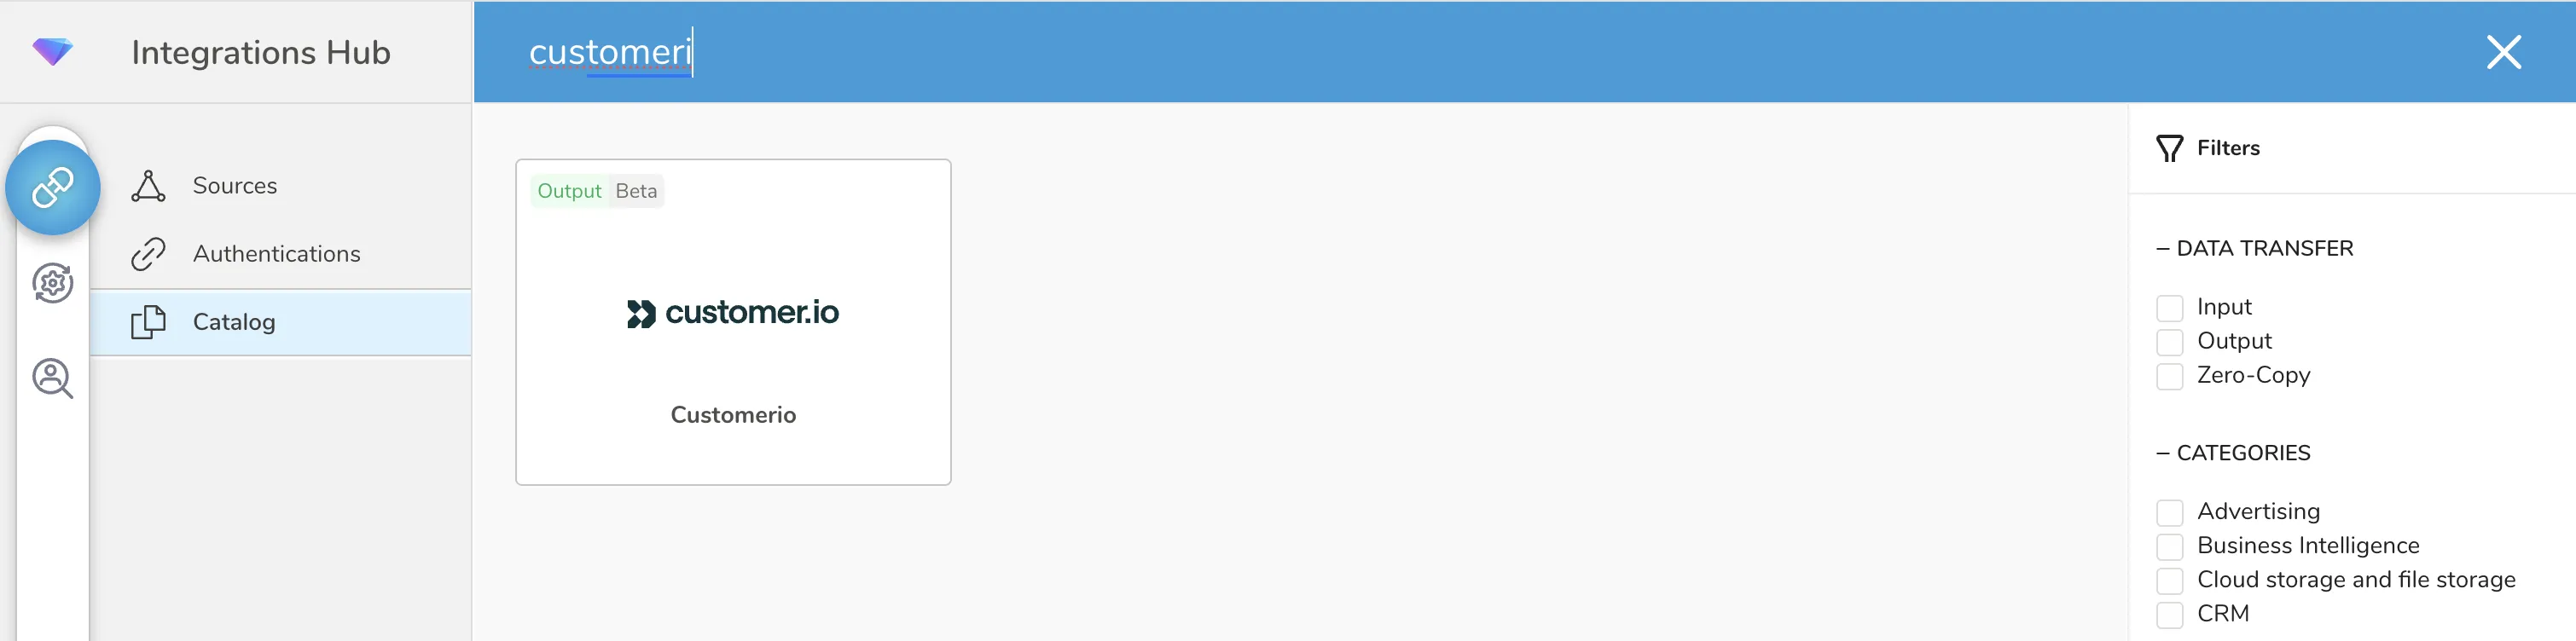
Search for and select Customer.io. Select Create Authentication.
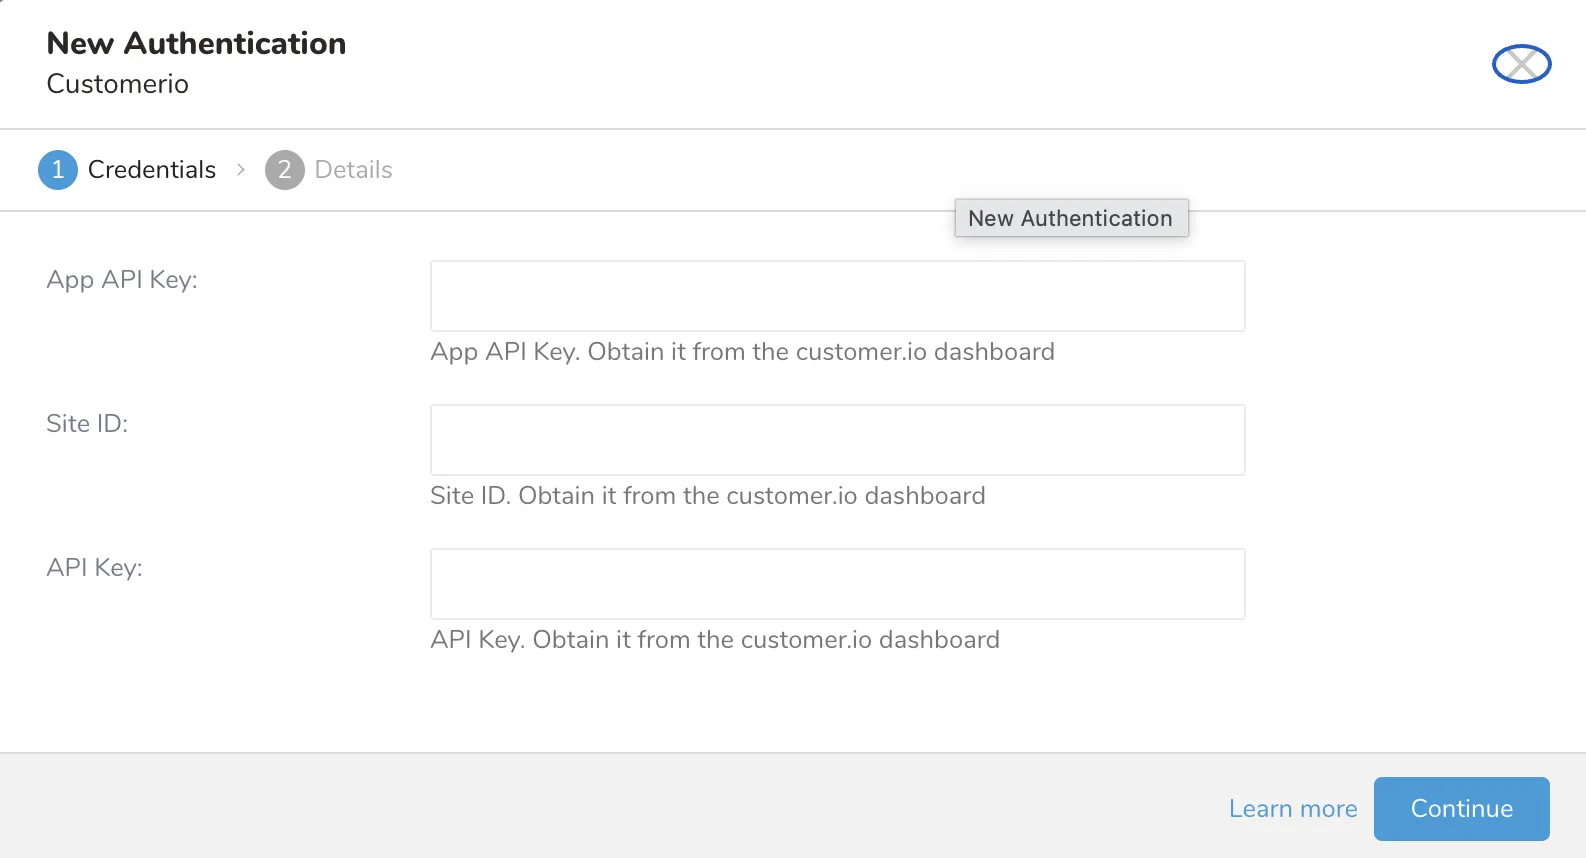
The following dialog opens. Edit the parameters. Select Continue.
| Parameters | Description |
|---|---|
| App API Key | Your Customer.io App API Key (required). Used for segment management operations. Generate this from your Customer.io account's API credentials section. |
| Site ID | Your Customer.io Site ID (required). Used as username for Tracking API authentication. Found in your Customer.io workspace settings. |
| API Key | Your Customer.io API Key (required). Used as password for Tracking API authentication. Generate this from your Customer.io account's API credentials section. |
- Enter a name for your connection.
- Choose to share the authentication with others or not.
- Select Done.
In this step, you create or reuse a query. In the query, you configure the data connection.
- Open the Treasure Console.
- Navigate to Data Workbench > Queries.
- Select the query that you plan to use to export data.
- Select Export Results located at top of your query editor. The Choose Integration dialog opens.
You have two options when selecting a connection to use to export the results, using an existing connection or creating a new one.
- Type the connection name in the search box to filter.
- Select your connection.
- The Export Results dialog opens.
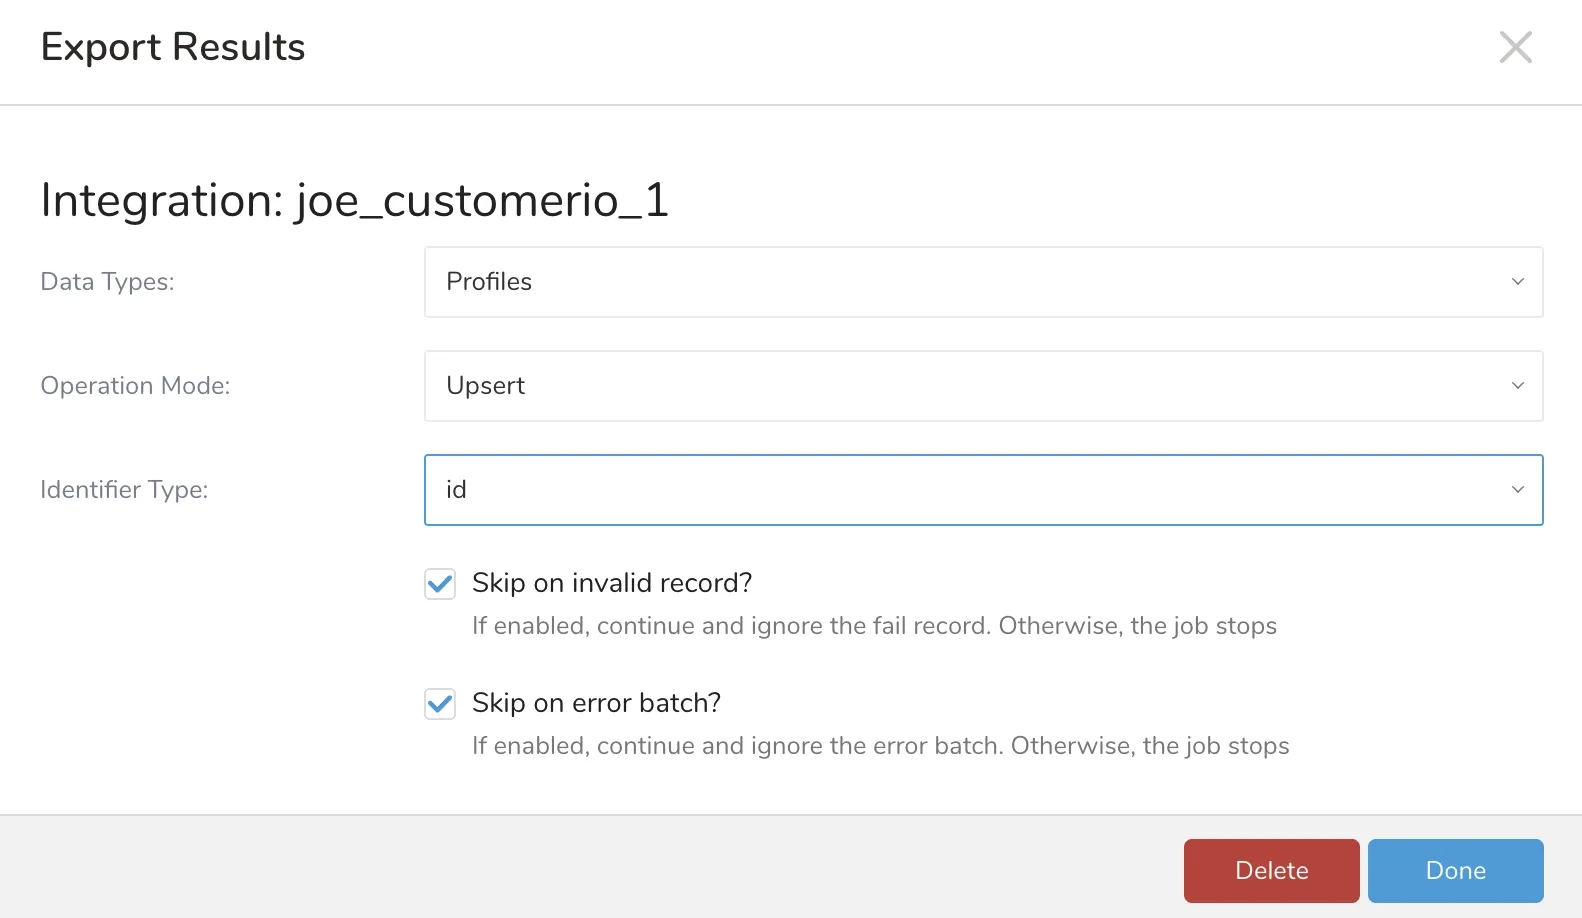
- Set the following parameters and select Done.
| Parameters | Description |
|---|---|
| Data Type | The target data type: PROFILES (profile operations) or SEGMENTS (segment membership operations) |
| Operation Mode (Profiles) | Profile operation mode: UPSERT (create/update) or REMOVE (delete). Only used when Data Type is PROFILES |
| Operation Mode (Segments) | Segment operation mode: ADD (add to segment) or REMOVE (remove from segment). Only used when Data Type is SEGMENTS |
| Segment Name | Target segment name (required when Data Type is SEGMENTS). Segment will be created if it doesn't exist |
| ID Type | Type of identifier: id, cio_id, or email. Note: Using email requires enabling email identification in Customer.io workspace settings |
| Skip Invalid Record | Skip records that fail validation instead of aborting the job |
| Skip Error Batch | Continue processing on API batch errors instead of failing the job |
- Select New Integration and select Customer.io from Type dropdown.
- The Create Integration dialog opens.
- Select the Catalog link to go to the Catalog page.
- Complete the steps described previously in "Create a new connection".
- Enter the required credentials for your new Customer.io connection.
The Customer.io export connector understands and interprets the following columns and data types. You must modify alias column names to match with the following specified columns.
At least one identifier (cio_id, id, or email) must be present in your data.
The following table describes the columns available for Customer.io export integration:
| Column name | Type | Required | Description |
|---|---|---|---|
cio_id | string | conditional | Customer.io internal ID (highest priority identifier). Used when available for most reliable matching. |
id | string | conditional | External customer ID (medium priority). Used when cio_id not available. |
email | string | conditional | Customer email address (lowest priority). Used when neither cio_id nor id available. Requires enabling email identification in Customer.io workspace settings. |
| Any other column | various | optional | Custom attributes mapped directly to Customer.io customer attributes. The cio_relationships field is automatically excluded. |
Identifier Logic: The connector validates the presence of the identifier field specified by the id_type configuration parameter. Records must contain the required identifier field to be processed successfully.
-- Profile upsert with 'id' identifier
SELECT
  customer_id AS id,
  email_address AS email,
  first_name,
  last_name,
  signup_date,
  total_orders,
  lifetime_value
FROM customer_profiles
WHERE TD_TIME_RANGE(time, TD_DATE_TRUNC('day', TD_SCHEDULER_TIME() - 86400, 'UTC'), NULL)-- Add customers to segment
SELECT
customer_id AS id,
email_address AS email,
first_name,
last_name
FROM high_value_segment
WHERE TD_TIME_RANGE(time, TD_DATE_TRUNC('day', TD_SCHEDULER_TIME() - 86400, 'UTC'), NULL)-- Using Customer.io internal ID (cio_id)
SELECT
cio_customer_id AS cio_id,
first_name,
last_name,
plan_type
FROM customer_profiles
-- Using email as identifier
SELECT
email,
first_name,
last_name,
subscription_status
FROM customer_profilesYou can use Scheduled Jobs with Result Export to periodically write the output result to a target destination that you specify.
Treasure Data's scheduler feature supports periodic query execution to achieve high availability.
When two specifications provide conflicting schedule specifications, the specification requesting to execute more often is followed while the other schedule specification is ignored.
For example, if the cron schedule is '0 0 1 * 1', then the 'day of month' specification and 'day of week' are discordant because the former specification requires it to run every first day of each month at midnight (00:00), while the latter specification requires it to run every Monday at midnight (00:00). The latter specification is followed.
Navigate to Data Workbench > Queries
Create a new query or select an existing query.
Next to Schedule, select None.

In the drop-down, select one of the following schedule options:
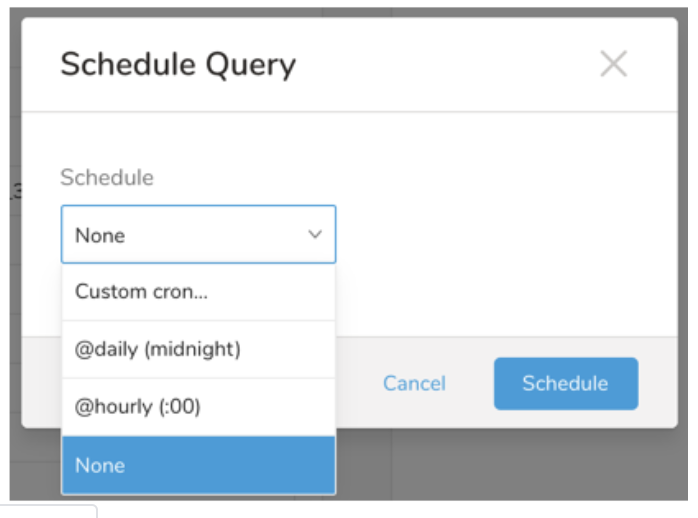
Drop-down Value Description Custom cron... Review Custom cron... details. @daily (midnight) Run once a day at midnight (00:00 am) in the specified time zone. @hourly (:00) Run every hour at 00 minutes. None No schedule.
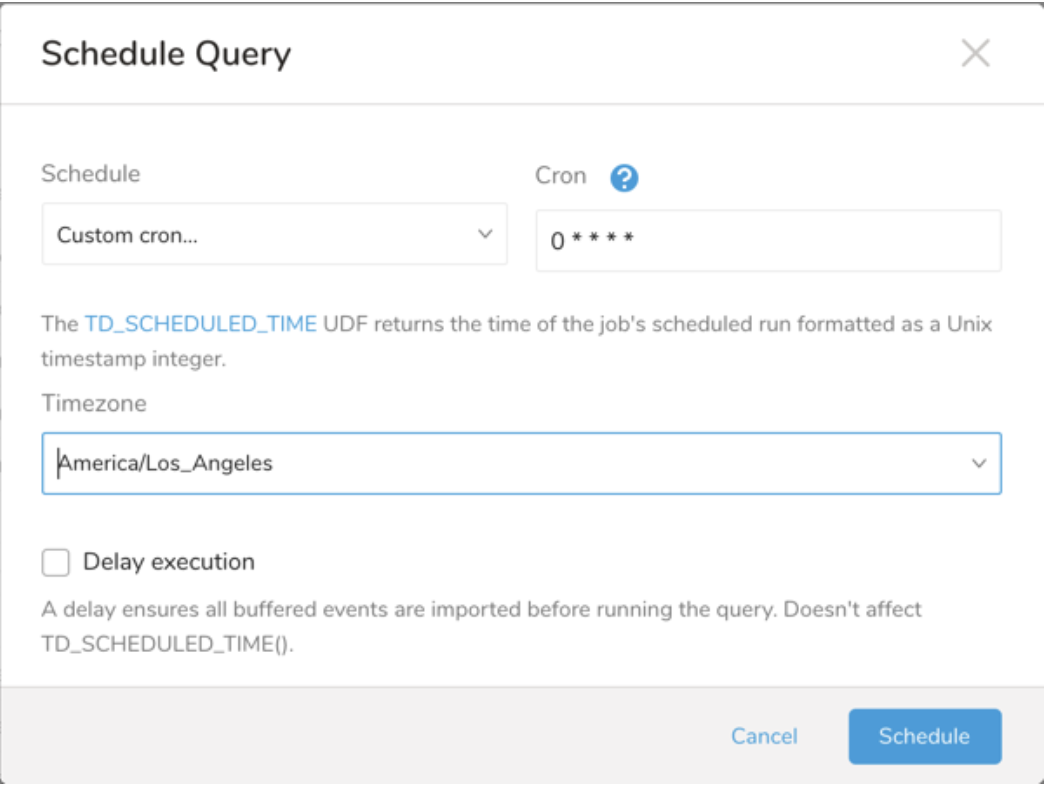
| Cron Value | Description |
|---|---|
0 * * * * | Run once an hour. |
0 0 * * * | Run once a day at midnight. |
0 0 1 * * | Run once a month at midnight on the morning of the first day of the month. |
| "" | Create a job that has no scheduled run time. |
 *    *    *    *    *
 -    -    -    -    -
 |    |    |    |    |
 |    |    |    |    +----- day of week (0 - 6) (Sunday=0)
 |    |    |    +---------- month (1 - 12)
 |    |    +--------------- day of month (1 - 31)
 |    +-------------------- hour (0 - 23)
 +------------------------- min (0 - 59)
The following named entries can be used:
- Day of Week: sun, mon, tue, wed, thu, fri, sat.
- Month: jan, feb, mar, apr, may, jun, jul, aug, sep, oct, nov, dec.
A single space is required between each field. The values for each field can be composed of:
| Field Value | Example | Example Description |
|---|---|---|
| A single value, within the limits displayed above for each field. | ||
A wildcard '*' to indicate no restriction based on the field. | '0 0 1 * *' | Configures the schedule to run at midnight (00:00) on the first day of each month. |
A range '2-5', indicating the range of accepted values for the field. | '0 0 1-10 * *' | Configures the schedule to run at midnight (00:00) on the first 10 days of each month. |
A list of comma-separated values '2,3,4,5', indicating the list of accepted values for the field. | '0 0 1,11,21 * *' | Configures the schedule to run at midnight (00:00) every 1st, 11th, and 21st day of each month. |
A periodicity indicator '*/5' to express how often based on the field's valid range of values a schedule is allowed to run. | '30 */2 1 * *' | Configures the schedule to run on the 1st of every month, every 2 hours starting at 00:30. '0 0 */5 * *' configures the schedule to run at midnight (00:00) every 5 days starting on the 5th of each month. |
A comma-separated list of any of the above except the '*' wildcard is also supported '2,*/5,8-10'. | '0 0 5,*/10,25 * *' | Configures the schedule to run at midnight (00:00) every 5th, 10th, 20th, and 25th day of each month. |
- (Optional) You can delay the start time of a query by enabling the Delay execution.